Why Choose Watermarkly to Resize Images
Watermarkly is a user-friendly app that offers a fast and secure way to change a photo size - no technical skills required.
Here’s what makes it stand out:
- Simple & Intuitive: Resize your images in just a few clicks. The interface is clean, ad-free, and easy to navigate - even for beginners.
- Batch Resizing: Save time by resizing multiple images in one go. No limits on image file size.
- Resize Without Quality Loss: Our image resizer uses the Lanczos interpolation method to preserve high image quality, even when resizing by more than 2×.
- Instant Processing: We guarantee high upload, processing, and download speeds, even when handling images in batches.
- Live Preview: See the changes in image size in real time before you apply them, so there are no surprises.
- AI Upscaling: Make your images larger without loss of sharpness or details, thanks to our smart AI algorithms.
- Privacy-First: Your images are processed directly in your browser without ever getting uploaded to a server. That means your files stay private and secure.
- Completely Free: No registration, no signing-up for newsletters, and no installations. Without paying a cent! Just open the tool and start resizing.
How to Resize a Photo in 3 Steps With Watermarkly
1. Upload your photo
Click Select Images or drag and drop your file into Watermarkly’s photo resizer. You can upload images from your computer, Google Drive, Google Photos, or Dropbox.
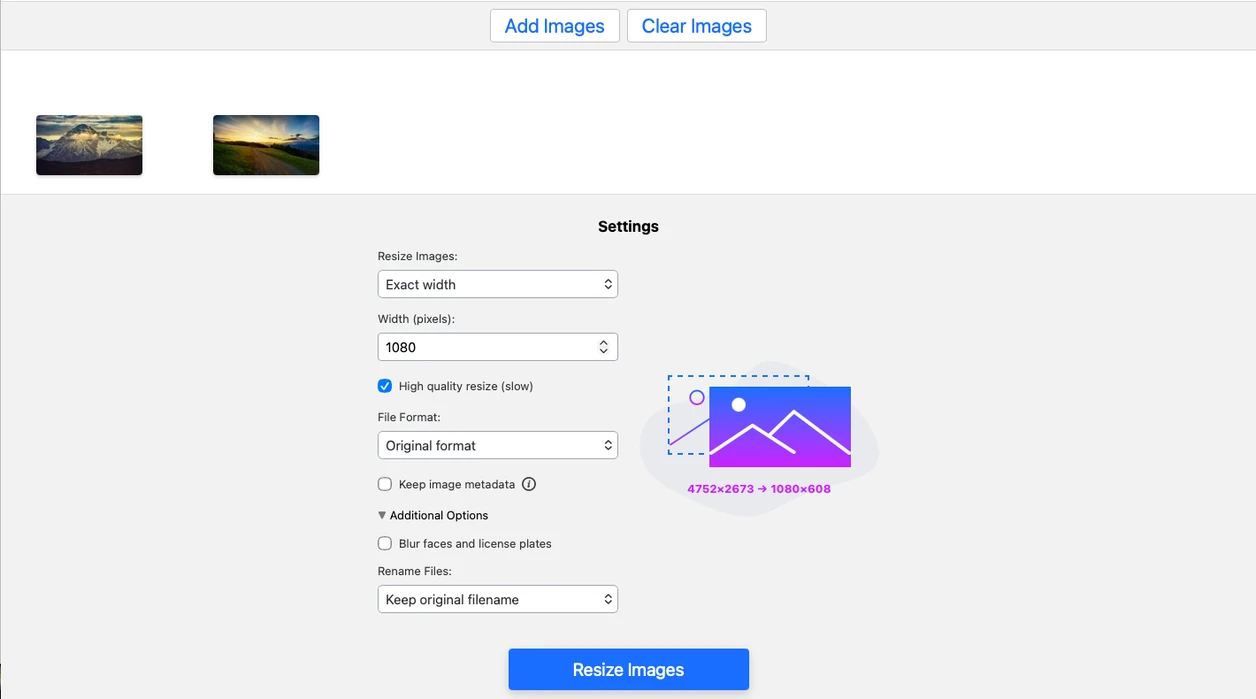
2. Choose your resize settings
After the image is uploaded, set the output options at the bottom of the app. You can resize the photo in pixels, change its format, adjust the aspect ratio, and even crop the image if needed to preserve the best possible result.
3. Download the resized image
Click Resize Images to start processing. Your resized copy will be ready in seconds. If you enlarge an image with High Quality Resize enabled, processing may take a little longer.
Resize Image OnlineHow to Resize a Photo. Available Settings
Watermarkly has several options that you can make use of if you need to resize photos. Let’s take a closer look at them:
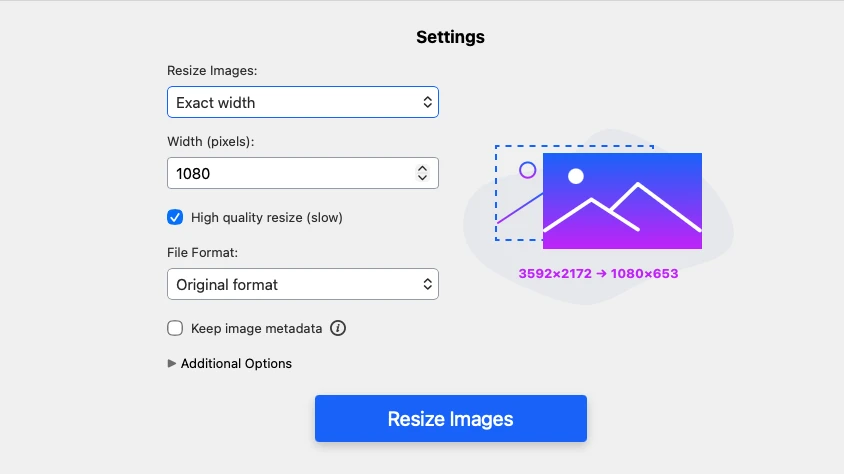
Exact Width
This option allows you to change the width of your image by entering a specific number of pixels. The original aspect ratio of your image will be maintained, so the height will be changed automatically.
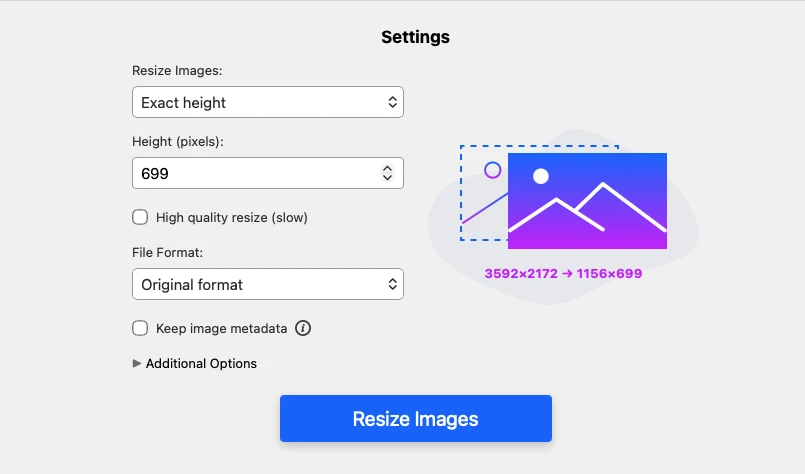
Exact Height
This works just like the width option - but for height. Enter the desired height in pixels, and the photo resizer will handle the rest by adjusting the width proportionally to keep your image looking sharp.
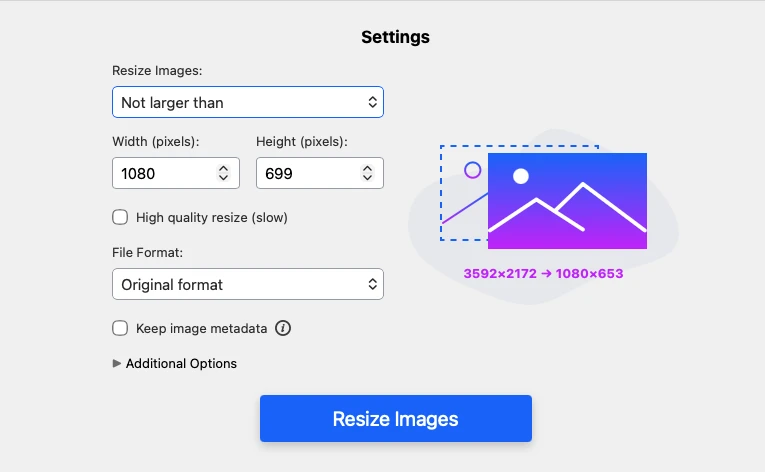
Not Larger Than
Here, you will also be able to enter values for both the height and the width. But your resized image won’t have these exact pixel dimensions. This is due to the fact that with this option the original aspect ratio doesn’t change. The pixel dimensions of your resized image will be no larger than the values that you entered. It’s quite a convenient option if you need to resize your image, but you don’t want the original aspect ratio to be changed.
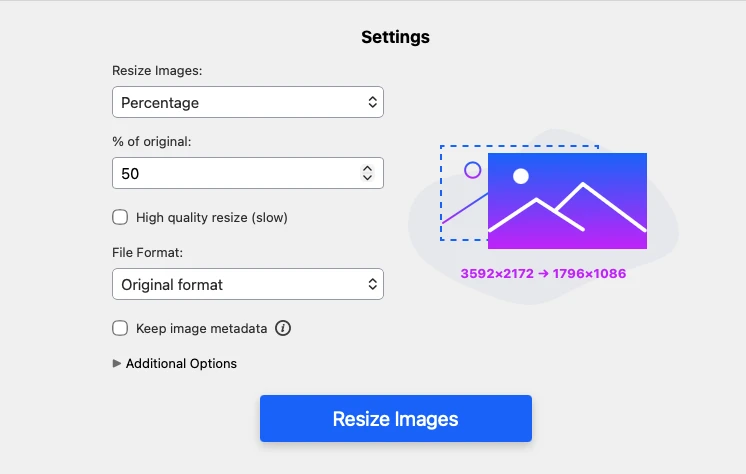
Percentage
What if there are no specific requirements for pixel dimensions and you simply want to make your image smaller or bigger? If that’s the case, this option is for you. Here, you will need to enter a number of percent. By default, your original image is 100%. Thus, if you enter 80%, your image will get smaller by 20%.
 Reduce Image Size
How to Resize a Photo for Different Goals
We designed our app to preserve the highest possible quality, no matter how you choose to resize your image. It offers all the tools that can help you optimize photos for the web.
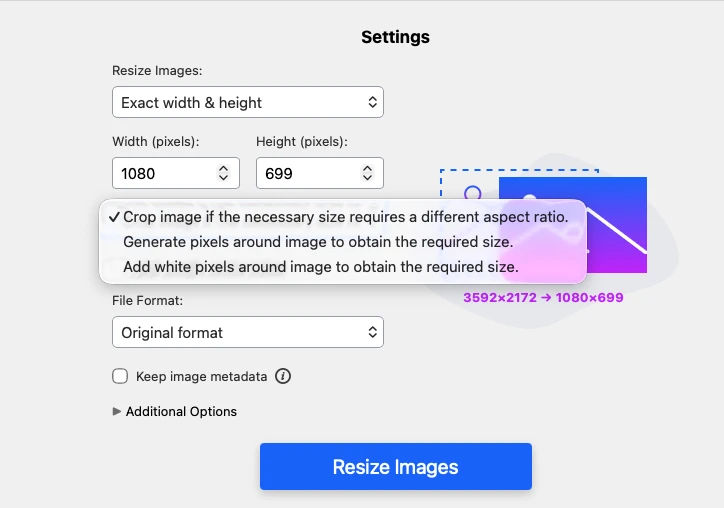
If you need to resize and change the aspect ratio
Choose one of these three options:
- crop an image
- generate pixels based on the already existing pixels
- add white pixels to reach the desired size.
Please note that with the first option, the cropping area is always fixed in the center. You won’t be able to change it. So, to achieve the best result, you’ll need to decide what matters more - preserving only the central part of your image or adding new pixels to keep the entire photo intact.
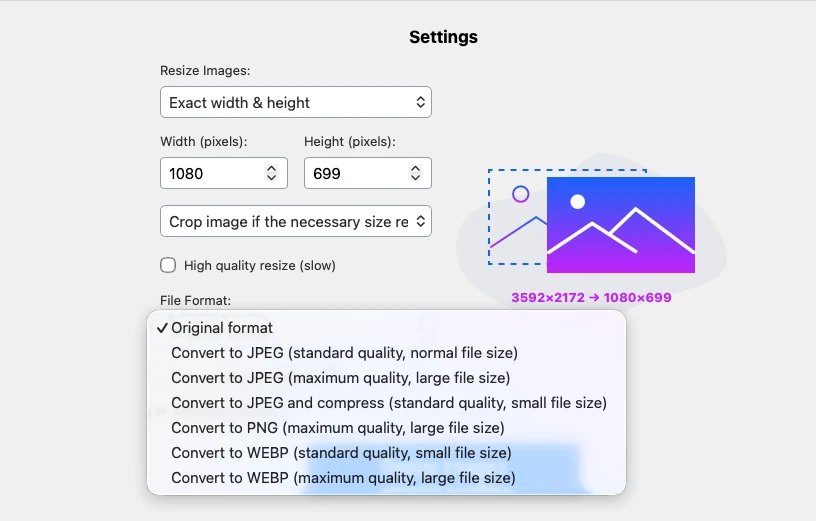
If you need to resize a picture to reduce its file size
In our online photo resizer you can not only change the pixel dimensions, but also compress the image without degrading its quality. On top of that, you can also convert it to a format that requires less storage space.
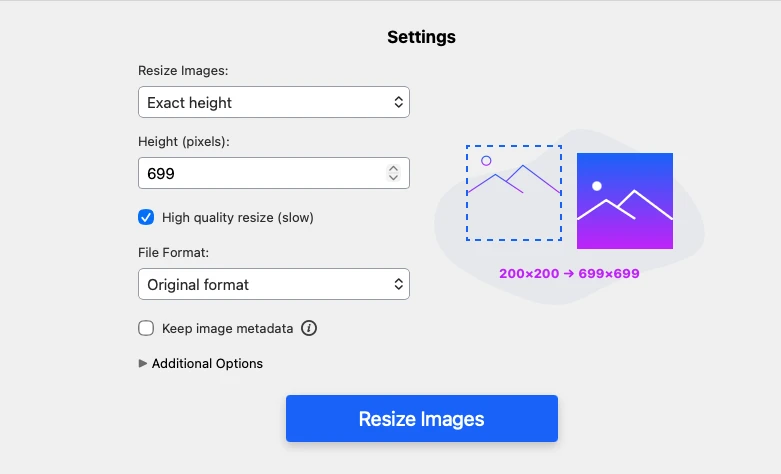
If you need to resize the picture to make it larger
For this purpose check the “High Quality Resize” option. Once you do that, the app will utilize AI upscaling algorithms that help preserve image sharpness when increasing its size. The processing may take a bit longer, but the result will definitely be worth it.
 Reduce Image Size
What Image Resolution Means
Image resolution refers to the dimensions of an image in pixels — for example, 6000 × 4000 px. In most cases, larger dimensions mean more detail, but they also usually result in a larger file size.
This matters because images with very large pixel dimensions can be harder to upload, slower to share, and less convenient to use online. Resizing solves this by reducing the width and height of the image in pixels, which often makes the file lighter and easier to work with.
Knowing the resolution of your photo is also important when you want to resize it without distorting its proportions. You can check the dimensions of an image in Properties on Windows, Get Info on Mac, or the Info section in your phone’s gallery. Watermarkly's photo resizer makes this even easier by showing the dimensions of the original image and the resized copy inside the app before processing starts, so you can choose the right settings more confidently.
Reduce Image SizeWhy Resize an Image Before Uploading It
Resizing is useful whenever your image is larger than it needs to be. A smaller file is easier to upload, faster to share, and more convenient to store.
For Websites
Large images can slow down a page and make a layout harder to manage, especially on mobile devices. Resizing your photos before uploading them helps keep your pages lighter and your visual content more consistent.
For Social Media
Different platforms display images in different ways. If your photo is too large or has the wrong proportions, it may be automatically compressed or cropped. Resizing it in advance gives you more control over how it will look after upload.
For Email and Online Sharing
Large image files can be difficult to attach to emails or send in batches. Resizing helps reduce file size and makes sharing faster and easier, especially when you need to send several photos at once.
Reduce Image SizeFAQ
In this section, you will find answers to the most common questions on how to resize a photo.
1. How to resize an image without losing quality online?
There are several key factors to consider when resizing an image. To avoid quality loss, start with a high-resolution original, maintain the aspect ratio, and use advanced interpolation methods such as Bicubic or Lanczos.
Additionally, you can apply certain techniques to achieve better results. For example, resize the photo gradually, or in some cases, crop it instead of resizing.
If you’d like to dive deeper into this topic and understand how to resize images without sacrificing quality, we highly recommend watching our dedicated video on the subject:
2. How do I resize a photo from my Google Drive account?
Our online image resizer has the option of importing images from cloud storages, including Google Drive. It means that you won’t have to download images to your computer or smartphone first. To do this, open the app, click on “Select Images”, then pick “From Google Drive” in the small menu.
You will be asked to give access to your cloud storage – click on “Yes”. Once the access is granted, you’ll be able to select images from your Google Drive to import them into our app.
3. How to resize a photo on a smartphone?
You can resize photos on iPhone, Android phones, and tablets directly in your browser with Watermarkly’s web-based tool. Open the photo resizer, upload your image, choose the size settings you need, and download the resized copy in seconds. No installation is required.
4. Can I resize images of different formats?
Yes, you can upload all your images in a single batch or use one of our dedicated resizing tools: