How to Add a Watermark to Photos, Videos, or PDFs in Watermarkly

Protecting your files with Watermarkly is as easy as 1-2-3.

Below, we’ll take a closer look at each step:

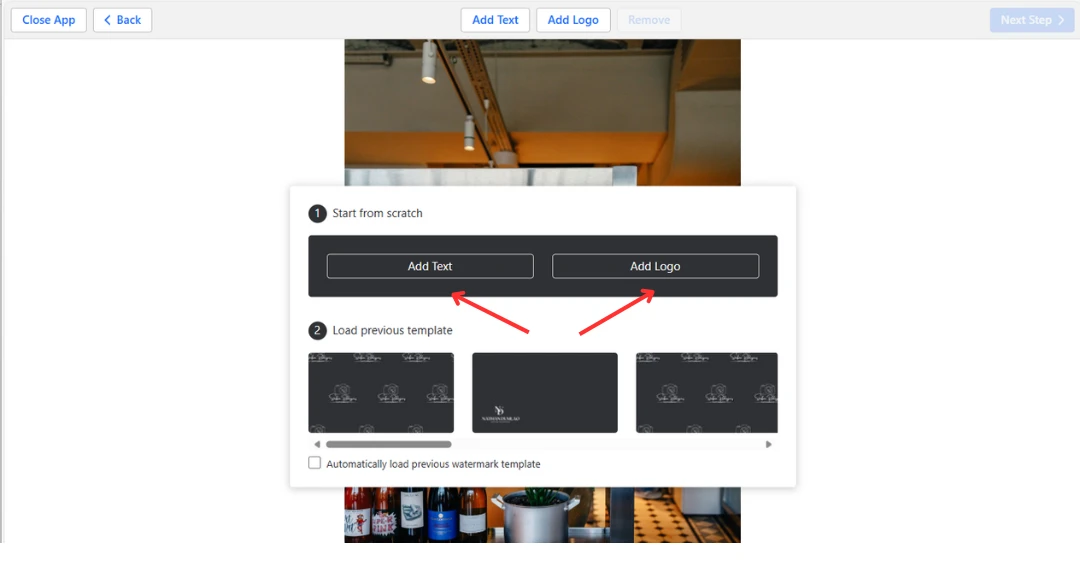
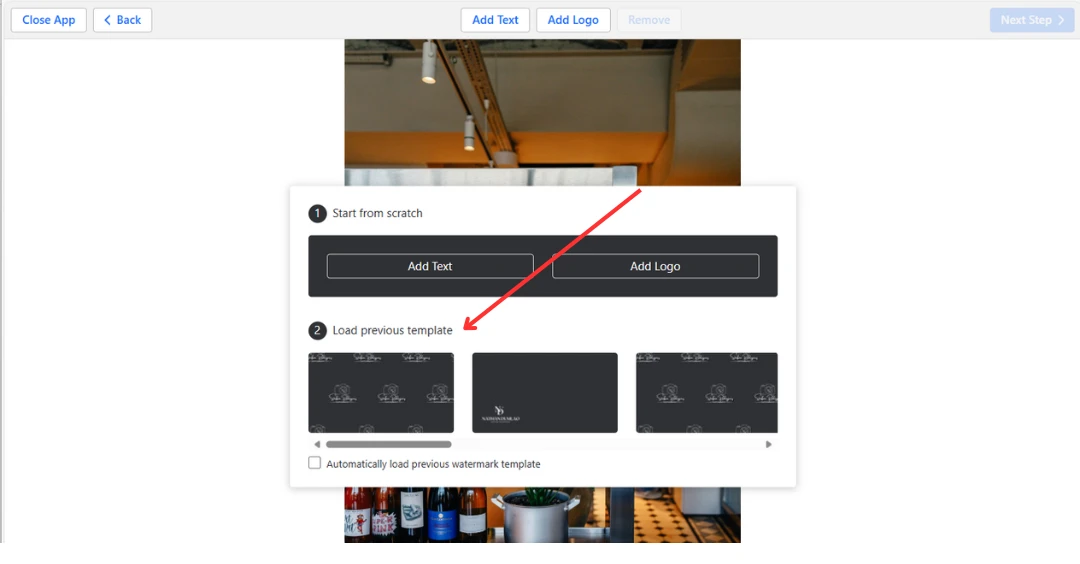
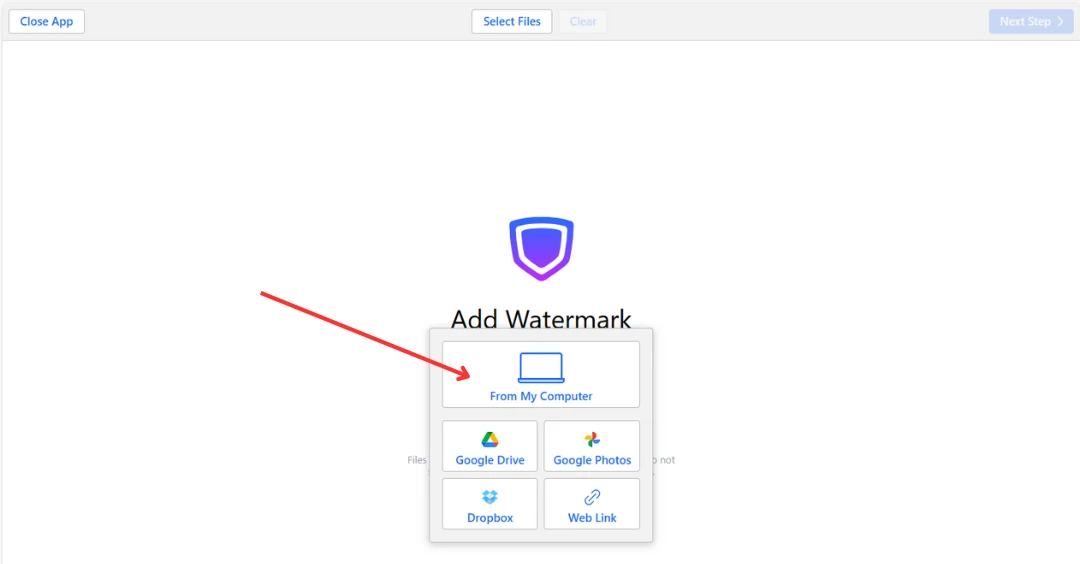
Step 1 – Select Photos, Videos or PDFs to Watermark

Watermarkly supports uploading files from your computer, Google Photos, Google Drive, and Dropbox. It also allows you to import images directly from a web page.

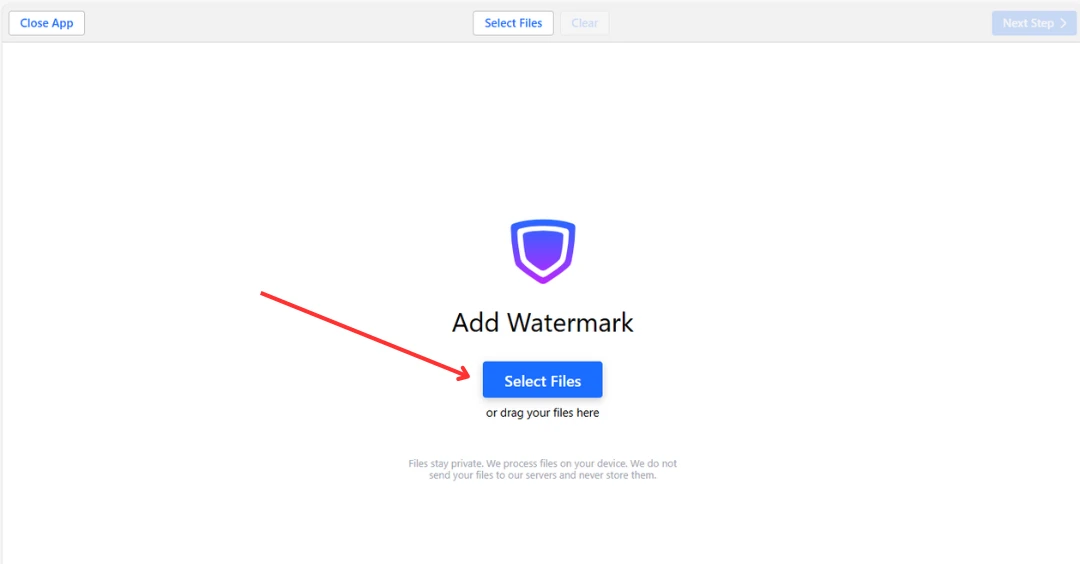
Click “Select Files” or drag and drop your images into the app.

select files

Selecting Files from Your Computer

You can drag and drop photos or entire folders into the Watermarkly app. To select all photos in a folder, press Ctrl+A on Windows or Cmd+A on Mac.

select files from computer

Selecting Files from Cloud Storage

When you choose a cloud storage option, a dialog will appear asking you to authorize Watermarkly. The app will request permission to access photos from your Google Drive, Google Photos, or Dropbox account.

Once you grant access, the official cloud storage picker will appear. You can select one or more photos by clicking on them while holding down the Shift key.

Selecting Files from Web

You can paste a direct link to the images you want to import. Make sure to provide a link to the actual image file, not an entire web page. To copy a link to an image, right-click on it and select “Copy Image Link.”

Clearing the Selection

To remove the selected images, videos, or PDFs, click the Clear button.
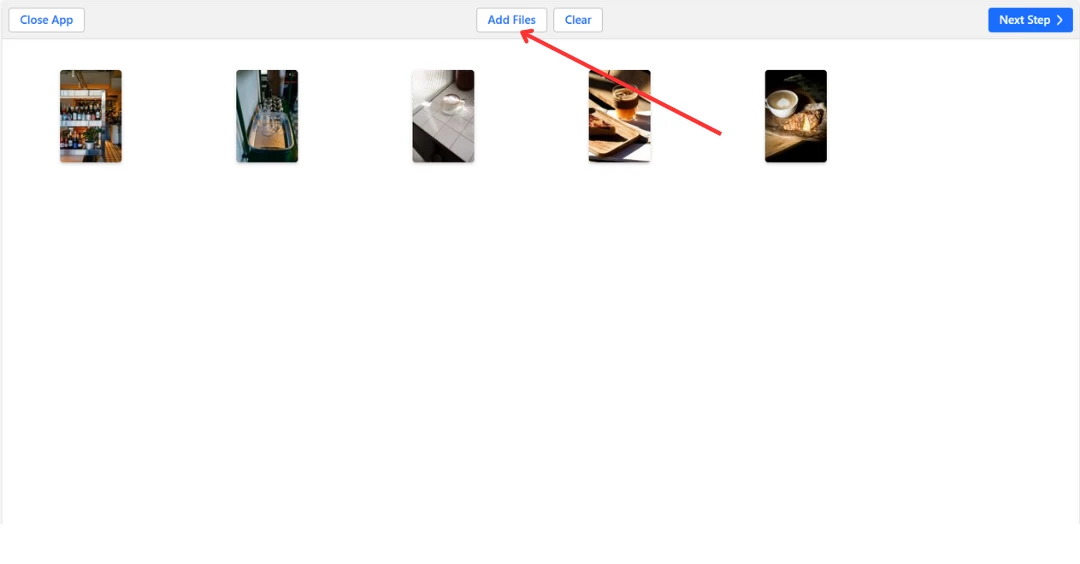
Adding More Files

If you’ve already added some files and want to add more, click Add Files at the top center of the screen.

add files

Note:

  • You can upload photos, videos, and PDFs in one batch if necessary. Choosing files of different formats will disable resize and blur feature.
  • The free edition of Watermarkly allows you to process up to 10 images or documents at a time.

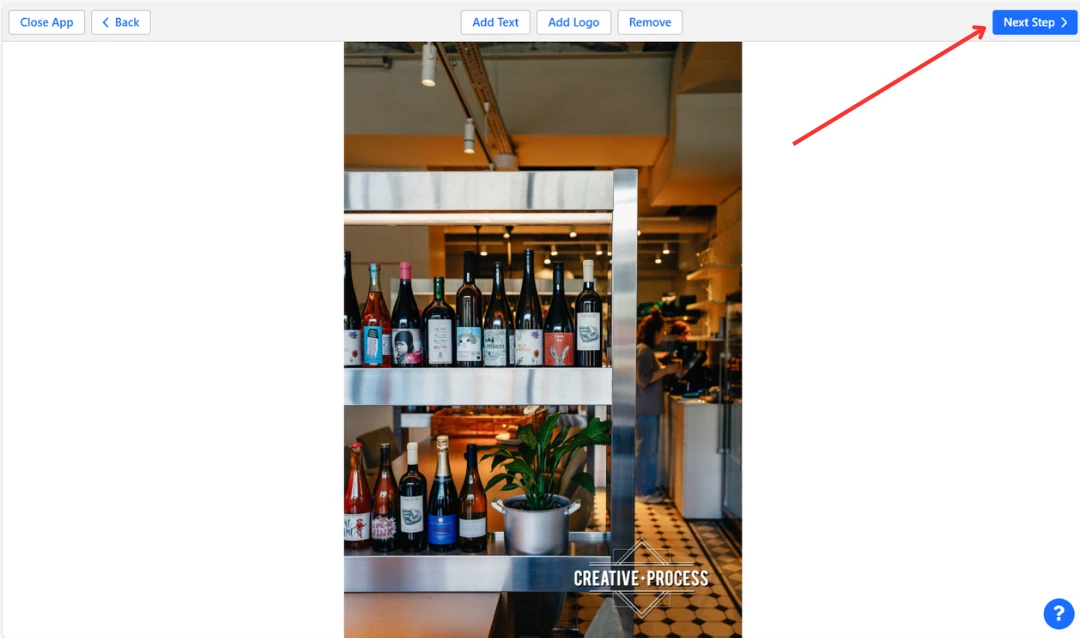
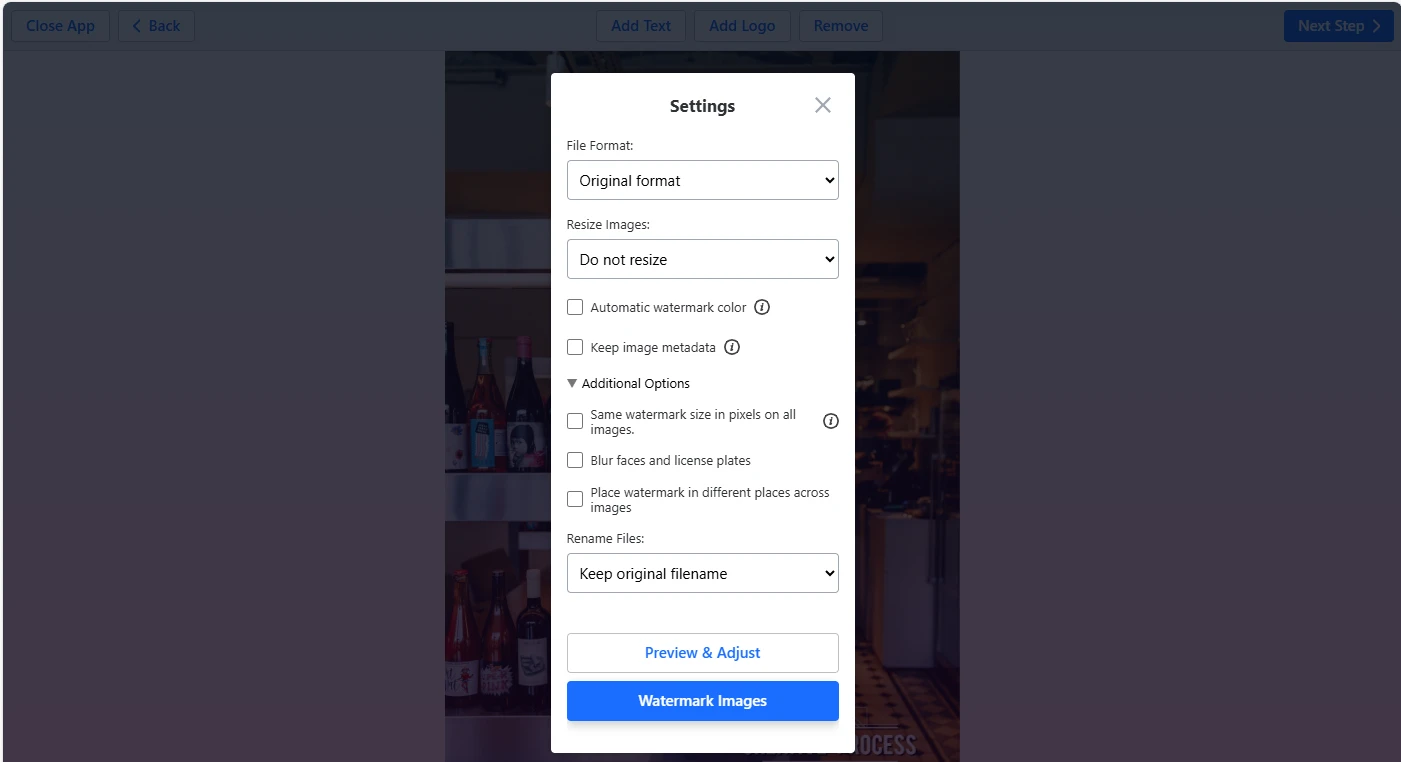
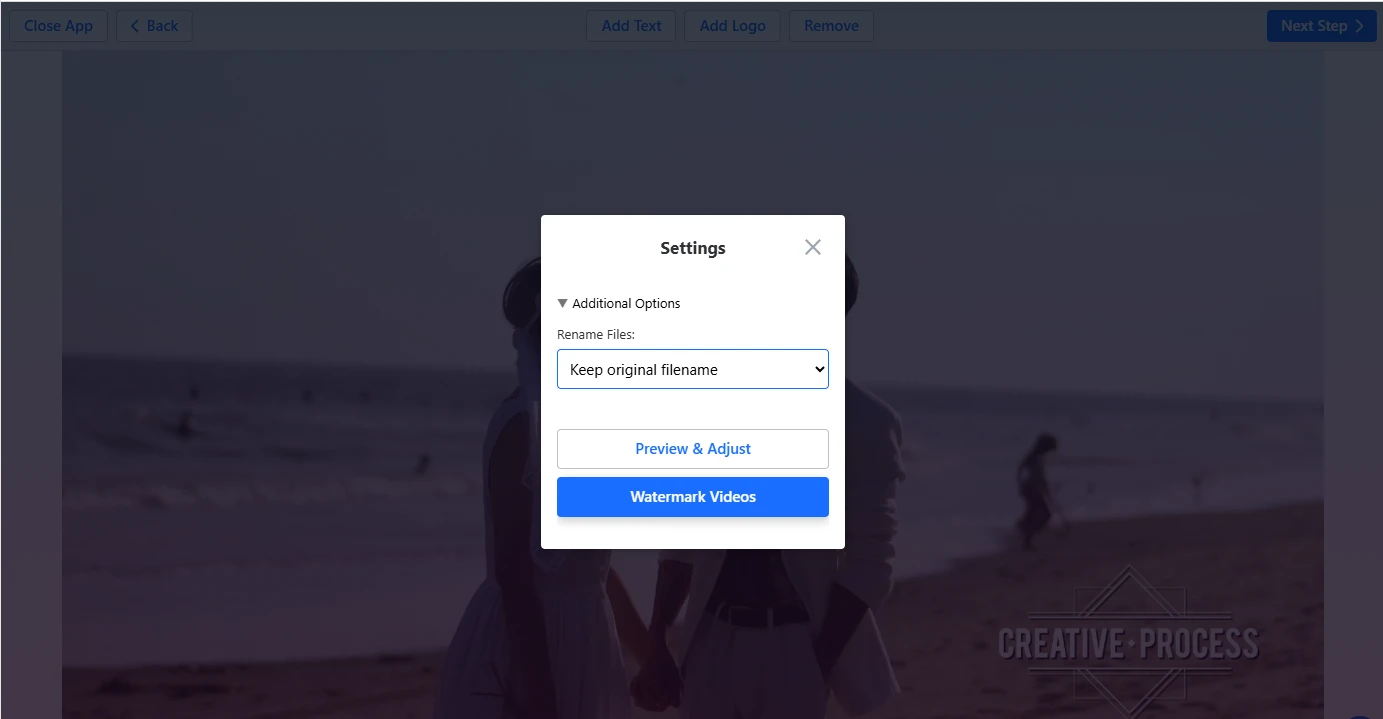
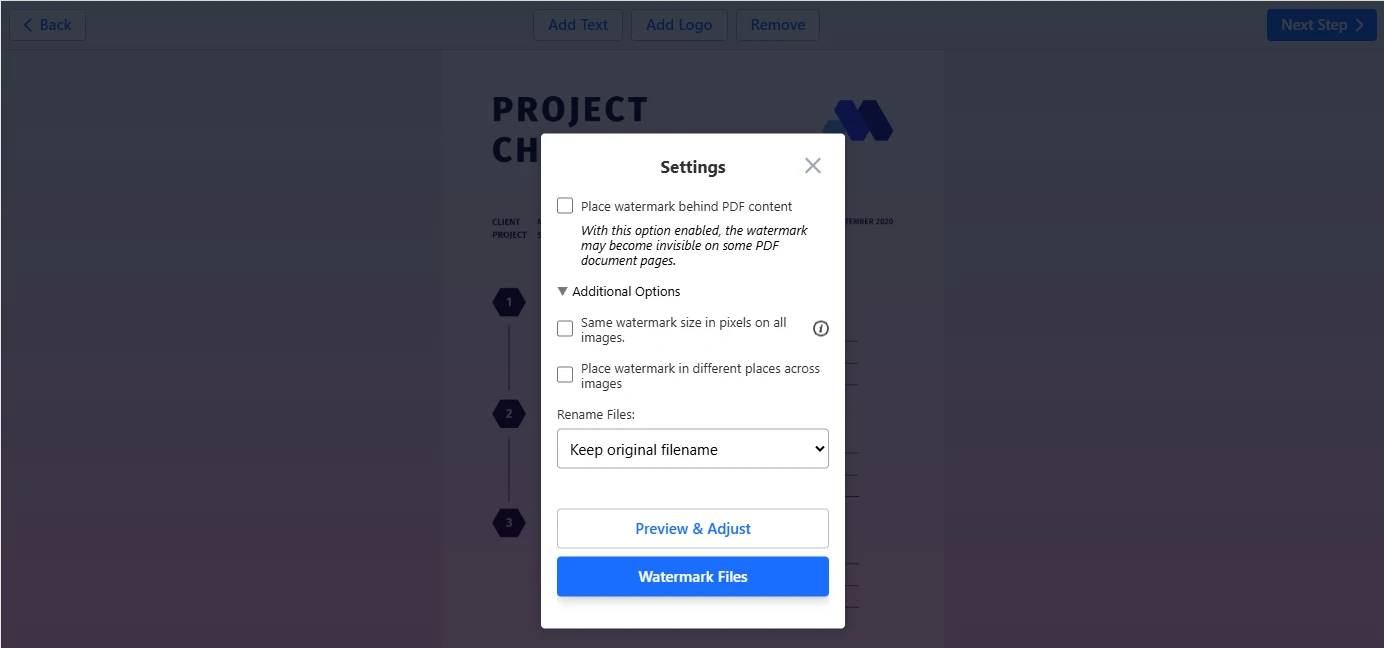
To proceed to the watermarking stage, click Next Step in the upper-right corner.

next step

Step 2 – Create Your Watermark

In this step, you can customize your watermark’s layout, position, opacity, and appearance to make it look personal.

If you’re using Watermarkly for the first time, you will have to create a watermark from scratch. You can add a logo (“Add Logo”) or plain text (“Add Text”).

add text, add logo

If you’ve used the tool before, you’ll be prompted to select a previously saved template or create a new one. This dialog will appear if there are no watermarks. If you already have a watermark, click the Remove button to open the templates list.

load previous template

Click a watermark element (logo or text) to select it. Configuration options will appear next to it.

select watermark

Note:

If you upload multiple files to the app at once, the app will select the first one for watermark editing. Once the watermark is created, it will automatically appear on all images, videos, or documents uploaded to the app. If you need to adjust the watermark on individual photos, videos, or PDF pages, you can do so in the Preview section.

If you selected "Add Text"

Enter your text into the input box. Use the available tools:

  • If necessary, add the copyright symbol © and the image number. add the copyright symbol © and the image number
  • Pick from over 900 font options. Pick font
  • Select the desired color. select color
  • Choose the right size.
  • Drag your text to a different location within the picture.
  • Fill the entire photo with repeated watermarks (select Tile for this). tile
  • Specify the level of opacity.
  • Define the angle of rotation.
  • Add one of the various effects as a finishing touch.

If you selected "Add Logo":

  • Upload your logo file from your device, Google Drive, Photos, or Dropbox.
  • Choose an icon from the Watermarkly gallery (to create a logo from scratch). create a logo from scratch
  • Click “Remove Background” if your file doesn’t already have a transparent PNG background. Remove Background
  • Adjust the logo size, position, transparency, rotation angle, and effects. edit logo watermark

Note:

You can move your watermark anywhere and adjust its size using the blue dots at the corners of the border, not just the Properties panel.

Click “Next Step” to go to the Export settings.

next step

Step 3 – Preview the Result and Make Final Adjustments

Once you click Next Step, a settings window will appear.

If you want your watermark to look the same across all uploaded files, you can proceed directly to Step 4.

However, if you’d like to customize the watermark for individual photos, videos, or PDF pages, click Preview & Adjust.

Preview & Adjust

Note:

Depending on the type of files you’re processing, the option for final editing may vary.


If you’re adding a watermark to photos and videos:

  • You can preview how the watermark looks on each photo and video individually.
  • You can position the watermark differently on separate files.
  • You can adjust the color, size, opacity, and rotation for each photo or video in the batch.
Preview watermark on photos

If you’re adding a watermark to PDFs:

  • You can remove the watermark from individual pages by clicking the blue arrow on the page icon. remove the watermark from individual pages
  • You can specify which pages to protect with a watermark. To do this, click the square in the upper-left corner to open the Pages to Watermark window. specify which pages to protect with a watermark
  • You can make final adjustments to the watermark’s appearance. edit watermark on PDF

Click Done to apply the changes and go to Step 4.

Step 4 – Set Output Options and Apply the Watermark

If all you needed was to add a watermark without making any adjustments to the files themselves, simply click Watermark Images and download the results.

watermark files

As with uploading, you’ll have several download options:

download files
  • Download each file individually to your Downloads folder by clicking its name.
  • Download all files at once as a ZIP archive by clicking “Download All”.
  • Upload the files directly to your cloud storage.

Note:

Your original photos will not be modified. They will remain untouched on your device or in your Google Drive, Google Photos, or Dropbox accounts.


As with the Preview step, the list of export settings will vary depending on the type of file you’re adding the watermark to.

When You Add a Watermark to Photos

settings

If you’re processing photos, pay attention to the export settings that control how the watermark appears on your images:

  • Automatic watermark color: The app will adjust the watermark color based on the image’s brightness.
  • Same watermark size in pixels on all images: By default, the app makes the watermark larger for bigger images and smaller for smaller ones. Enabling this option will disable automatic watermark scaling.
  • Place watermark in different positions across images.

Additionally, you can adjust your photo settings before exporting them:

  • Change the format to JPEG, PNG, or WEBP.
  • Convert to JPEG and compress.
  • Resize.
  • Keep metadata.
  • Rename files.
  • Blur faces and license plates if needed.

When You Add a Watermark to Videos

Before adding a watermark, you can only rename your files.

settings video watermark

When You Add a Watermark to PDFs

The available settings are as follows:

  • Place watermark behind content.
  • Use the same watermark size (in pixels) on all pages.
  • Place the watermark in different positions across PDF pages.
settings PDF watermark

Note:

Processing files of different formats will disable resize and blur feature.


Once you’ve finished adjusting the settings, click Watermark Files and select a download option. Congratulations! You’ve successfully added watermarks to your images.