How to Crop a Screenshot on Mac
Now it’s time to move on to cropping your screenshot. There are several ways to do this. They are all quite simple and similar to each other. The main differences are the number of steps that you need to take; how the cropping area is created; how the cropped version is saved.
How to Crop a Screenshot on Mac Using Cropping Tool
To crop a screenshot using the cropping tool, follow these steps:
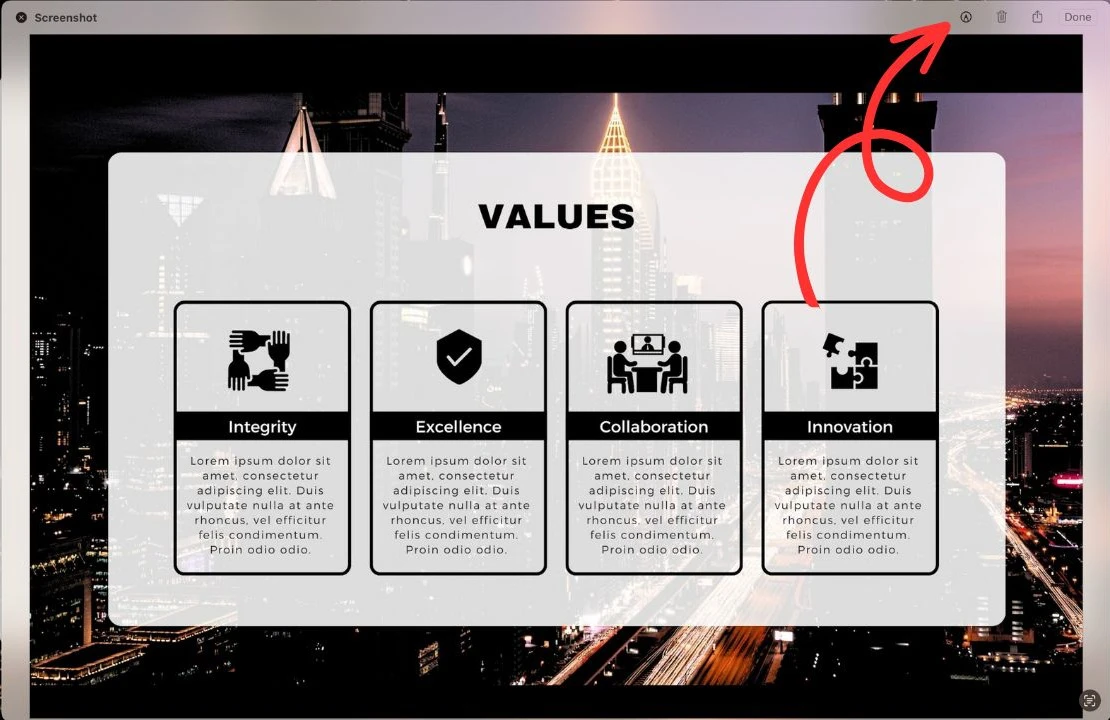
- Click on the thumbnail of your screenshot and go to the editing window.
- Click on the “Show the markup toolbar” icon. It sits in the top right corner and looks like a pen.
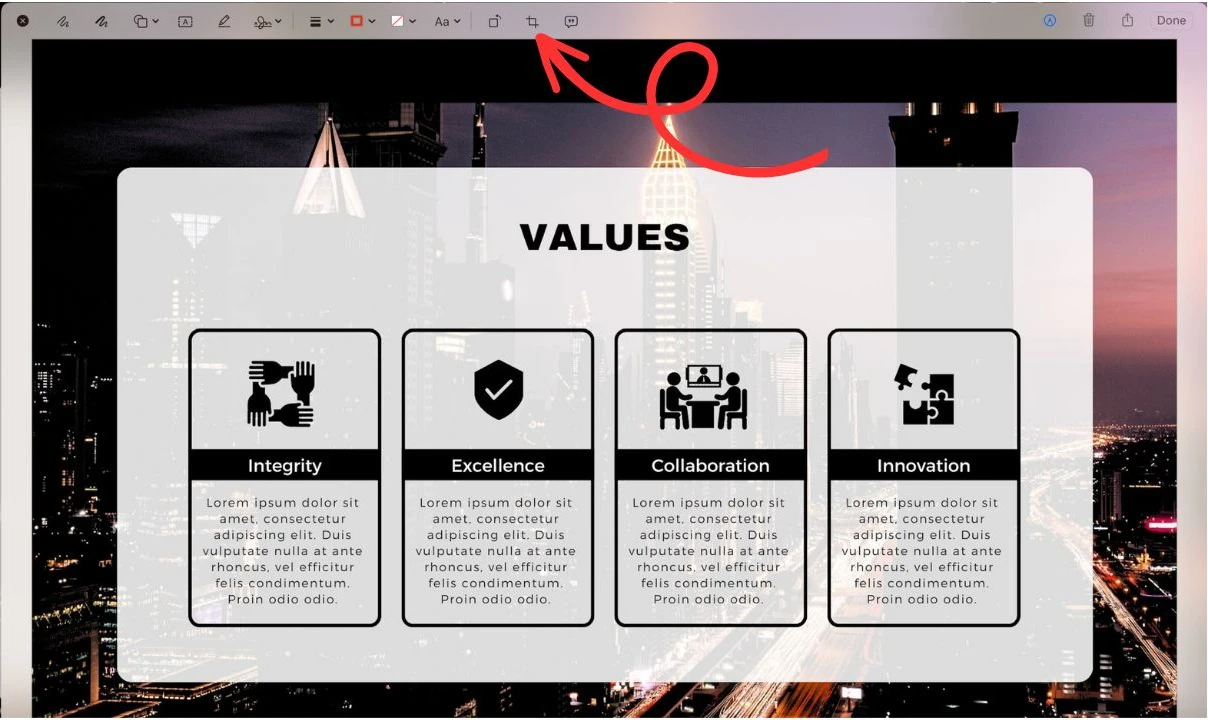
- Select the "Crop" icon in the menu.
- Move the borders of the cropping area to adjust it.
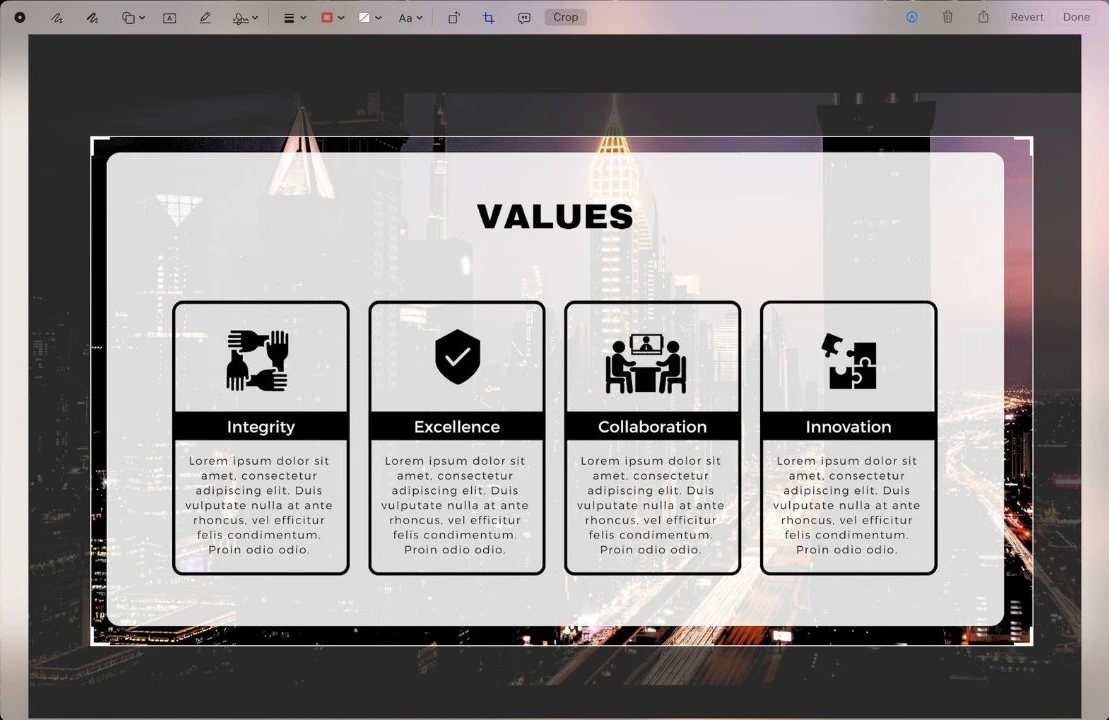
- Press “Done” when you are happy with the cropping.
The cropped image will be saved to your desktop to the same place where your original is. In other words, you will have both the cropped version and the original.
How to Crop a Screenshot on Mac Using Preview
To open the Preview, double-click on the necessary screenshot in the Finder. A cross will appear on the image, and you will have the ability to select the area you need.
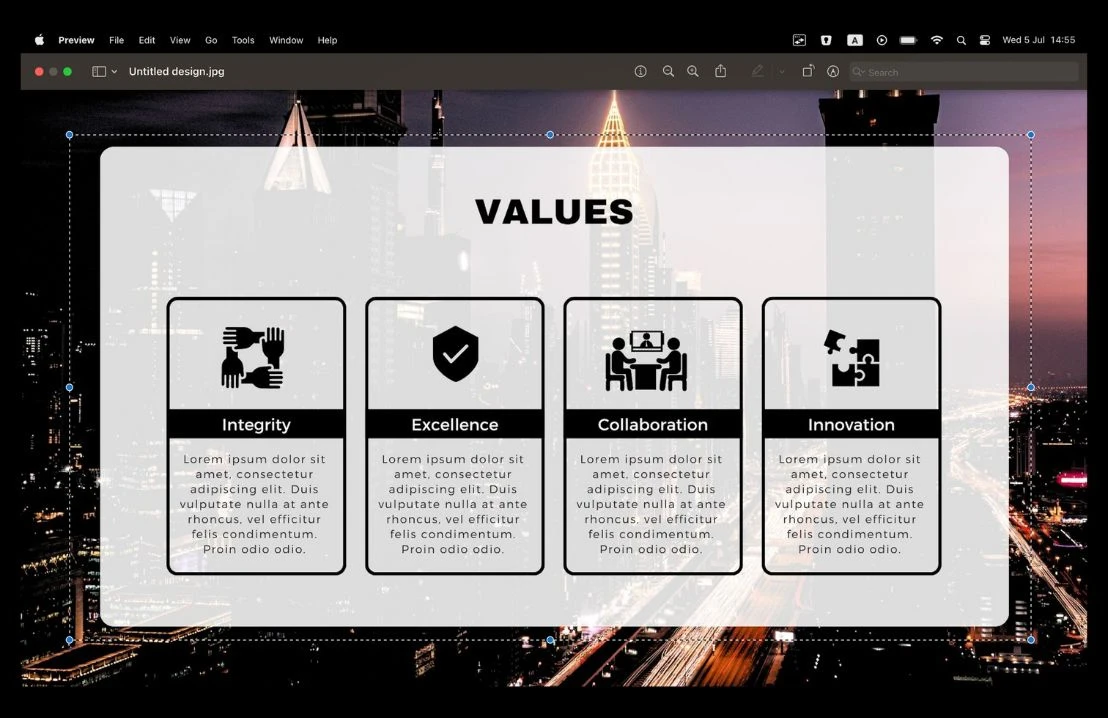
With the Cropping tool, the borders of the cropping area appear right away. However, with the Preview, you need to create the cropping area yourself with the help of your cursor. This task might be easier if you use a touchpad instead of a mouse.
Select the necessary part of the screenshot. Then, in the menu at the top, go to Tools > Crop. Alternatively, you can use the Cmd + K shortcut.

Once you do this, the original image will be replaced with the cropped one. In other words, the original will not be saved.
This is different from the first method where the cropped screenshot is saved alongside its original.
How to Crop a Screenshot on Mac Using Photos App
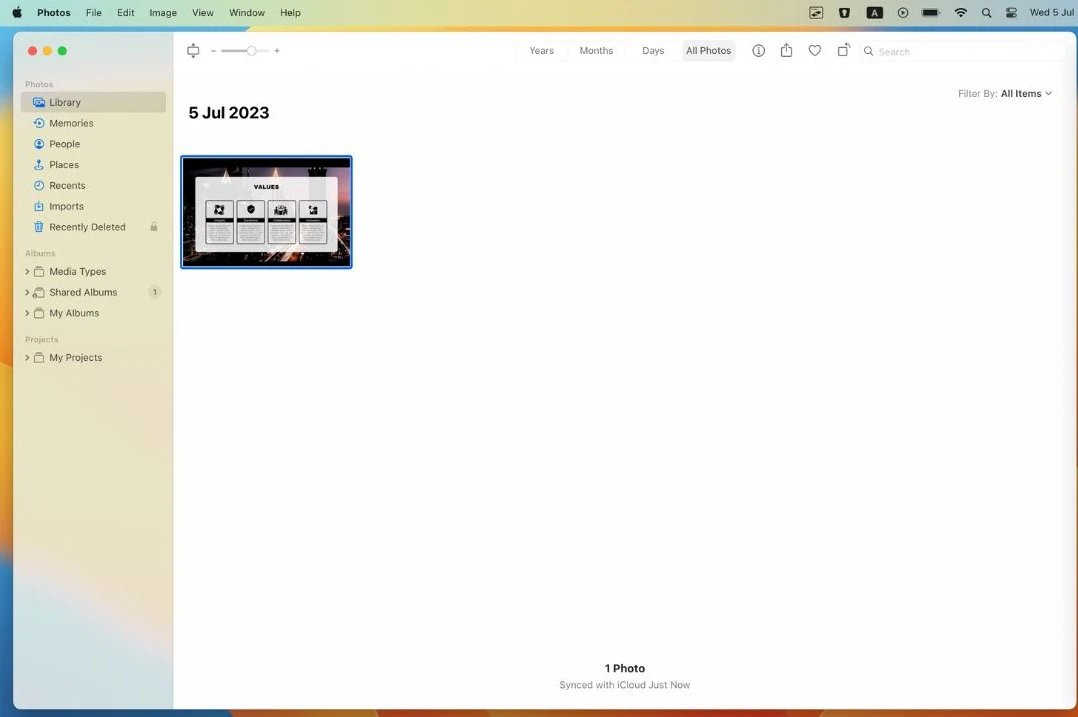
First you need to open the Photos app. By default, it is located in the Pictures folder in Finder.
After launching the Photos app, follow these steps:
- Go to File > Import, select your screenshot and upload it to the app.
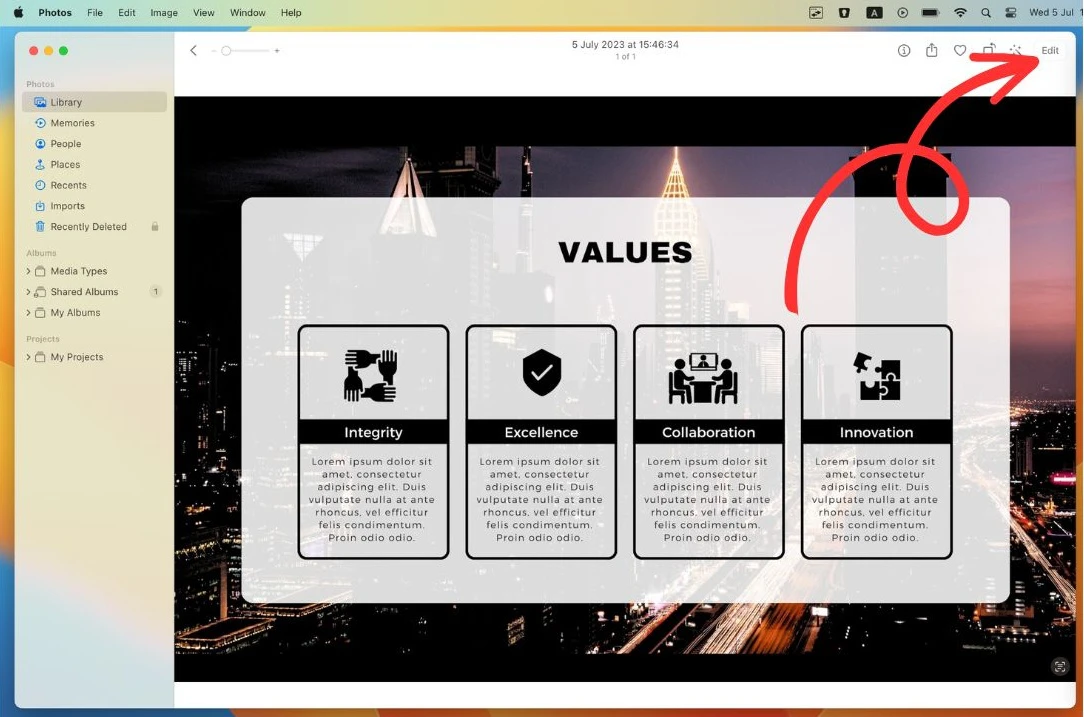
- Open the image in the full screen mode by double-clicking on it, then choose Edit in the top right corner.
- Click on the Crop button in the menu in the center, then adjust the cropping area the way you want.
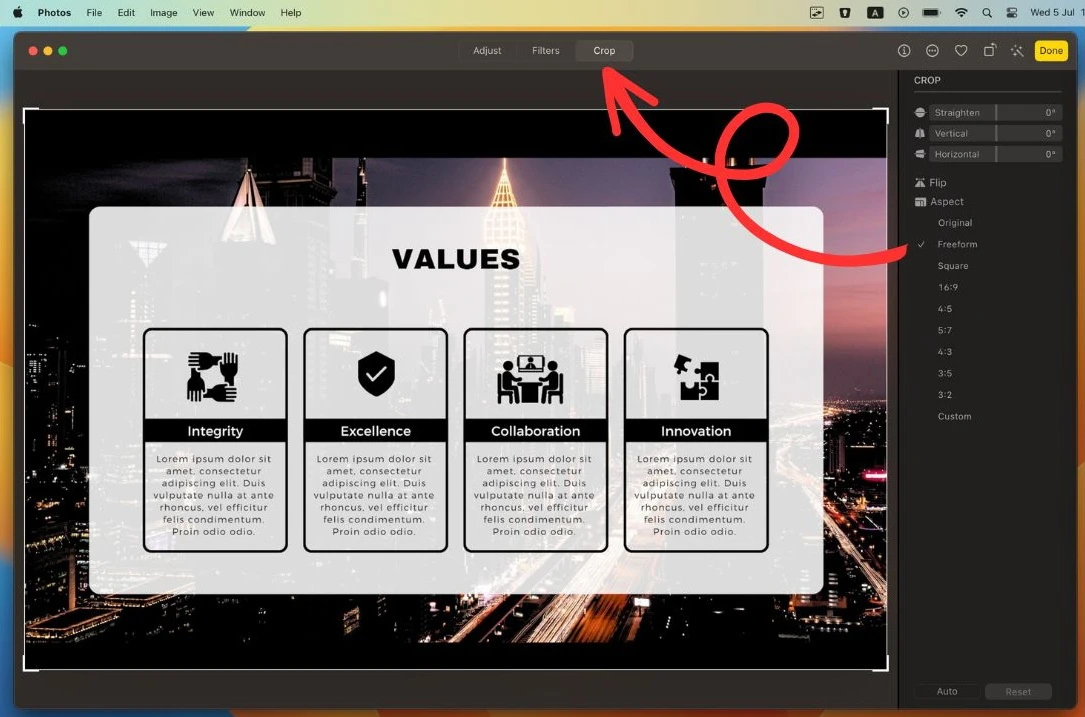
- Click on “Done”, once you are ready.
Please be aware that the cropped screenshot will replace the original in the Photos app.
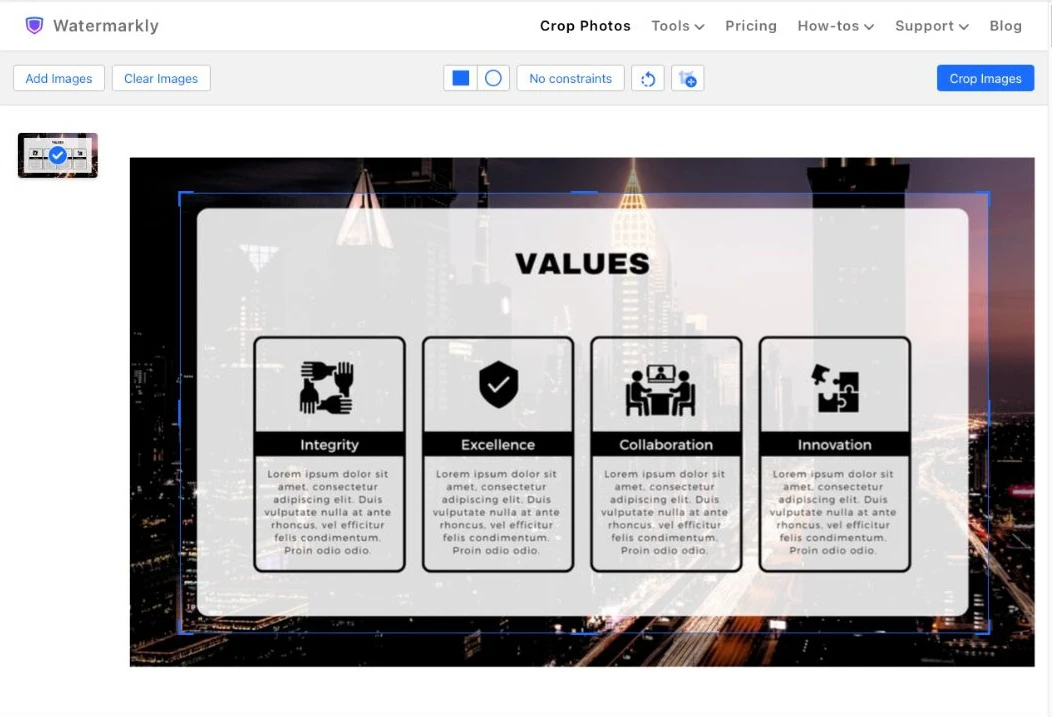
Crop Image Online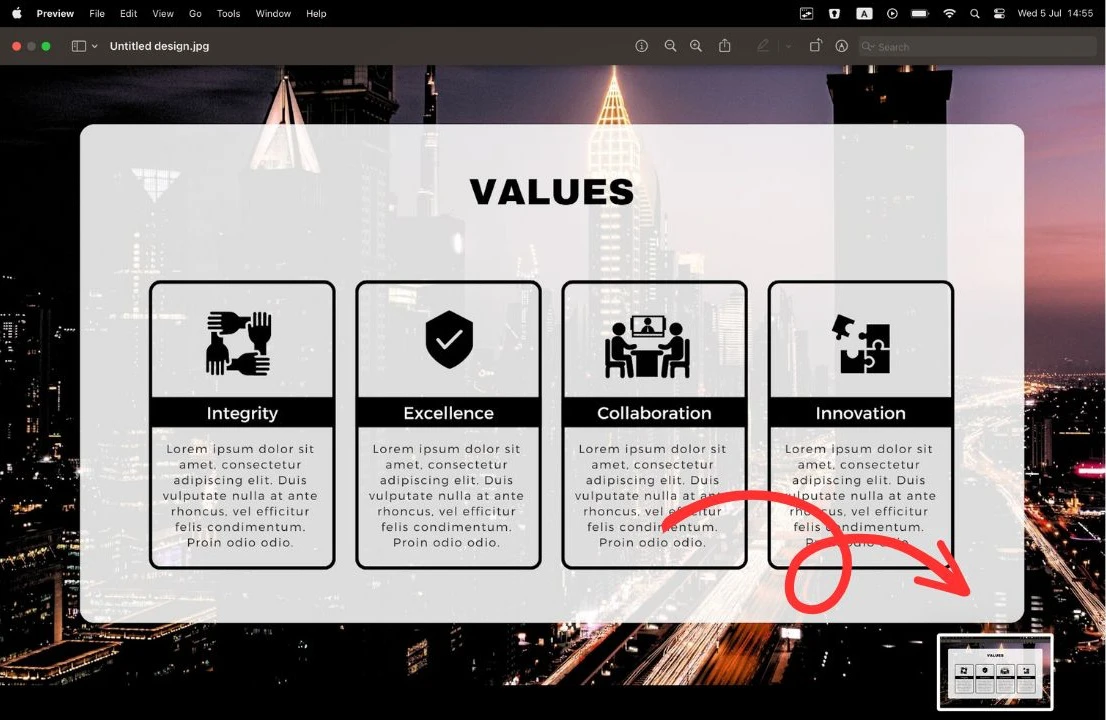 Crop Image Online