How to Crop a Picture on iPhone in a Few Steps
If you want to crop a photo on your iPhone manually, here's how:
- Launch the Photos app on your smartphone and select the image you want to edit.
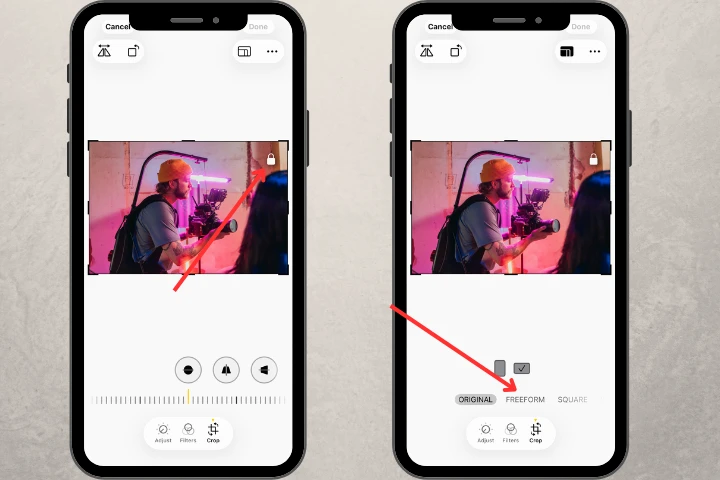
- Open the "Edit" option in the bottom-right corner. It gives you access to all the editing tools.
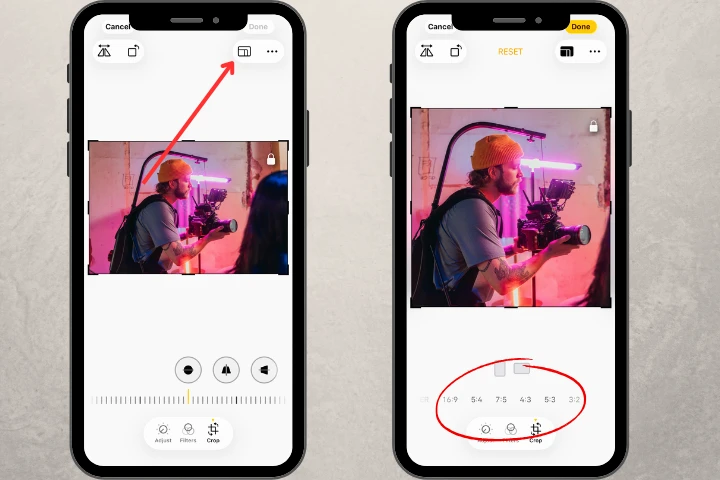
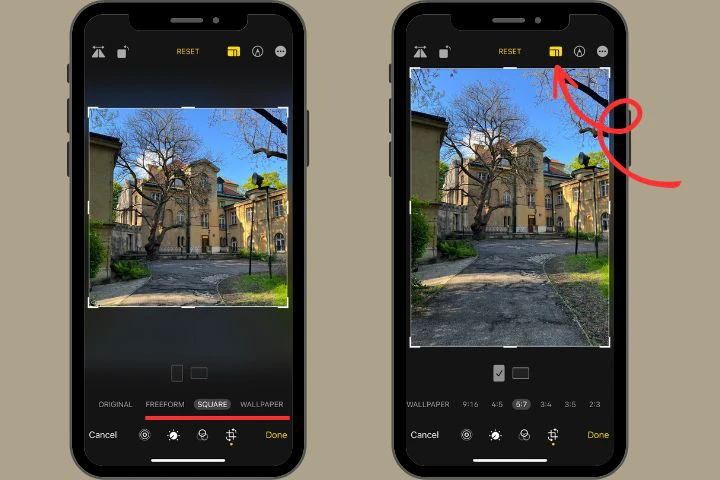
- Select the "Crop" icon to activate the image cropping function.

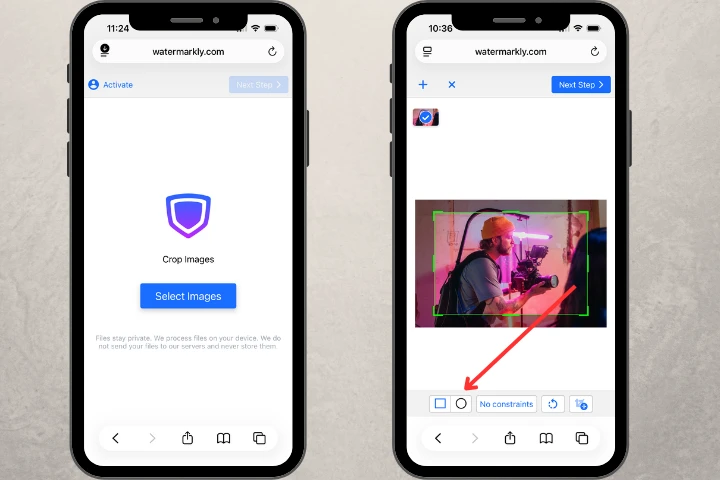
- By default, your aspect ratio will be locked, indicated by a lock icon on the image. To crop without any constraints, tap the Crop icon again and select Freeform.
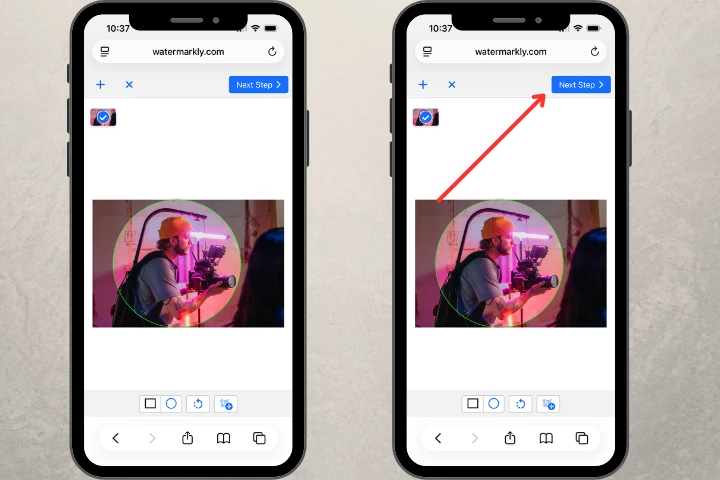
- Tap and drag on the cropping borders until you like the results.
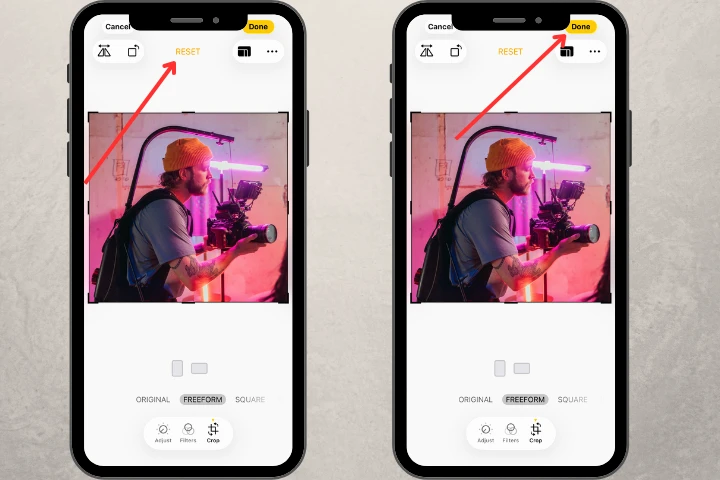
- If you change your mind, no big deal, just click on the "Reset" button at the top center of the app. It will return to the original photo.
- Click "Done" to save your changes.
The processed file will be saved to your ‘Photos’ gallery, replacing the original image. Even after cropping, you can always revert the image back to its original size. Click on “Edit > Revert > Revert to Original” to do so.
As you may see, it's pretty straightforward. If you need to quickly crop a photo, the built-in editor is perfect for you.
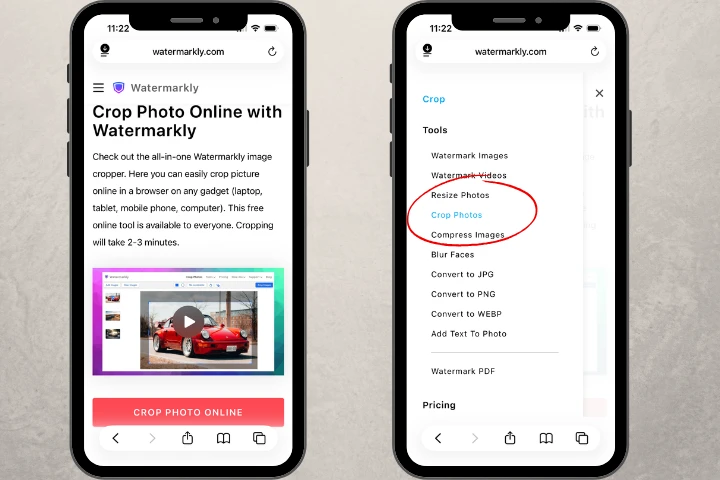
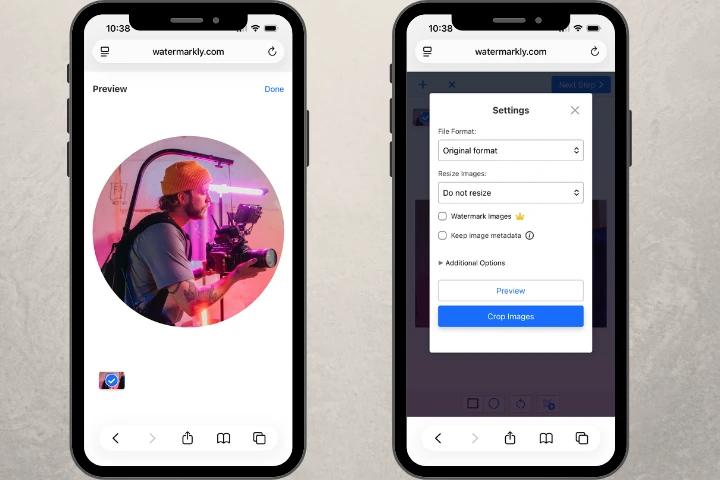
Crop Picture For Free