
How to Blur Faces on iPhone: Built-in Photos Tool and Free App
by ![]() Lina Thorne • Updated · Posted in Photo Editing
Lina Thorne • Updated · Posted in Photo Editing
Blurring faces on an iPhone is easier than it used to be. If you have a supported device, Apple now offers a built-in tool called Clean Up in the Photos app. It can help you hide or blur a face in a photo, and when you brush over a person’s face, the result may appear blurred with a pixelated effect.
If your iPhone doesn’t support this feature, if your iOS version is too old, or if Clean Up isn’t available in your language or region, you can still use older built-in workarounds or a third-party app instead.
In this guide, we’ll walk you through both options: the new built-in method in Photos and alternative ways to hide faces when Clean Up isn’t available or doesn’t give you enough control.
Can You Blur Faces on iPhone Without a Third-Party App?
Yes — but only on supported iPhones.
Clean Up is part of Apple Intelligence, so it doesn’t work on every device. It is currently available on iPhone 15 Pro, iPhone 15 Pro Max, all iPhone 16 models, and newer supported iPhones running iOS 18.1 or later.
For users in the European Union, Apple Intelligence is available on supported iPhones with iOS 18.4 or later. Availability may also depend on language and region.
If your device doesn’t support Apple Intelligence, you can still hide faces using older built-in methods such as Markup, shapes, or emoji. These options are less advanced, but they can still help protect someone’s identity in a photo.
How to Blur a Face in a Photo on iPhone with the Clean Up Tool
If you have a supported iPhone, you can use the built-in Clean Up tool in the Photos app to hide or blur a face in a photo.
Here’s how to do it:
- Open the Photos app.
- Select the photo you want to edit.
- Tap Edit, then choose Clean Up.
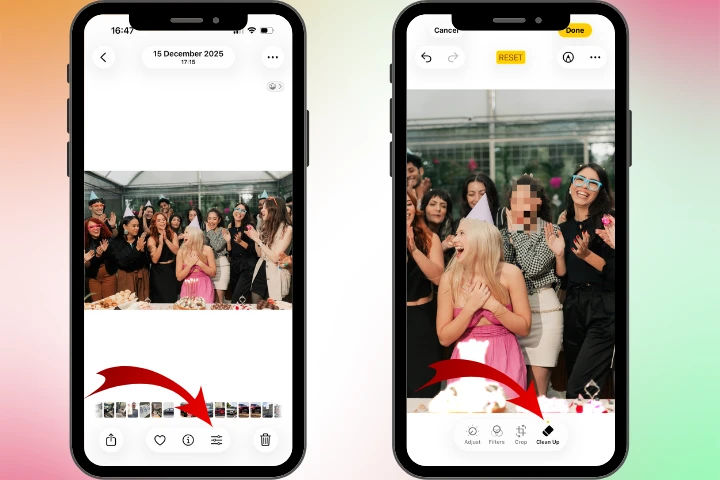
- Brush over the face you want to hide. It’s best to zoom in before doing this, so you can cover only the face area with more precision. If you accidentally select too much space around the face, the tool may remove more than you intended — sometimes even the whole head. If that happens, use Revert or tap the back arrow in the top-left corner to undo the change.
- Tap Done when you’re finished.
Once the face has been blurred or pixelated with Clean Up, the photo details will show the note Modified with Clean Up.
What Clean Up is good for
Clean Up works best for quick, simple edits. It’s a convenient built-in option if you want to blur a face on iPhone without downloading another app, make a one-time photo edit, or add a basic layer of privacy to an image.
Limitations of Clean Up
Clean Up is useful, but it does have some limitations. It works only on supported iPhones and depends on Apple Intelligence. It may also be unavailable in some languages or regions. In addition, the result may not always be as precise or consistent as what you can get with a dedicated blur tool. If you need to edit multiple images or want a more repeatable workflow, a third-party app may still be the better choice.
What to Do If Clean Up Isn’t Available
If Clean Up isn’t available, you still have several ways to hide or blur a face in a photo on your iPhone.
1. Use Markup
One of the simplest built-in options is Markup. Open your photo in the Photos app, tap Edit, then use the Markup tools to draw over a face with a pen, marker, or highlighter.
This method is fast and works on many iPhones, but it doesn’t create a true blur effect. Instead, it simply covers the face with a colored stroke. It can still be useful when your main goal is basic privacy rather than a polished result.
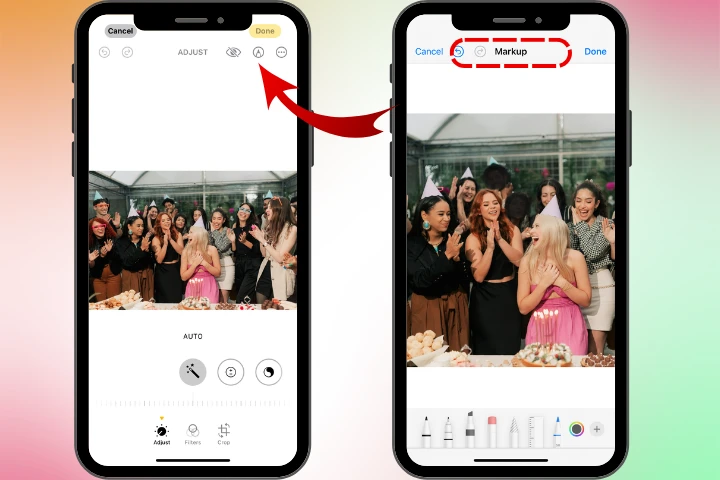
Markup is free and built into the iPhone, which makes it easy to use anytime. You can even choose a color that already appears in the photo to make the edit less noticeable. Still, marker strokes usually look rougher and more obvious than blur or pixelation.
2. Cover the Face with a Shape
Another built-in workaround is to place a clean, solid shape over the face. In Markup, you can add a circle, square, or another shape and position it over the area you want to hide.
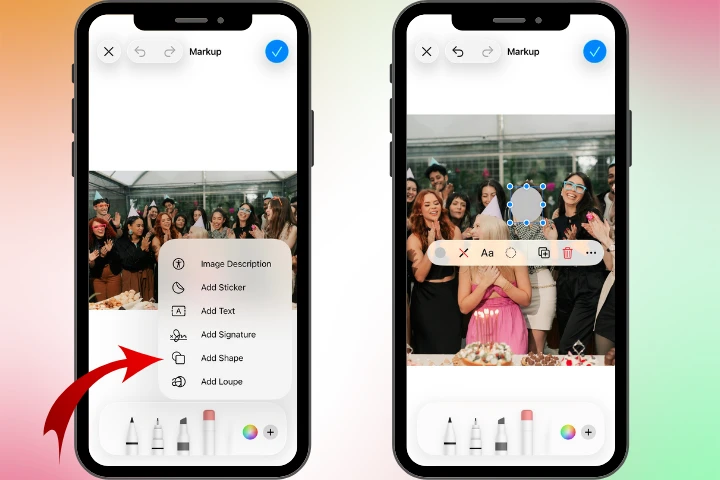
This option usually looks neater than drawing by hand, especially if you want to block a face quickly and cleanly. However, just like Markup, it does not create a natural blur or pixelated effect.
3. Hide the Face with an Emoji
If you want something more casual, you can use an emoji sticker to cover a face. This is a common option for social media posts, memes, or informal photo sharing.
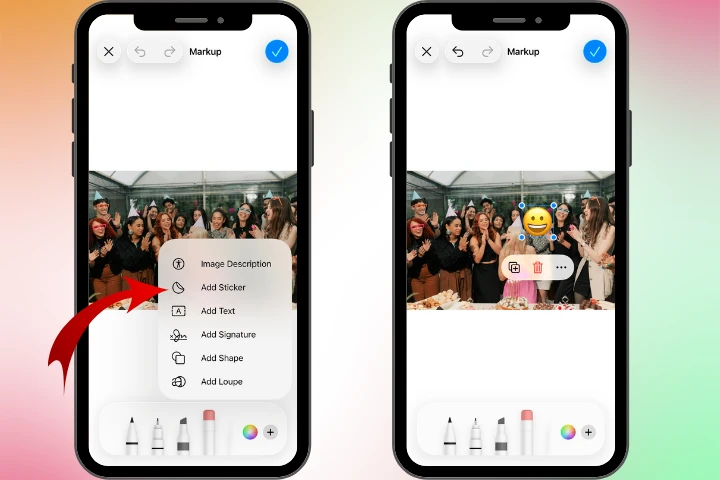
It is quick and easy, but it also gives the least professional-looking result. For blog images, work-related content, or anything that needs a cleaner visual style, this is usually not the best choice.
4. Use a Third-Party App
If you want more control, a third-party app is often the best alternative. This is especially true if you need a more natural blur effect, more precise editing, or support for older iPhones that don’t offer Clean Up.
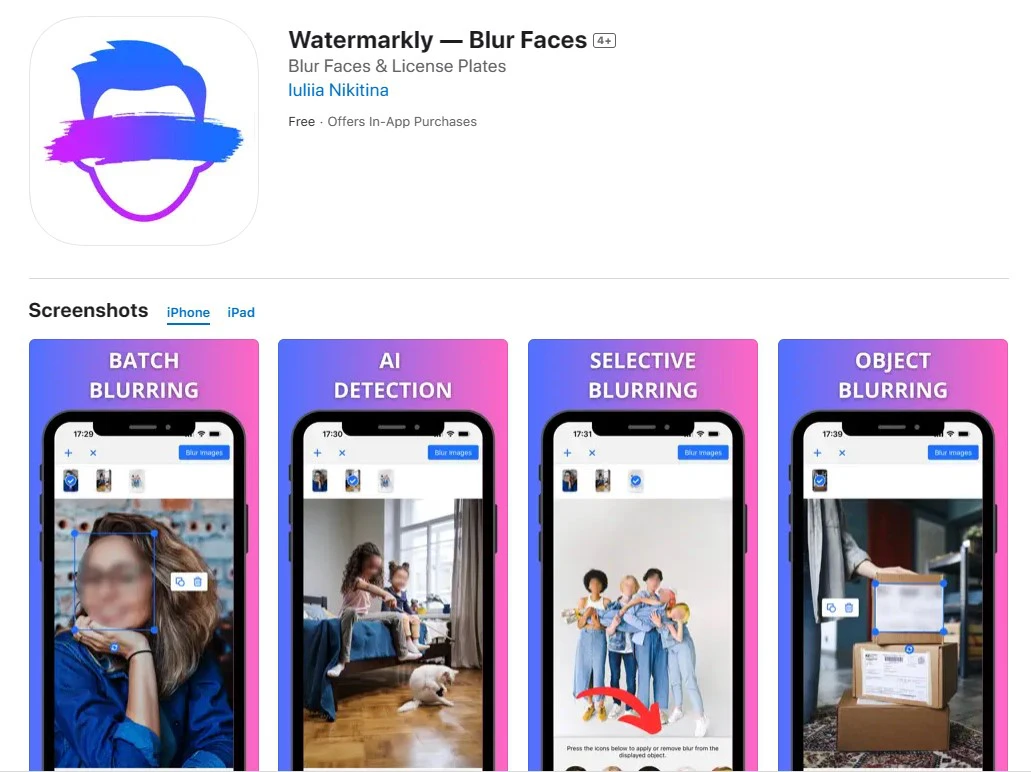
Unlike the built-in iPhone options listed above, including Clean Up, a dedicated app such as Watermarkly Blur Face can process several photos at once, which can make your workflow much faster and easier. In most cases, you also won’t need to do much manually. The app can automatically detect faces in a photo and blur them right away. If you only want to hide some of the faces, you can easily remove the blur from individual objects. You can also adjust the blur intensity and even rotate the blur area when needed.
Use a third-party app if you need:
- more precise control over the blur area;
- a consistent blur style across multiple images;
- a solution that works on older iPhones;
- a predictable result for faces in photos and pictures;
- faster editing for repeated tasks.
So which option should you choose?
As you can see, the best method depends on your iPhone and the kind of result you want. If you have a supported device and only need a quick edit, Clean Up may be enough. On older iPhones, more traditional workarounds such as Markup, shapes, or emoji can still be useful for hiding faces. But if you want to blur multiple faces across several photos, a dedicated app will usually be the better choice.
Final Thoughts
Blurring faces on iPhone is easier than it used to be because Apple now offers the Clean Up tool in Photos on supported devices. But it still isn’t available to everyone. Compatibility depends on the iPhone model, iOS version, and language or region. That is why older built-in workarounds and third-party apps remain useful.