
Milk Bath Photography: 5 Tips and Tricks
by ![]() Lina Thorne • Updated · Posted in Photography Tips
Lina Thorne • Updated · Posted in Photography Tips
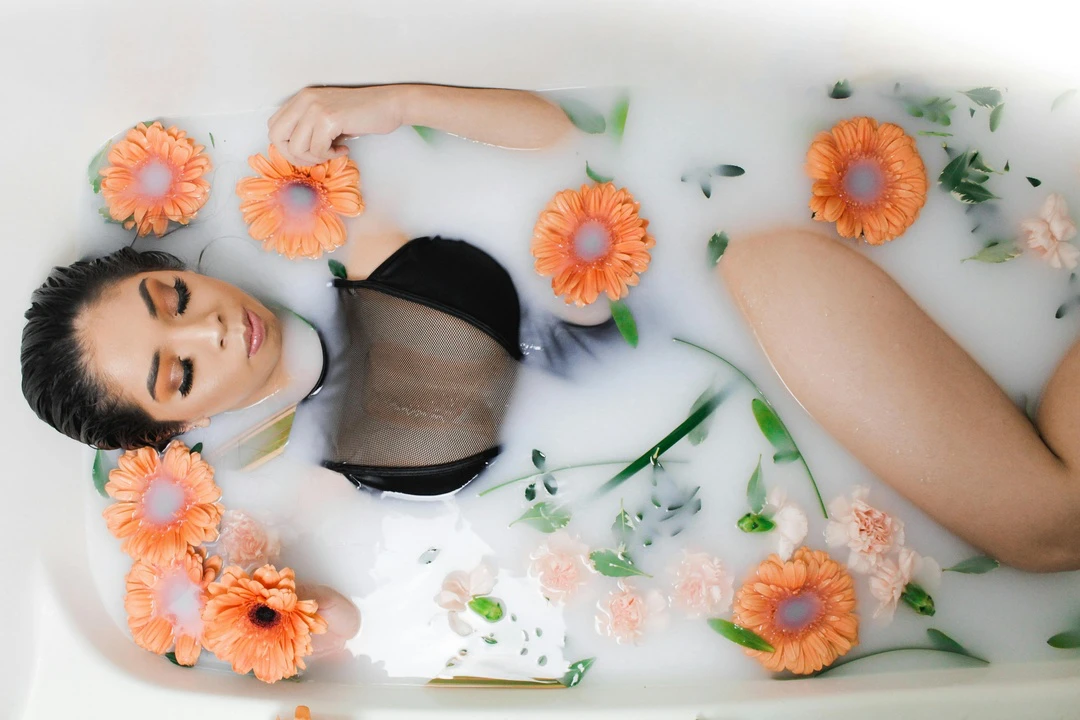
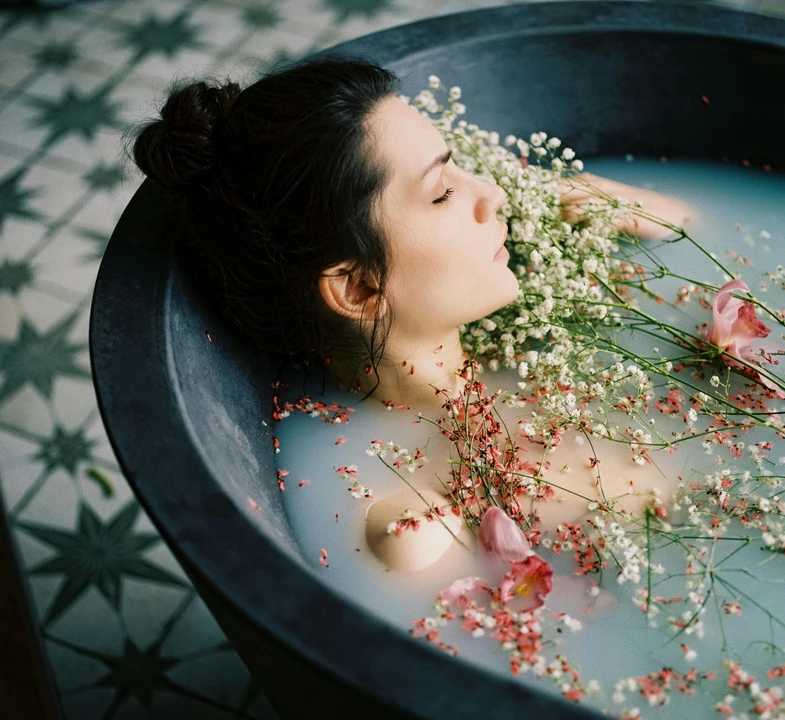
Milk bath photography has become one of the most elegant portrait trends in recent years. It’s popular not only for maternity photography and newborn photos, but also for fashion photography and solo portraits. That’s because the soft, milky water creates a dreamy atmosphere that beautifully highlights the main subject.
Since you’re here, you probably want to give a try to milk bath photography, right? It’s not too difficult, but it does involve a fair bit of planning and preparation. You have to know what type of milk to choose and how much of it you’ll need, what kind of flowers to go for, what outfits work best, what lighting would be great, and other things you might need to take into consideration. Every detail matters.
Luckily, we provide all the necessary information in this complete guide. By the end of it, you’ll be able to confidently execute and create stunning milk bath portraits, leaving your clients in awe.
So, keep reading!
1. Preparing the Milk Bath
Choose the right tub
A white or neutral-colored bathtub is ideal since it’ll intensify the creamy tones of the water and focus the attention on your subject. More to that, the white surface of a bathtub is reflective, which means it’ll bounce some light onto your subject, making the skin look nice.
It might not be a good idea to use a black or dark-colored tub since it will absorb the light, and the shadows will be deeper and darker. Unless you want a dramatic, high-contrast look, of course.
Clean the tub
Clean and sanitize the tub thoroughly before the session. Any residue, dust, or dirt will float up to the surface as soon as you fill the tub with water. Sanitizing also ensures a hygienic environment. It’s also important to remove all the personal items from the bathroom, e.g., shampoo and shower gel bottles. The room needs to be clutter-free.
After cleaning and sanitizing, you’ll need to ventilate the bathroom to get rid of the bleach smell. Open the window and the door. You can also try using an air purifier if you have one. Getting rid of the bleach smell is especially important if you’re doing a maternity photoshoot. Avoid burning scented candles if your client is pregnant. Strong smells can trigger sickness in pregnant women. Also, keep in mind that some people can be allergic to scented candles or extra sensitive to certain smells.
When to fill the tub
Fill the tub just before your client arrives or right before the session starts.
You don’t want to fill the bath with too much water. Keep in mind that once your model sits into the bathtub, the water level will rise.
A good rule of thumb:
- For maternity shoots, fill the tub approximately halfway.
- For baby photos, fill only a few inches / centimeters – just enough to safely immerse the lower part of the baby’s body.
You can always add water if there’s not enough of it. After all, it’s easier to add water rather than drain it.
Water temperature
You want the water to be warm and comfortable, especially if you’re photographing a pregnant woman or a baby. Aim for a comfortably warm temperature, similar to a nice bath. It should be warm enough to be relaxing but not so hot that it’s uncomfortable or creates steam that fogs your lens. Always consult with your client on the temperature.
If you’re filling the bathtub before the client arrives, consider filling it with water that’s hotter than necessary. Keep in mind that your client will need to change and maybe touch up her makeup. So, the water will cool down and the temperature will be ideal by the time she gets into the water.
Safety should always come first.
- For maternity sessions, make sure the tub is not slippery and that your client can safely get in and out.
- For babies, always have a parent or assistant’s hand on the baby. Never leave the child unattended, even for a second.
2. What Kind of Milk Should You Use?
You might be under the impression that you’ll need to use gallons of real milk. But, in most cases, you shouldn’t.
Whole Milk
- Pros: Creates a soft, natural look with a richer tone and authentic texture.
- Cons: Expensive, has a short shelf life, and can start to smell unpleasant after a while (especially if it’s a hot summer day).
Powdered Milk
- Pros: More affordable, easier to achieve the necessary level of opacity, dissolves evenly, and doesn’t spoil as quickly.
- Cons: Can separate if it sits for too long. You’ll be left with clearer water on top and a sludge at the bottom.
Nevertheless, powdered milk is your best option. It’s what most photographers use. You can mix it to your desired consistency, from a faint cloudiness to a dense, opaque white.
What’s crucial here is that you need to fill the bathtub with water first, then add the milk. If you add the milk powder while the water is running, there will be too much foam.
The ratio of powdered milk to water depends entirely on the bathtub that you’re working with. If you have a small bathtub, you won’t need to add much milk. But if you have a large bath, you might need to add 3-5 or more cups of powdered milk. Be ready to experiment. It’s better to start with a little bit of powdered milk and add it gradually until you get the desired consistency. Always have extra powdered milk on hand.
3. Preparing Your Subject
Wardrobe
This depends entirely on the desired mood of the photoshoot and the comfort level of your client or model.
- For maternity sessions: Soft lace bralettes, flowy sheer fabrics, or bandeau tops are perfect. Choose light pastel tones – whites, creams, blush pinks, or soft blues – that complement the milky water.
- For baby sessions: Newborns are typically photographed nude, but in this case, it’s important to get parental permission. Alternatively, you can use some diaper covers or delicate wraps of light pastel colors.
- For portraits or fashion photoshoots: You can experiment with colorful fabrics (e.g., red creates a nice contrast with white water), tulle, or even body paint for a dramatic effect. Just make sure that the paint is waterproof. Some models can be comfortable being shot tastefully topless or nude, using their arms, the water, and strategically placed flowers for coverage. This should always be discussed and agreed upon in detail beforehand.
Avoid: Dark fabrics or anything that might bleed color into the water. Always test the clothing in warm water before the session.
Towels
The most important thing that you’ll need to have for a milk math photoshoot is towels:
Have one or two large towels for your client, if you are doing a photoshoot at your home or a studio. Your client might forget to bring their towel, even though they will definitely need it to dry themselves after the photoshoot.
Have a smaller towel. Your client will be in the water, and you can use a small towel to carefully dry her hands, face, or any other areas that are sticking out of the water.
You might also need some paper towels for the spills.
Things to remember
- It’s important for you to communicate to your client that you need to know what they are going to wear. There shouldn’t be any last-minute changes. Why? The final photos will look more harmonious if you coordinate the colors of the clothes with the colors of the flowers or any other props that will be in the photos. For example, if your client is going to wear a pink dress, it would be better for you to get flowers in different shades of pink. Alternatively, you can experiment with complementary colors. For instance, if your client is going to wear a red dress, you can get an equal number of green plants and red flowers, since green is the complementary color to red.
- Your client will need to bring not only clothes and underwear that they’re going to be photographed in, but also some dry clothes and underwear to change into after the photoshoot. Remind them about this a few times, so they’ll remember to bring everything necessary. Have a few plastic bags on hand to give to your client for their wet clothes.
- Have a warm, private space for the client to change and warm up after the session.
4. Using Flowers and Props
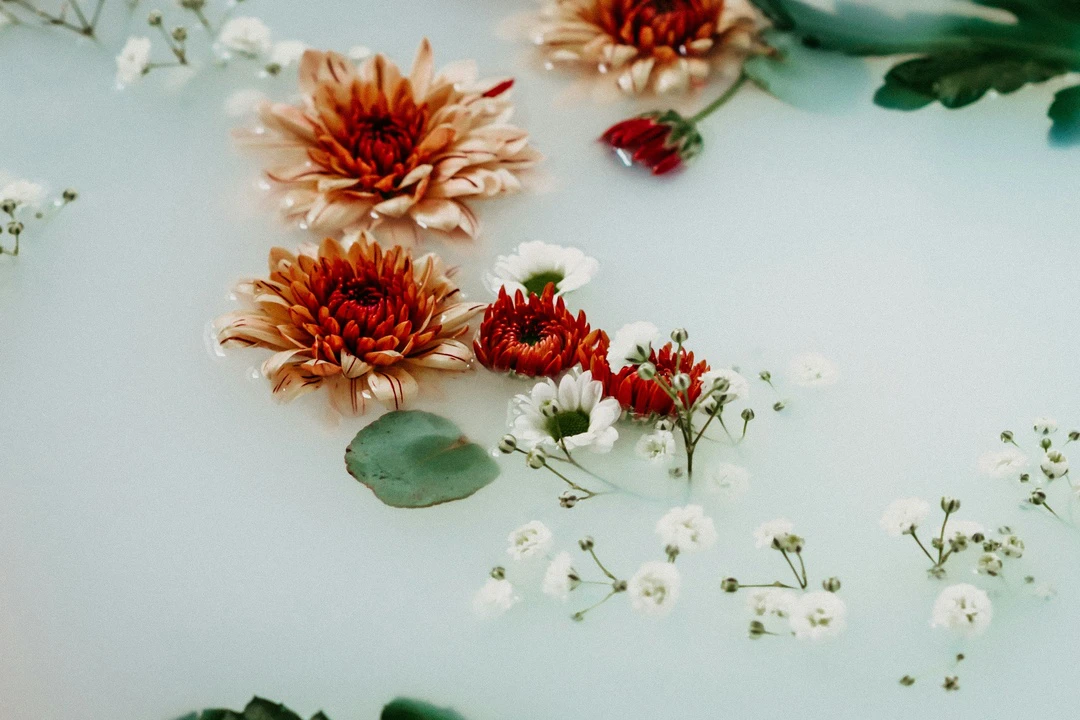
A milk bath is often photographed with flowers because they add beautiful, colorful contrast.
It’s better to use real flowers instead of artificial ones whenever possible since they float better and photograph more naturally. If your budget is limited, you can mix fresh flowers with a few high-quality faux ones.
Naturally, you can get fresh flowers from a florist, but it’s cheaper to get them from a grocery store – e.g., Trader Joe’s, Costco, Tesco, etc.
If you have a higher budget, you can hire a florist to decorate the bathtub and maybe even make a flower crown for your client.
It’s a good idea to get a mix of different flowers while being consistent with the colors. And you’ll need flowers that have layers and a nice texture. This will add more visual interest to the photos. You can ask your clients about their preferences.
Best flowers to use:
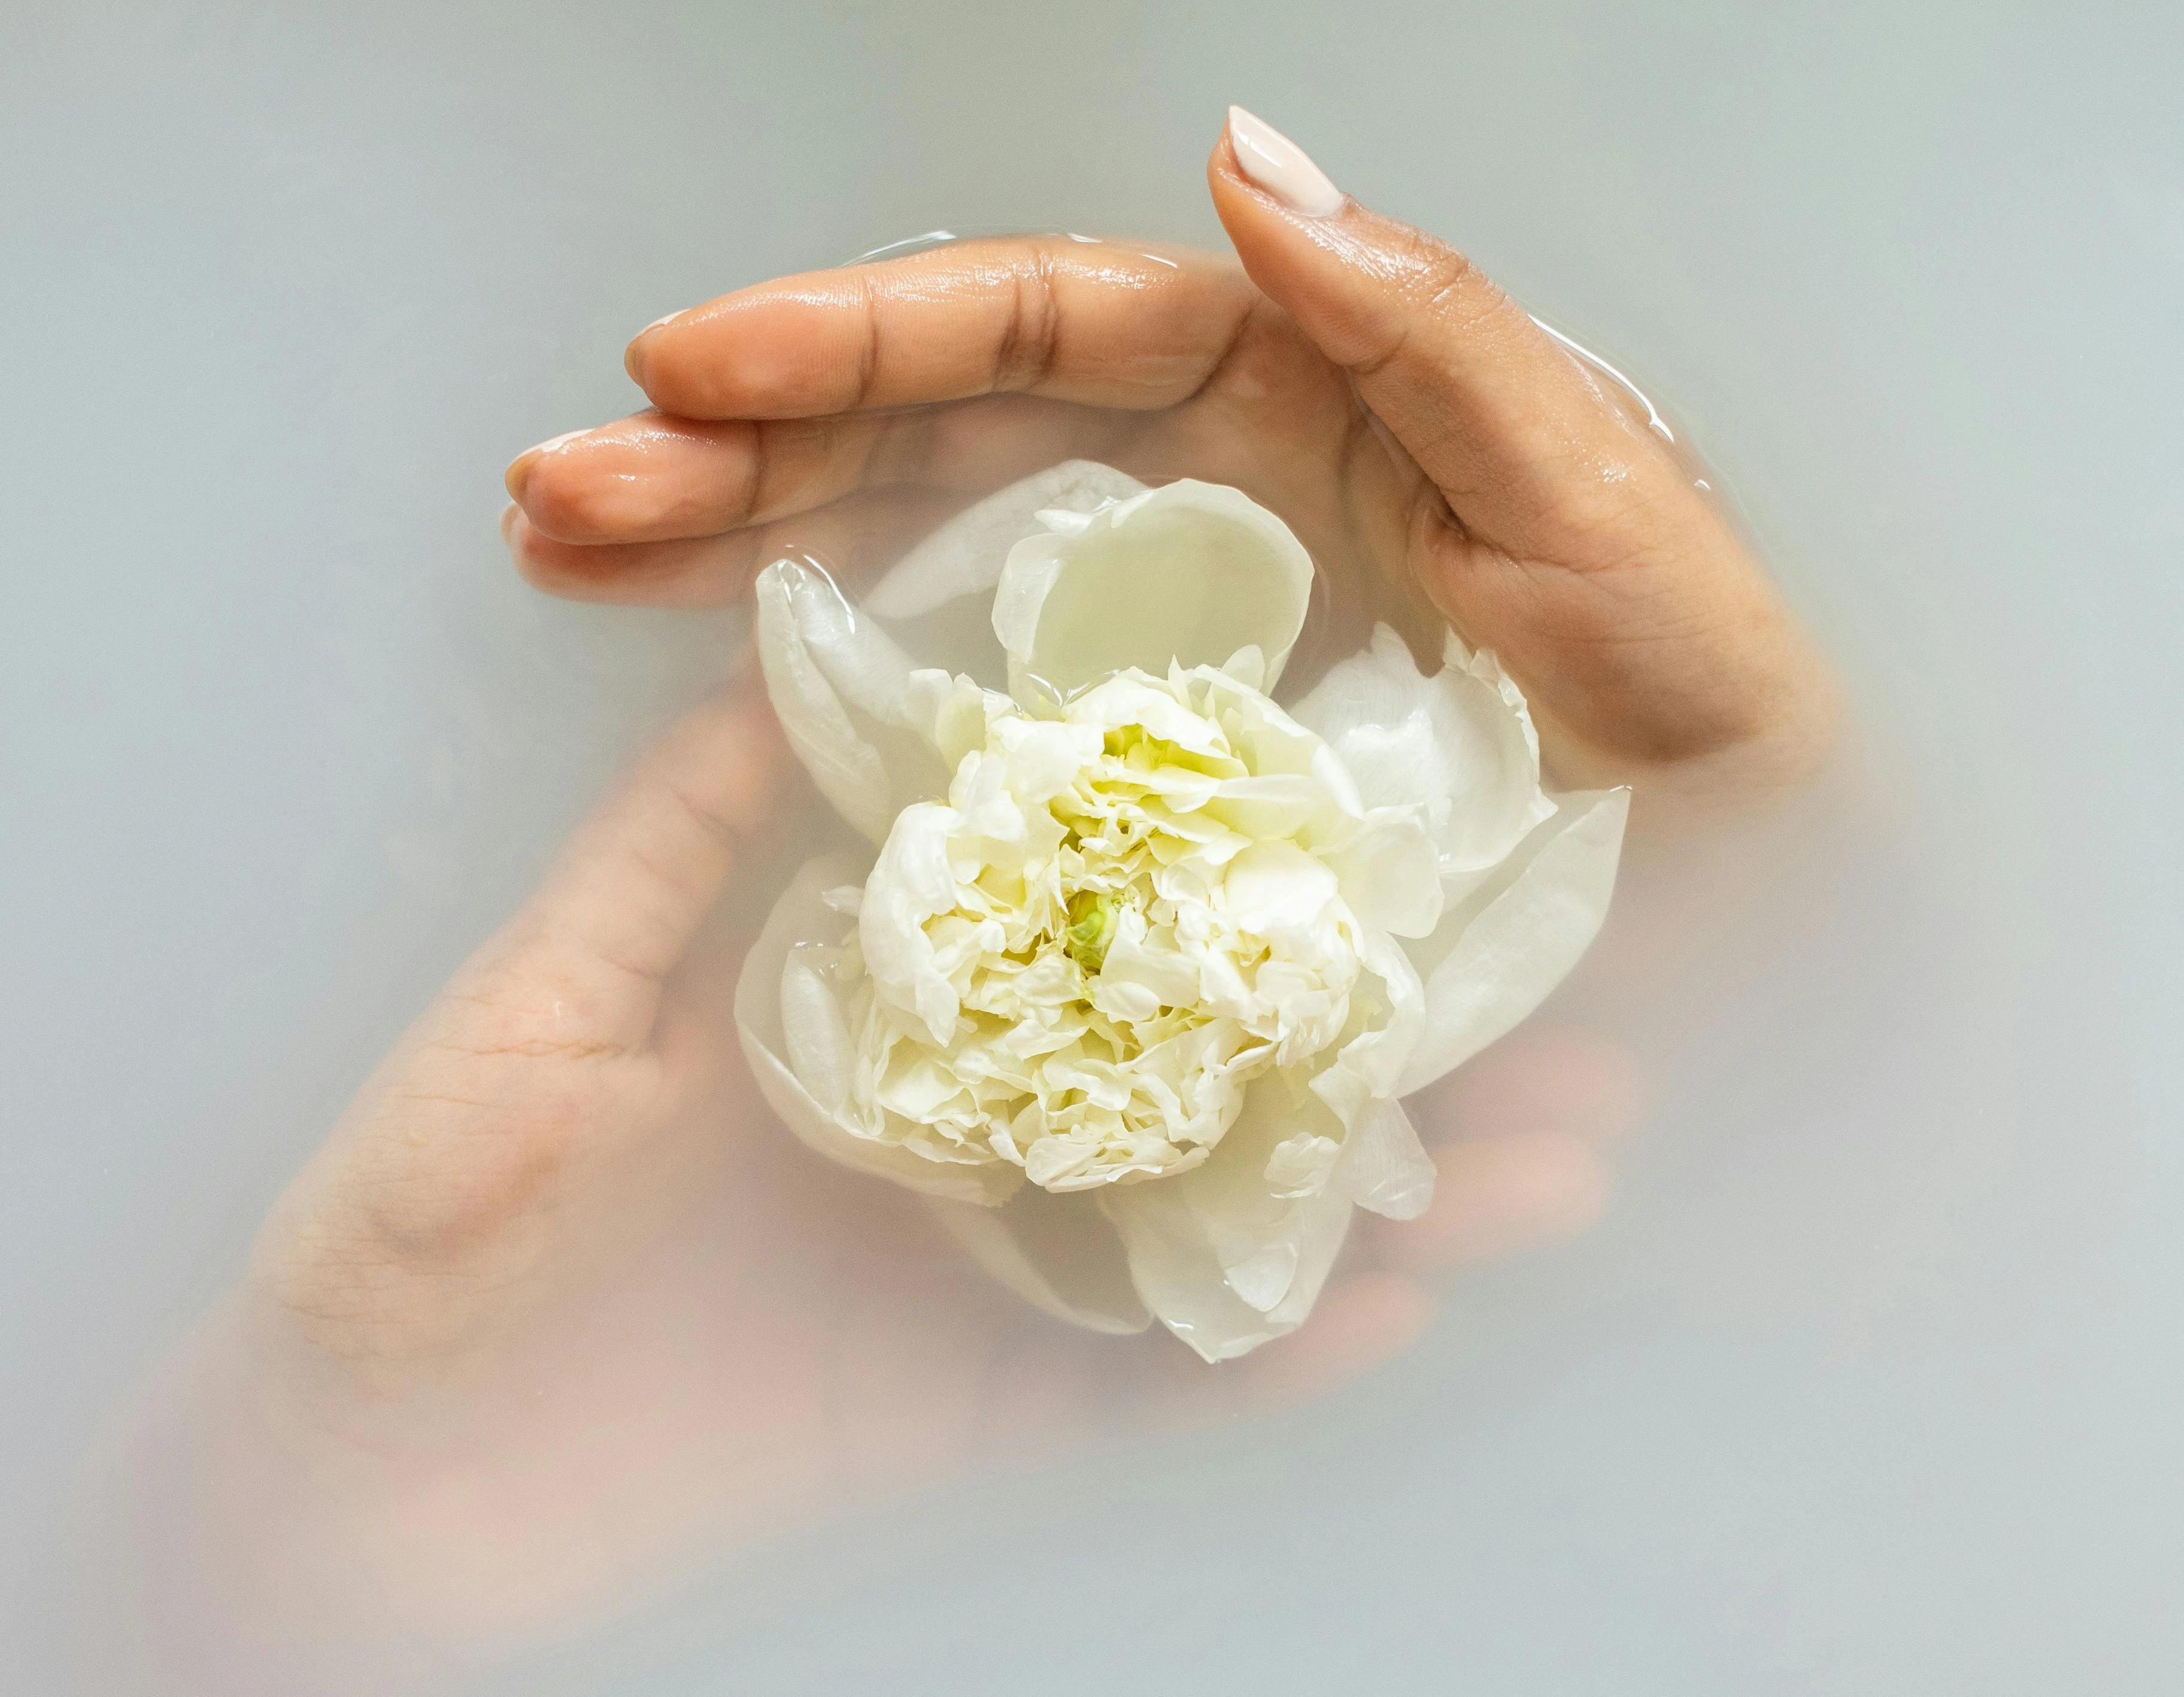
- Roses, peonies, daisies, ranunculus, and anemones hold up well in water for the duration of a shoot.
- Chrysanthemums and carnations will be perfect, too, since they have a lot of layers.
- You can make use of plants, too. Eucalyptus (especially the silvery-dollar variety), ferns, and other greens add wonderful texture.
You can use both the flowers and the petals, or just the flowers. Keep in mind that during the photoshoot, your model will move and the flowers in the water will move too, so you’ll need to adjust them.
Prep the flowers
Naturally, you will need to cut off the stems of the flowers. To do this, use big kitchen scissors. Cut right under the sepal of the flower. If you keep some of the stem, the flowers might tip over.
Please note that it’s better to cut slightly into the sepal of carnations. Not too much, otherwise the flower will fall apart. Try cutting somewhere in the middle of the sepal – this way your carnations won’t tip over.
If you are cutting flowers before your client arrives, you’ll need to place them in a bowl filled with water. This will keep the flowers fresh.
Keep in mind that you’ll need to put flowers into the water only after your client or model gets into the tub. This way, you’ll see exactly where you’ll need to place the flowers.
Alternatives
Flowers are common, but you don’t necessarily need to use them. You can use glitter instead. But be ready that the cleaning up will be much trickier.
Also, you can try to use citrus slices (lemons, oranges), dried petals, or even loose, flowing fabrics draped over the side of the tub.
5. Gear and Equipment
The choice of gear and equipment really depends on the space that you’re going to do the photoshoot in.
Lens
If your photoshoot is taking place in a spacious or average-sized bathroom, you should go for:
- A 50mm or 85mm prime lens is perfect for portraits.
- For creative close-ups (like water droplet on an eyelash, or tiny newborn features), use a 100mm macro lens.
If the bathroom is small, you might need a wider lens, like a 35mm or 24mm.
Lighting
Natural light is preferable for a bathroom photoshoot. If possible, position the tub near a large window and shoot during the daytime. Diffused natural light will help you achieve a soft look.
Avoid harsh overhead lighting or strong shadows.
It’s possible that you’ll need to do a photoshoot in a bathroom that doesn’t have a window or the window is too small. In that case, use a softbox or continuous LED panel with a diffuser. Keep the light at a 45-degree angle to create gentle highlights on the subject’s face and skin.
Bounce a strobe off a white ceiling or wall. Never use a direct flash for this kind of photoshoot.
Bonus Tip: Use white or reflective surfaces (like a foam board or a reflector) to bounce light back onto your subject.
Other equipment
You’ll need a ladder or a box to step on. You’ll need to get at least a few overhead shots, and a ladder can help you with that.
A tripod is optional but useful for steady shots when shooting with natural light at slower shutter speeds.
Additional Tips:
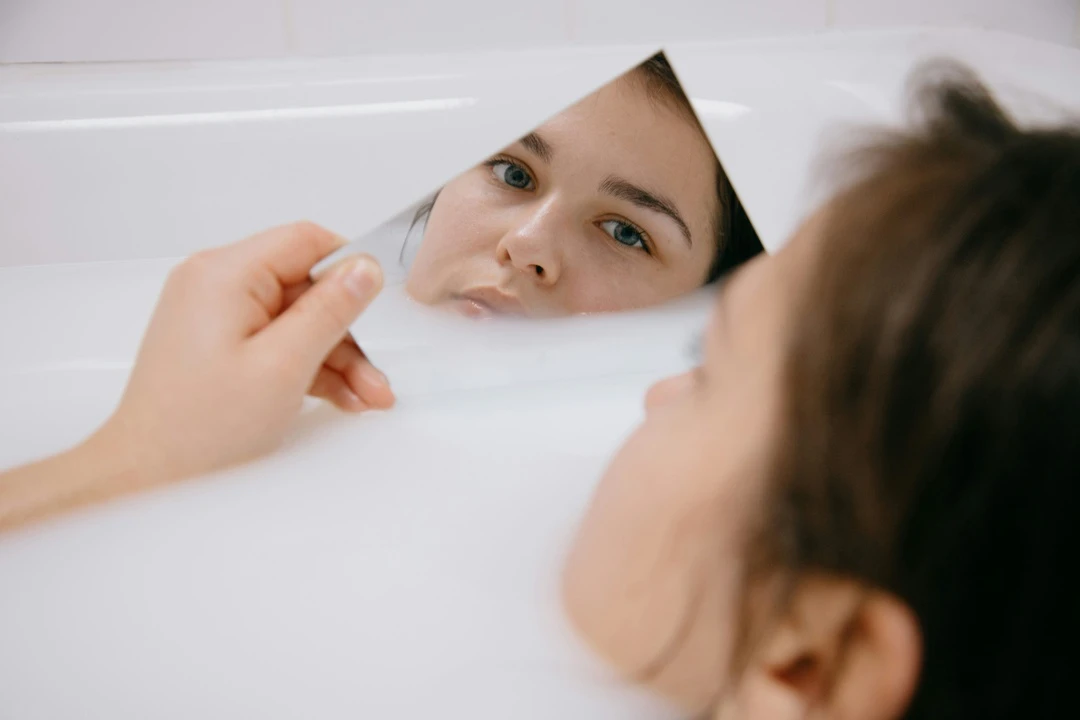
- Communicate: Play soft music. Talk your client through the process and guide them gently: “Tilt your chin down,” “Let your hands float gracefully,” “Close your eyes and relax.”
- Try different angles: Get overhead shots, eye-level shots, close-ups, and wide shots.
- Interact: Encourage your client to play with the water. Have them gently lift a handful and let it drip, or submerge their shoulders and let their hair float around them.
Prep Your Photos
Do you want to share your beautiful milk bath photos on social media or your website? It’s important to prep them first! And Watermarkly can help you with that. On our website, you can:
- Crop images. Our cropping presets for social media will save you some time since they already have the necessary aspect ratio and pixel dimensions.
- Use our image resizer to change only the pixel dimensions while keeping the aspect ratio unaltered.
- Compress images to decrease their file sizes. This is an important step before posting your images on your website. This way, they will load quicker.
- Add photo watermark to prevent image theft. This can also help you with promoting your brand.
In Conclusion
Doing a milk bath photoshoot poses some challenges and involves a lot of meticulous preparation: from choosing the right milk and selecting complementary flowers to gathering all the necessary equipment and setting up flattering lighting. As a photographer, your goal is to make the subject feel comfortable and like a goddess in a bathtub of powdered milk and water, while also maintaining control over the technical details.
But the results are worth every ounce of effort.
Experiment, adjust, and don’t be afraid to get creative. With the right approach, milk bath portraits can become some of the most memorable and captivating images in your portfolio.