
How to Make a PDF Smaller: A Complete Guide
by ![]() Lina Thorne • Updated · Posted in PDF Editing
Lina Thorne • Updated · Posted in PDF Editing
PDF is one of the most wide-spread file formats. It’s used for pretty much everything – eBooks, CVs, brochures, reports, etc. This format is quite difficult to edit, but easy to share since you don’t need any special software to view it. PDF files tend to have a manageable file size. But unfortunately, this isn’t always the case.
The file size of a PDF can increase quite considerably if, for instance, your document contains lots of pages and is packed with high-resolution images. So, when you try to upload your CV to a job portal or simply share your large-sized PDF via messaging app, you will probably encounter the pesky error message saying: “The file size limit exceeded.” And that’s not the only probably large-sized PDFs can cause!
Luckily, there are several ways to make a PDF smaller without compromising too much on quality. You won’t have to spend a dime or lots of effort, either. Our complete guide will walk you through the most effective methods.
Reasons to Make a PDF Smaller
Optimizing a PDF isn’t just about saving a few megabytes – it can make a real difference in how your files are shared and stored.
Here are the most common reasons to make a PDF smaller:
If your PDF has a large size, it will be difficult or even impossible for you to share it. Most email services and messaging apps have a file size limit (usually 20–25MB), and some websites restrict uploading files that are over 5 MBs. Plus, it will take you more time to upload a large file. Reducing your PDF file size will fix the problem and make the whole process much quicker.
2. Provide better experience
What if you have downloadable guides, eBooks, or brochures on your website? And they are available for free? If that’s the case, you definitely want these PDFs to have a small file size, because smaller files load faster and provide a smoother experience for your readers; especially if they have slow or mobile internet.
3. Free up some memory
Loads of large-sized PDFs can eat up space on your device or cloud storage pretty quickly. So, if you don’t want to delete your files completely, instead, you can make your PDFs smaller to manage digital clutter.
What to Keep in Mind
Before we begin, here’s what you need to know:
- No matter which method you choose, you will need to open your modified document after the processing is done and check whether everything looks okay. Some methods might make the contents not as sharp and clear as in the original, so you will need to make sure that the text is still readable.
- It’s crucial to save your modified PDF as a copy or at least create a copy first then apply all the changes to it. This way, the original document will remain intact, and you will be able to get back to it at any point.
- Making a PDF smaller usually means reducing its file size. A file size is how much space a file occupies in the storage of your device. It’s measured in kB and MB. But it may also mean that you want to know how to resize a PDF by changing the size of its pages. You will learn about it here, but this guide mostly focuses on compression.
How to Make a PDF Smaller Using Adobe Acrobat
Let’s start with the most commonly used software for working with PDFs – Adobe Acrobat. You will probably be very surprised but there’s actually an incredibly quick and easy way to reduce the file size of your PDF:
- Open the necessary PDF in Adobe Acrobat.
- Go to File > Save as Other > Reduced Size PDF.
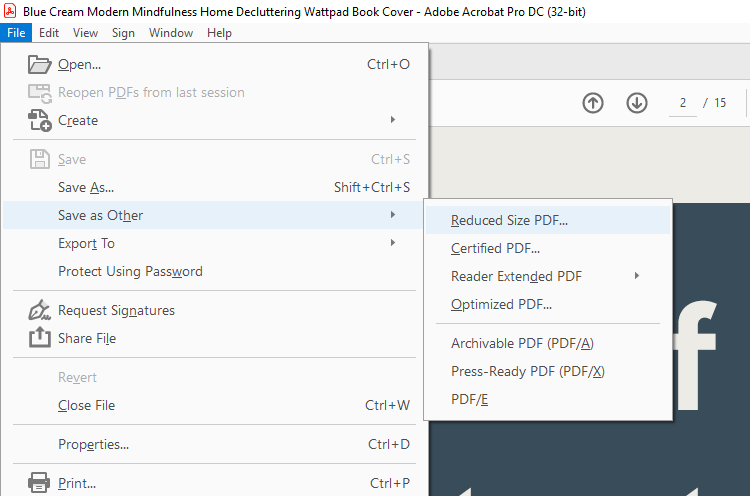
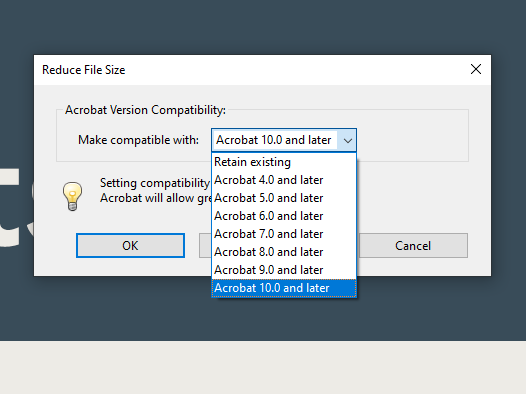
- You will see a new window open. Click on the Retain existing to open the dropdown menu, then select Acrobat 10.0 or later.
- Click OK.
- Pick the location and rename your file, then click on Save.
That’s it!
Here’s the difference between the original and the modified copy:

You can also try an alternative method. Yep, you can make a PDF smaller with Adobe Acrobat in two different ways. Follow these steps:
- Once the necessary PDF is open in Adobe Acrobat, go to the Tools > Protect & Standardize > Optimize PDF.
- In the toolbar at the top select the Reduce File Size option and pick whether you want to make a single file or multiple files smaller.
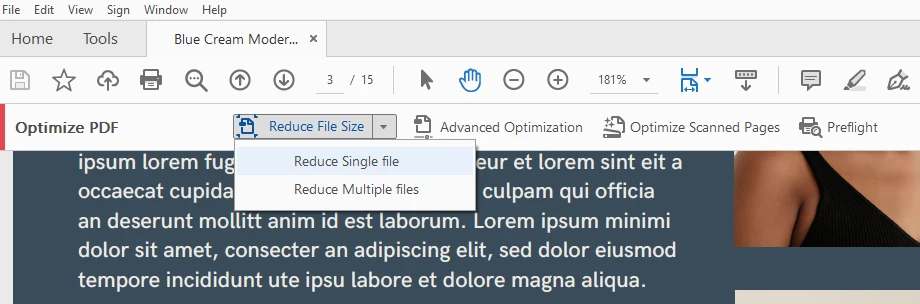
- Find the location for your modified PDF and rename it.
- Click on Save.
All done! Go ahead and check whether you like how your updated PDF looks now.
And here’s the difference in size:

The main benefit of using Adobe Acrobat is that you won’t have to worry about the security of your files. So, you can use this method for documents that contain sensitive information.
How to Make a PDF Smaller Using a PDF Compressor
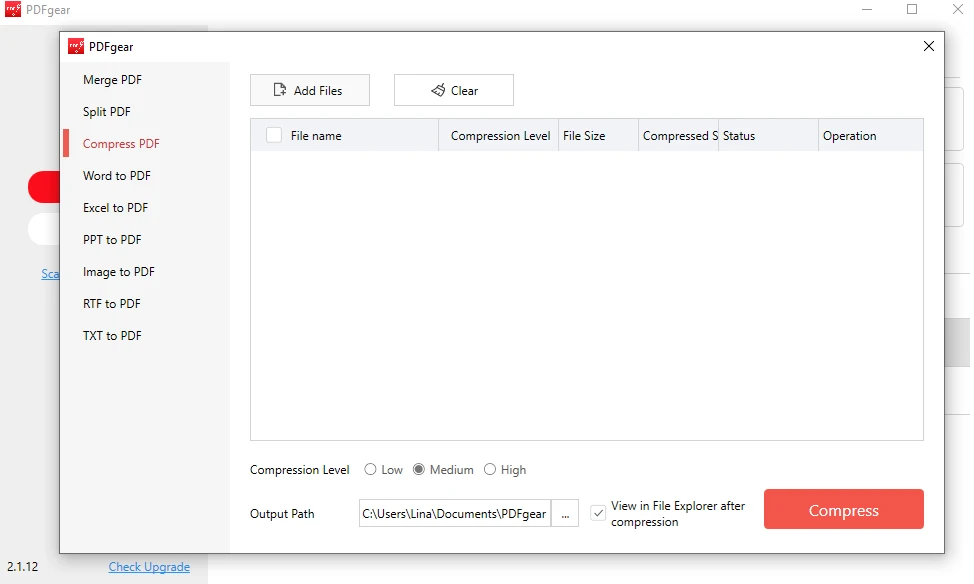
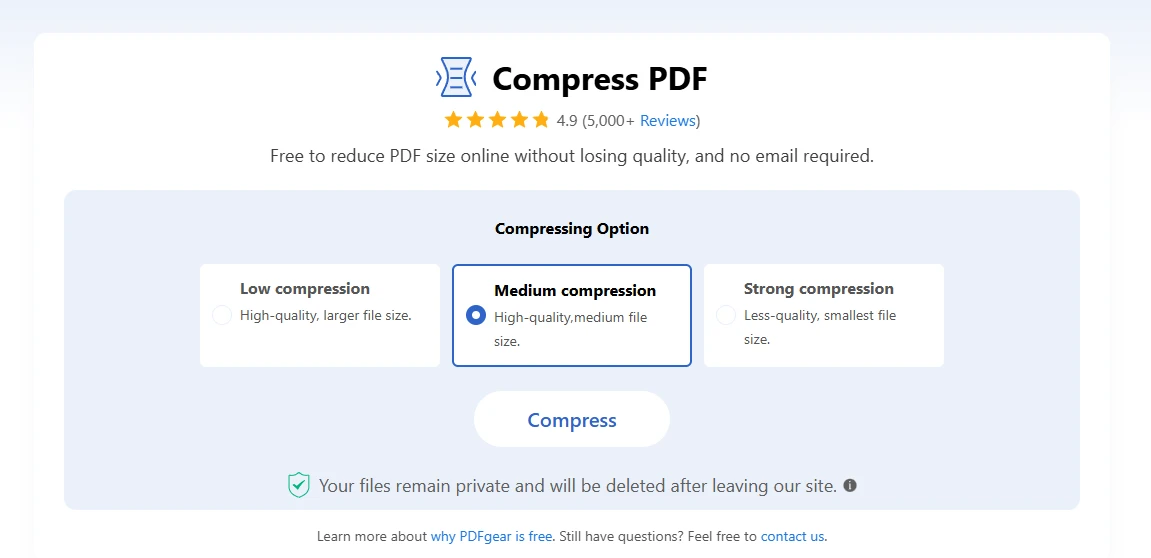
If you don’t have Adobe Acrobat or don’t want to use it to decrease the file size of your PDF, there’s another way to do this. You can opt for a free downloadable PDF compressor. For instance, you can use PDFgear, which is available for Mac and Windows. It’s really easy:
- Open the app and choose Compress PDF.
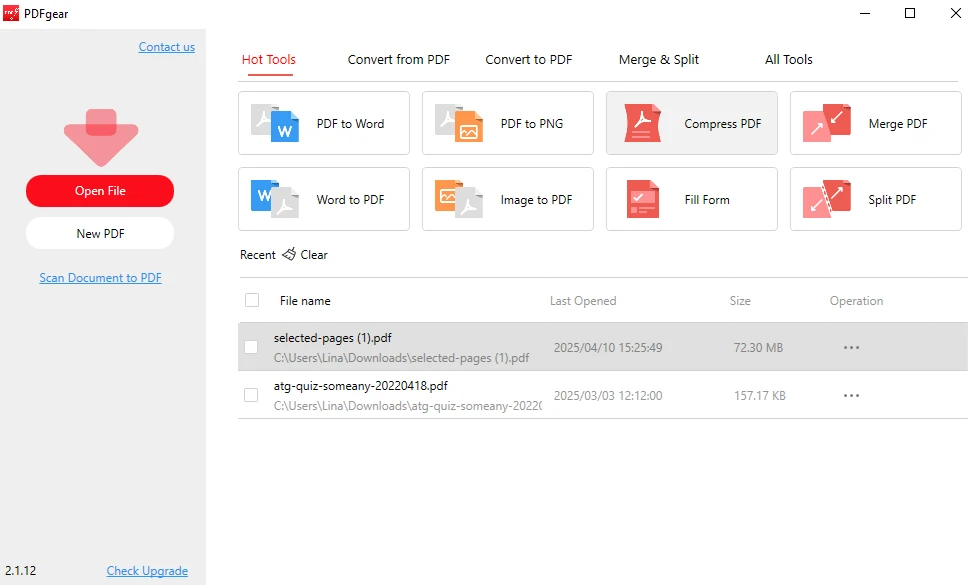
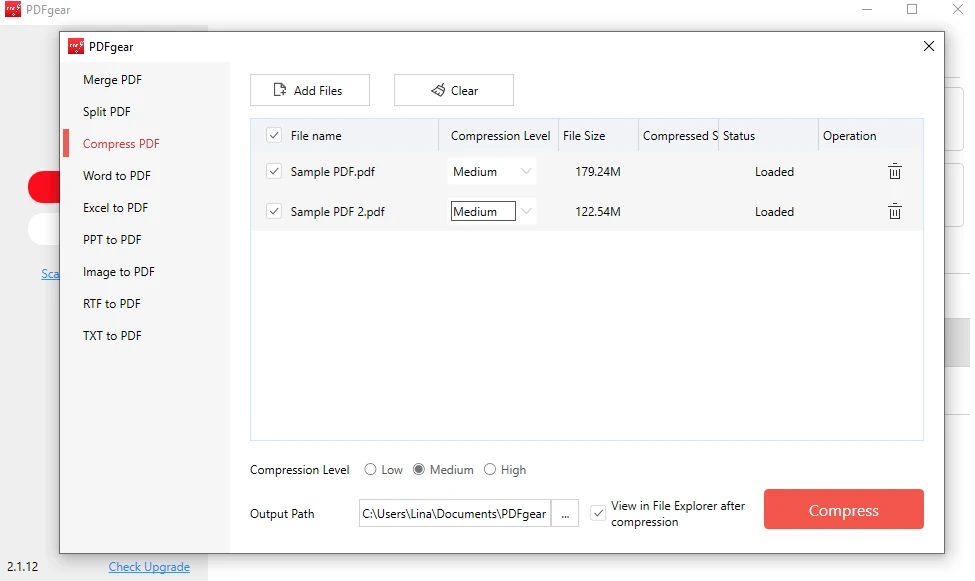
- Click on Add Files and import one or several PDFs.
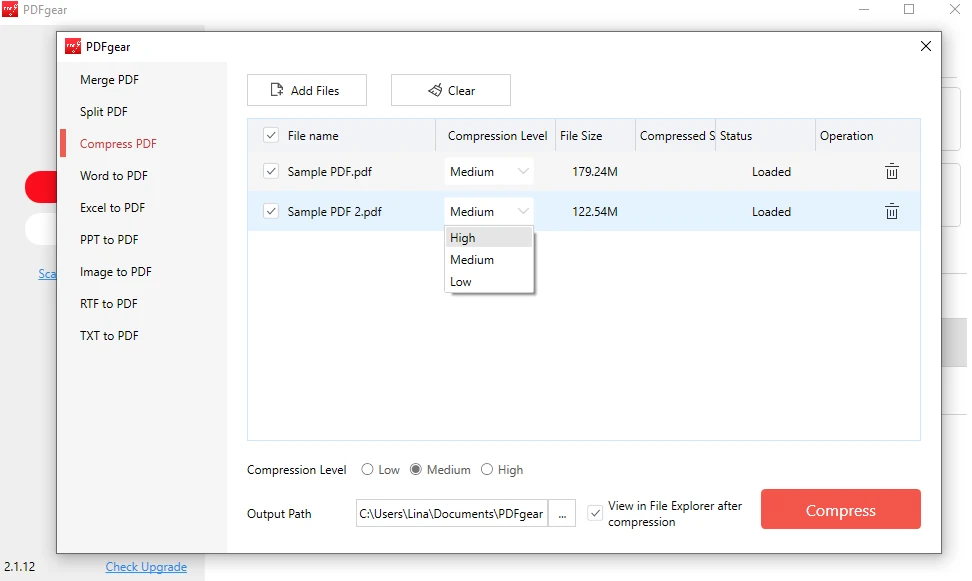
- Select the Compression Level: ◦ Low ◦ Medium ◦ High
 If you want the file size of your PDF to decrease significantly, go for the High option, but there will be some noticeable quality loss. If you want to maintain the good quality and don’t mind a smaller change in the file size, then go for Low compression.
 - Here you can set the same compression level for all the files in one batch or set a different compression level for each file.
- Choose the location for your new files in the Output Path.

- When you’re ready, click on Compress and wait for the app to process your files.
That’s it! The whole process takes only a couple of minutes, if not less.
The main benefit of using PDFgear’s downloadable software is that it processes your files locally. No data will be stored on their servers. So, this method can be used for sensitive documents, as well.
How to Make a PDF Smaller Using an Online App
If you don’t want to spend your time on downloading and installing any software, you can use an online PDF compressor, instead. It’s a super quick and easy way to reduce the file size of a PDF. And there’s a pretty vast choice of them! You can use:
However, there are a couple of things to note here:
- Some online compressors are completely free, while others might have some limitations – for instance, a limit on the number of files that you can process per day.
- Some online compressors do offer the choice of different compression levels, while others don’t – you simply import your file and the app compresses it. This lack of flexibility can save you time, but you might end up being unsatisfied with the results.
Now, let’s take a look at how you can make a PDF smaller using PDFgear’s online tool:
- Open the app and import your file. Please note that you will be able to process only 1 file at a time using this online app.
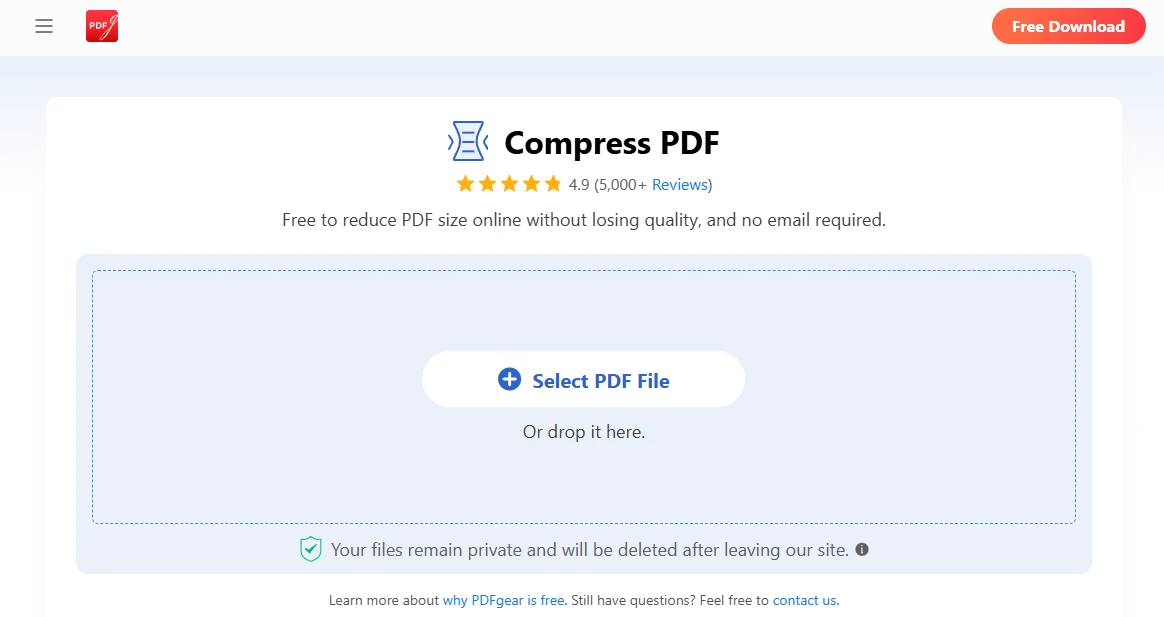
- Choose the necessary level of compression.
- Click on Compress.
- Download your compressed file.
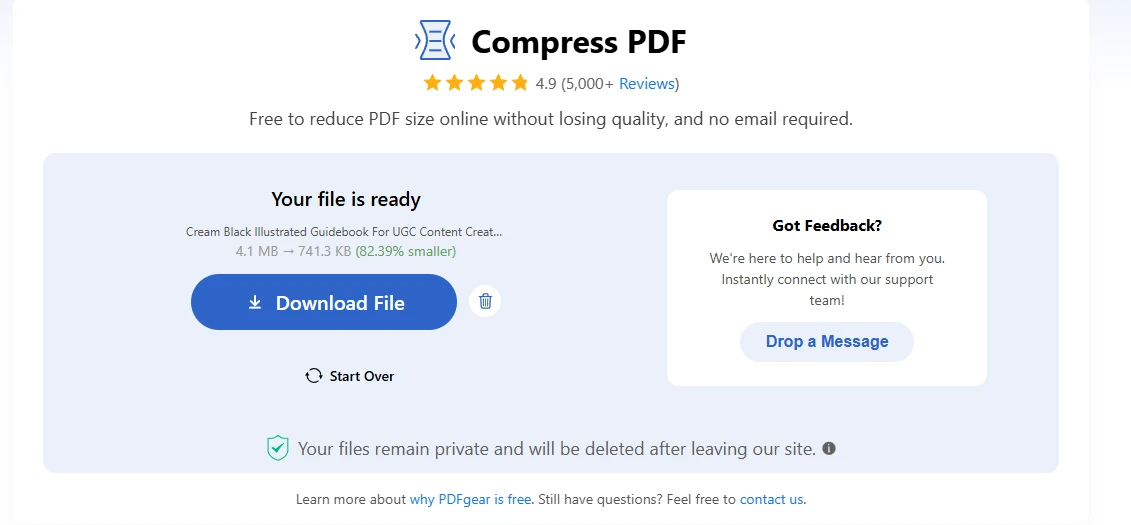
Super quick, right? The app will also show you by how much the file size has changed.
What’s great about PDFgear is that you won’t have to worry about the safety of your files even if you’re using their online tools. They state that any file you upload into their online app will be deleted after your leave their website.
Nevertheless, online compressors might not be the most perfect option for processing confidential documents.
How to Make a PDF Smaller on Mac
Are you a Mac user? Then you don’t need any downloadable or online PDF compressors. You already have an app that allows you to decrease the file size of your PDF. You’ll be blown away by how quick and easy this is:
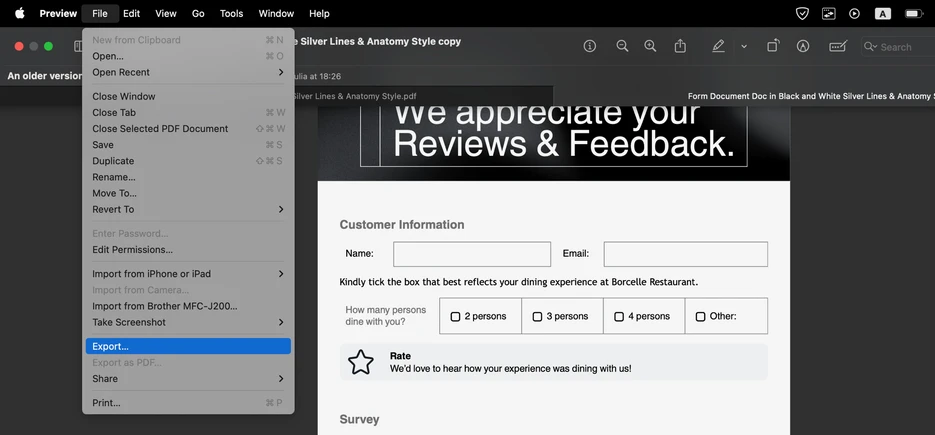
- Open the PDF you want to make smaller in the Preview app.
- Go to File > Export. Please note that you DON’T need the Export as PDF option here.
- Select the Quartz Filter. Then choose the Reduce File Size option.
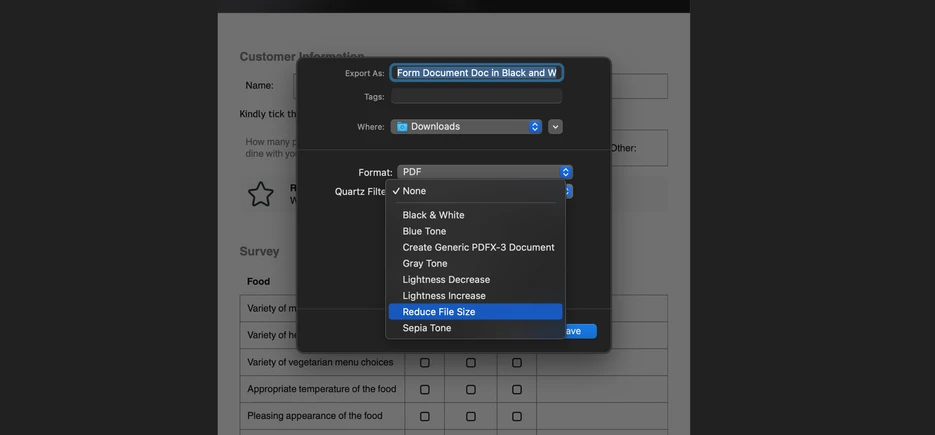
- Pick where you want to save your modified PDF, rename the file and export it.
Once the export is finished, check whether everything looks okay in your compressed PDF. That’s all you need to do!
How to Make a PDF Smaller Using Microsoft Word
Are you in the process of creating a document in MS Word and it needs to be exported as a PDF of a small file size? There are two things that you can do to achieve this.
1. Compress or resize images
The file size of a PDF tends to increase if it has lots of images, videos, graphics, etc. So, you will need to optimize the size of these elements before inserting them into your document. For instance, if you want to put a video into your PDF, you will need to reduce its size first. You can check out how to do it in this guide - How to Reduce a Video File Size.
It’s never a good idea to insert high-resolution images into your PDF document. If you’re creating a portfolio of your best photography works, and you want all the photos to be sharp and clear, don’t use the original photos. Instead, you should compress your photos or at least resize them before inserting them into your PDF.
By compressing an image, you will make its file size much smaller, while the good quality will be maintained. You can use Watermarkly’s image compressor for this – the whole process will take mere minutes:
- Open the app and import your images.
- Pick the necessary compression option.
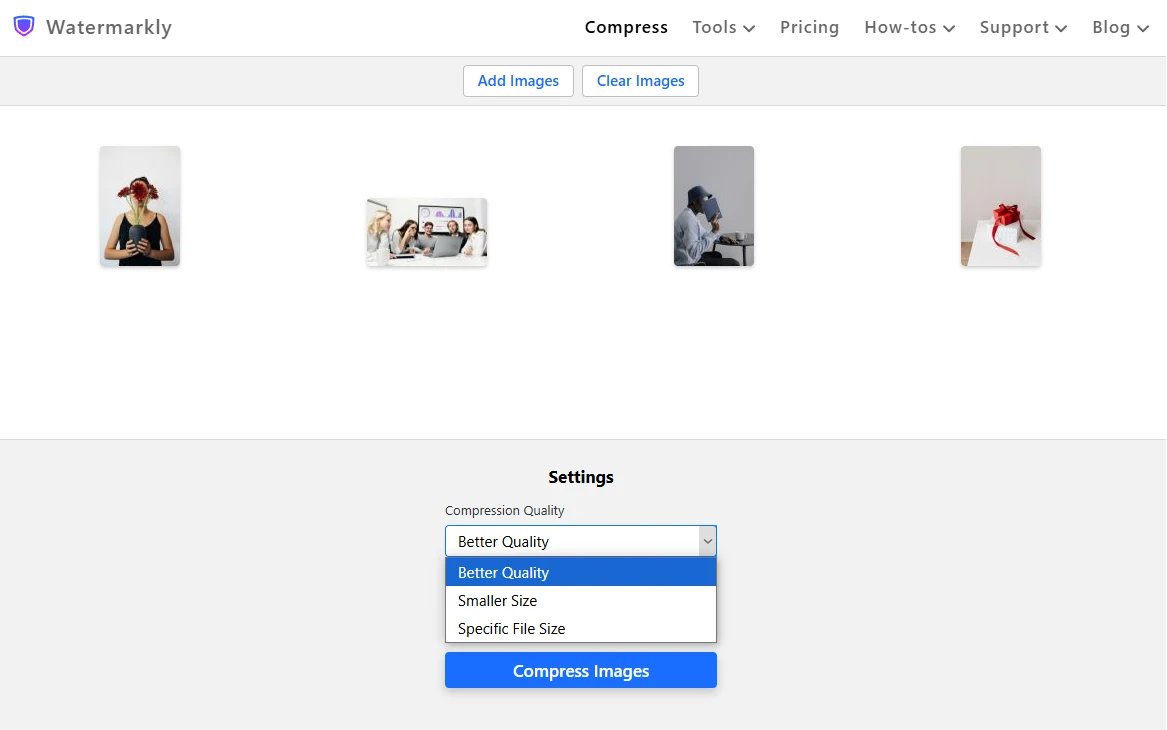
- Click on Compress Images, wait a bit and download the results.
All done!
Alternatively, you can resize your images, which means changing their pixel dimensions. This won’t change the file size of your images as drastically as image compression, but it will make them smaller, as well. Watermarkly also offers an online image resizer, which is very easy to use:
- Open the app and upload your images.
- Choose the necessary resizing option.
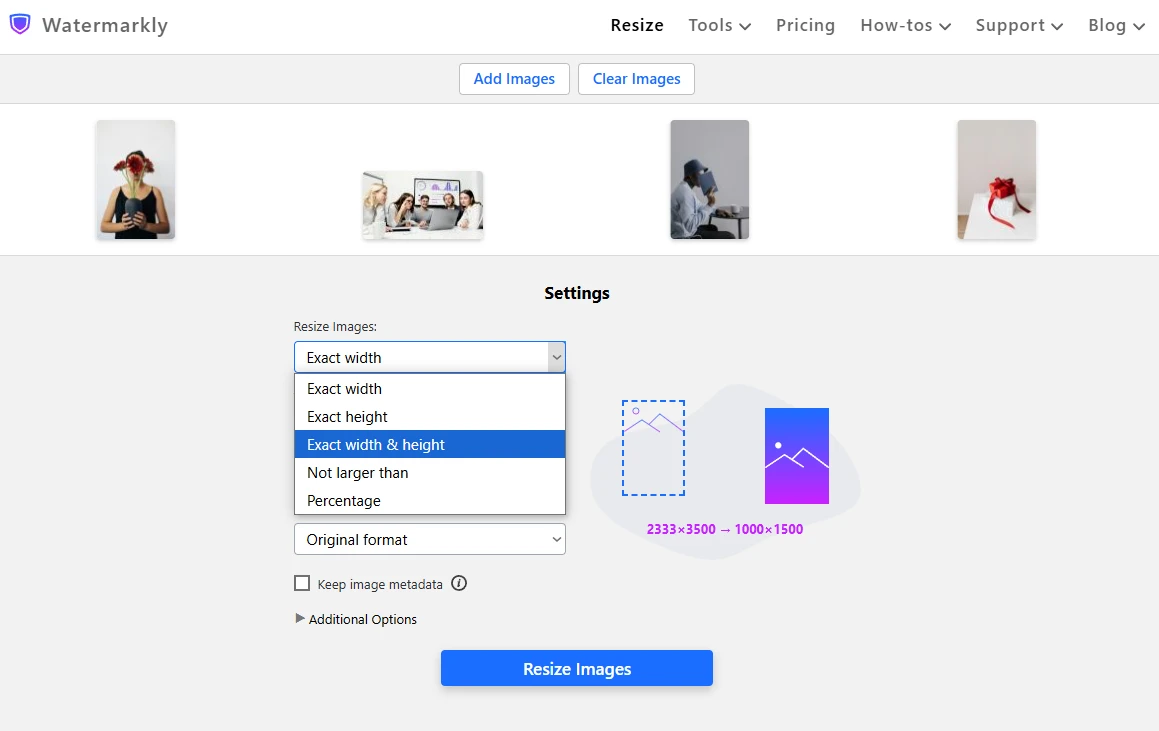
- Enter new values.
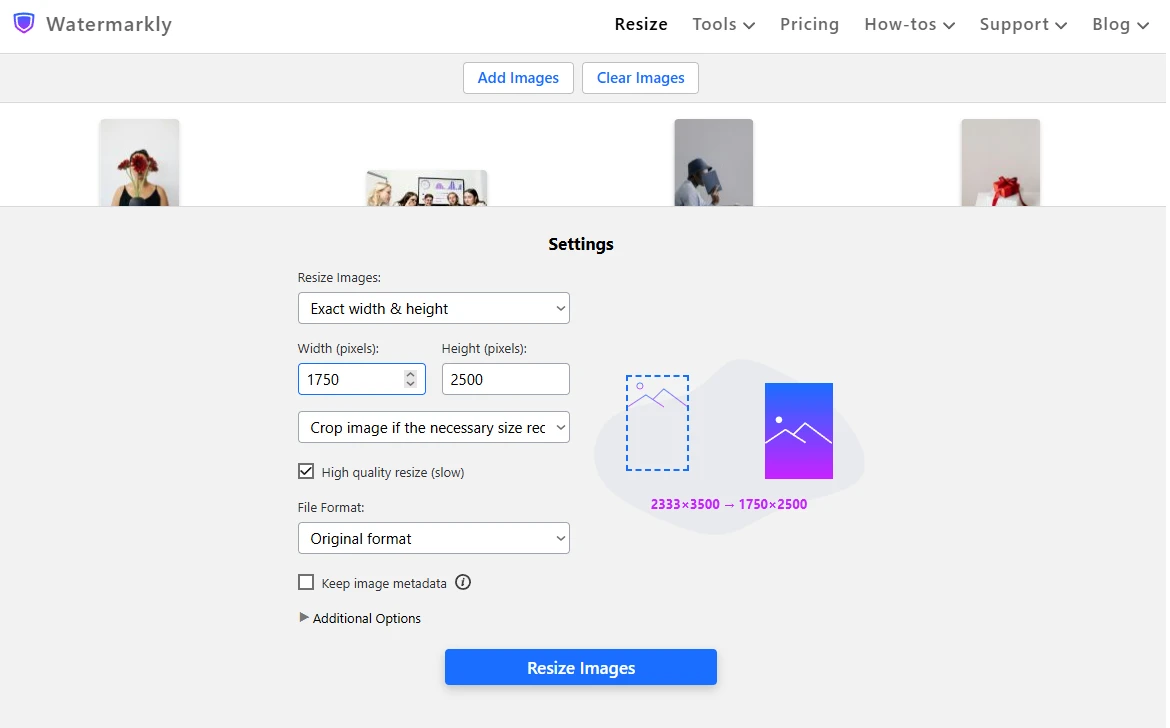
- Export and download your resized images.
That’s it!
Now all that’s left to do is insert your compressed or resized images into your document. A key advantage of using Watermarkly’s app is that it not only processes images but also allows you to add watermarks to PDF files.
2. Export your document correctly
The second thing that you will need to do is to export your Word document as a compressed PDF. It’s not as complicated as it sounds. Follow these steps:
- In MS Word go to File > Export > Create PDF / XPS document.
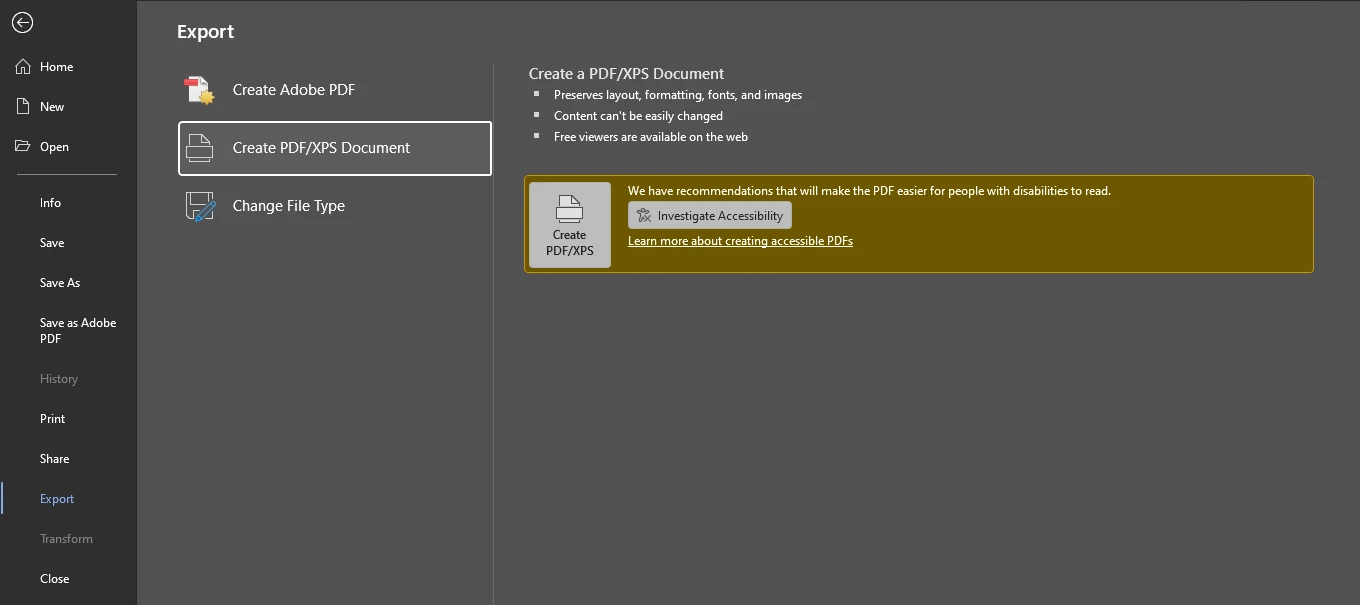
- Select the Minimum size option at the bottom of the export dialog.
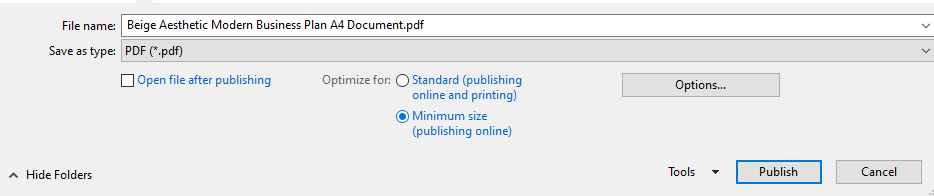
- Select where you want your document to be saved to, then click on Publish.
Your document will be exported as a compressed PDF of a small file size!
It’s worth mentioning that you can also use this method to reduce the file size of an already existing PDF. But for this you will need to convert this PDF to Word document first, then save it as a compressed PDF. MS Word doesn’t do a good job at maintaining complex formatting, so, as a result, you might end up with a document that looks nothing like the original. Not to mention that converting from PDF to Word, then back to PDF is quite tedious. It would be much easier and quicker to just use a PDF compressor.
How Make a PDF Smaller Using the Print Option
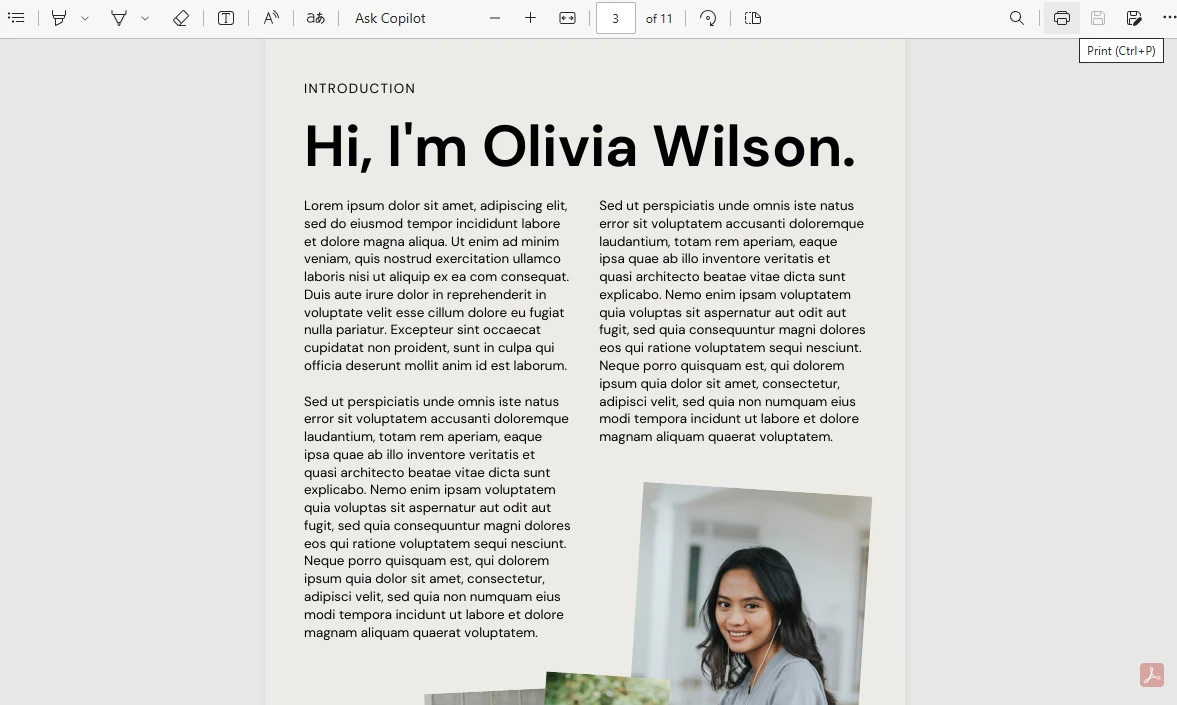
The file size of your PDF might also be large because the pages in it are too big. Fortunately, you can easily resize your PDF. You will need open the necessary PDF in a browser or any other PDF viewer. Let’s see how this can be done in Microsoft Edge:
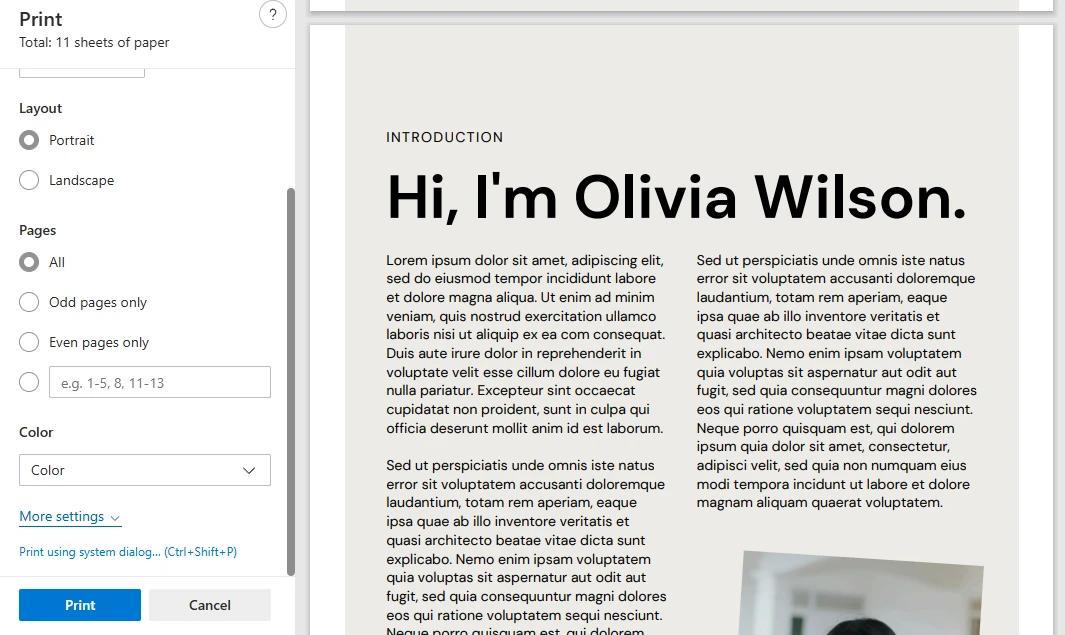
- Once the PDF is open, click on the Print button.
 Alternatively, you can find the Print option in the settings.
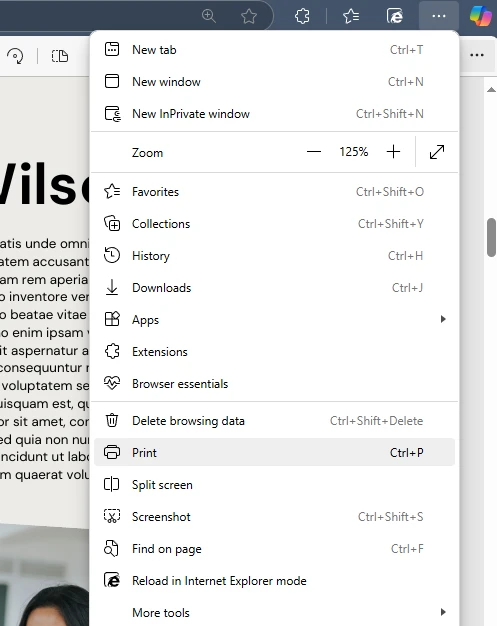
- The Print dialog will open. Select “Save as PDF” or “Microsoft Print to PDF” as your printer.
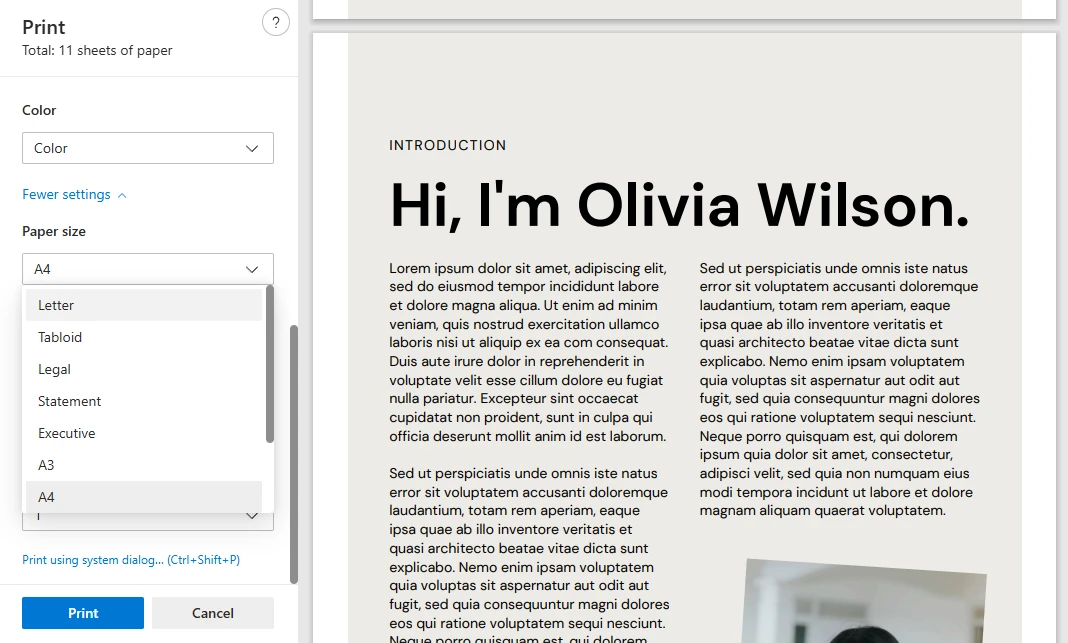
- Click on More settings to see more settings.
- In the Paper Size section select a different size. For instance, Letter.
- Pick the Fit to printable area in the Scale section.
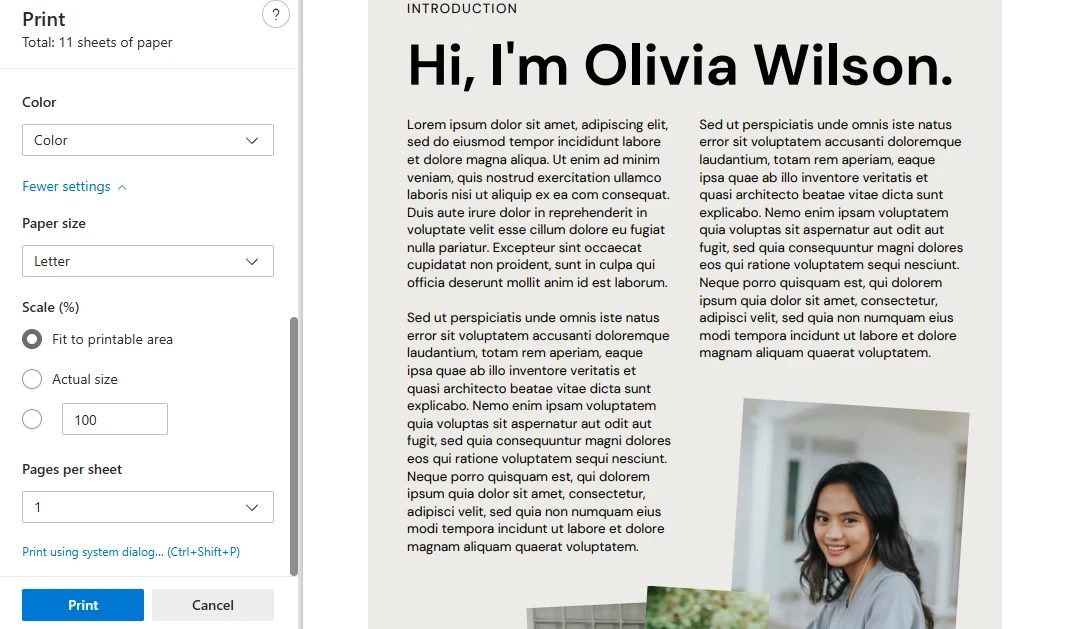
- Click on Print, then save your modified file to the necessary folder.
And the pages in your PDF will be resized!
Here’s the difference between the original and the resized version:

What you need to keep in mind is that this option works best if your documents have large poster-sized pages or if you’re working with scanned PDFs.
How to Make a PDF Smaller by Removing a Part of It
Finally, you can change the contents of your PDF to make its file size smaller. For instance, you can get rid of some pages that contain redundant information.
As an option, you can use PDFgear’s online tool to split pages:
- Go to PDFgear’s Split PDF and import your multi-page document. You can also drag and drop your file into the app.
- You will see the layout of your document. At the top of the app, you will find the option to split your PDF every few pages. If necessary, enable it, then set the desired number of pages.
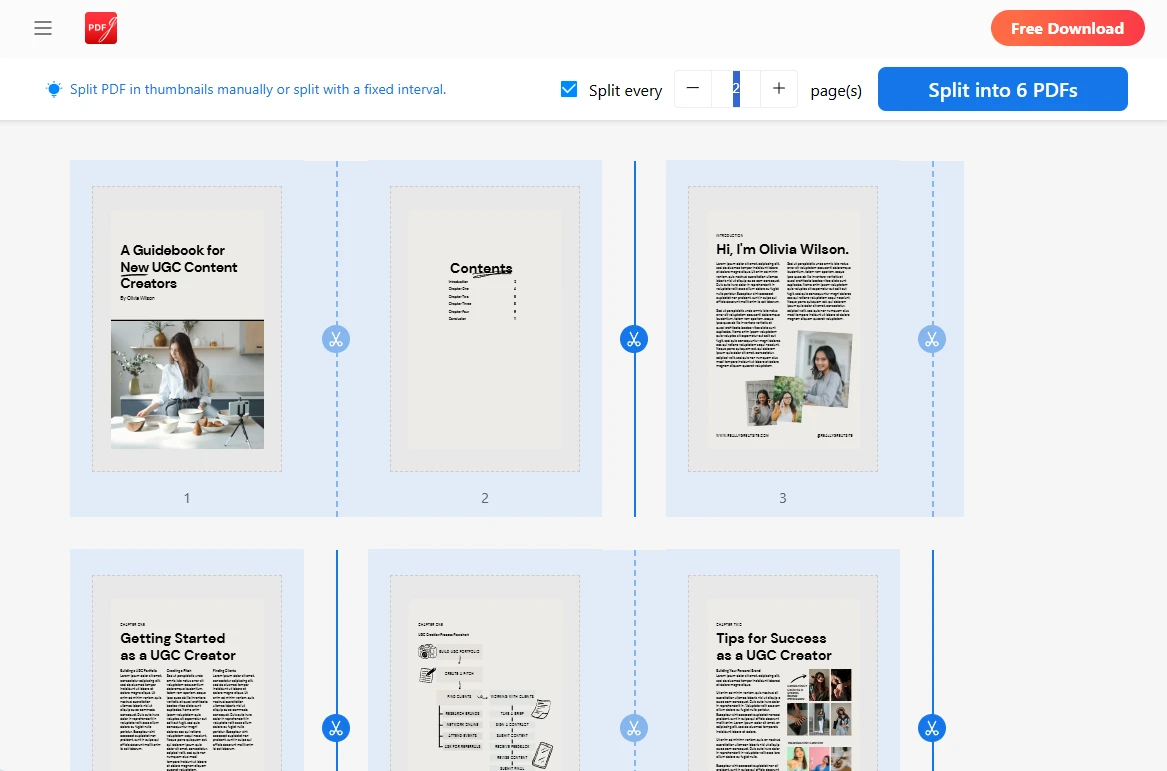
- There’s also an option to split your PDF manually. Just click on the button with scissors.
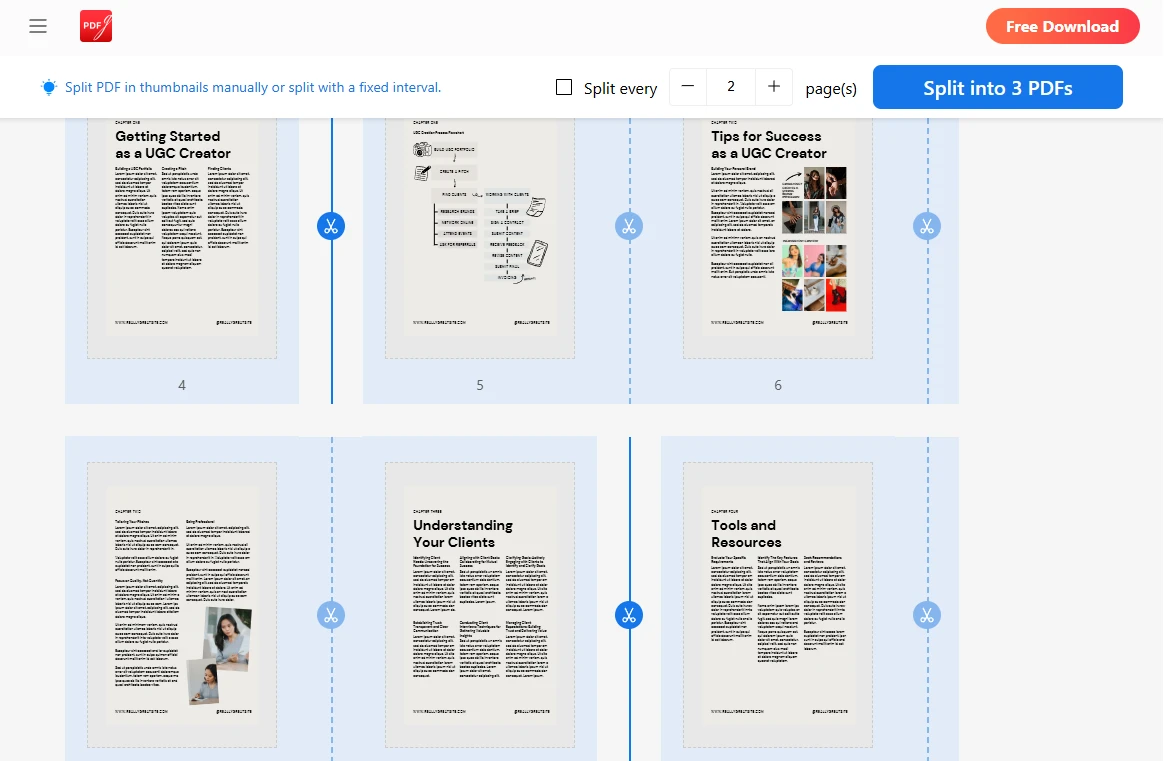
- When you’re ready, click on the Split button at the top, then download your modified PDFs.

Now, you can send only the most important part of your document!
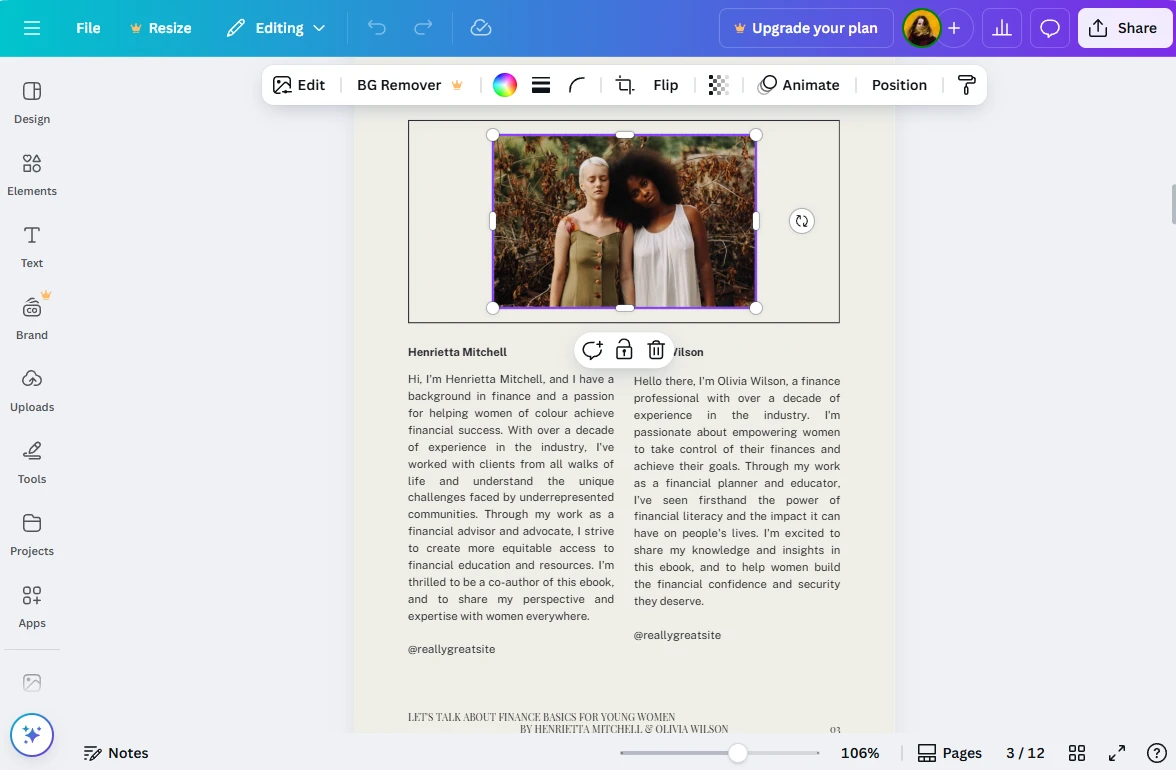
There’s another option. If you don’t want to get rid of pages, you can remove redundant images. This can be done in Canva’s PDF editor:
- In Canva, go to Create a design > Upload. Then import your PDF document.
- Wait a bit – Canva will need to break your file down into editable elements.
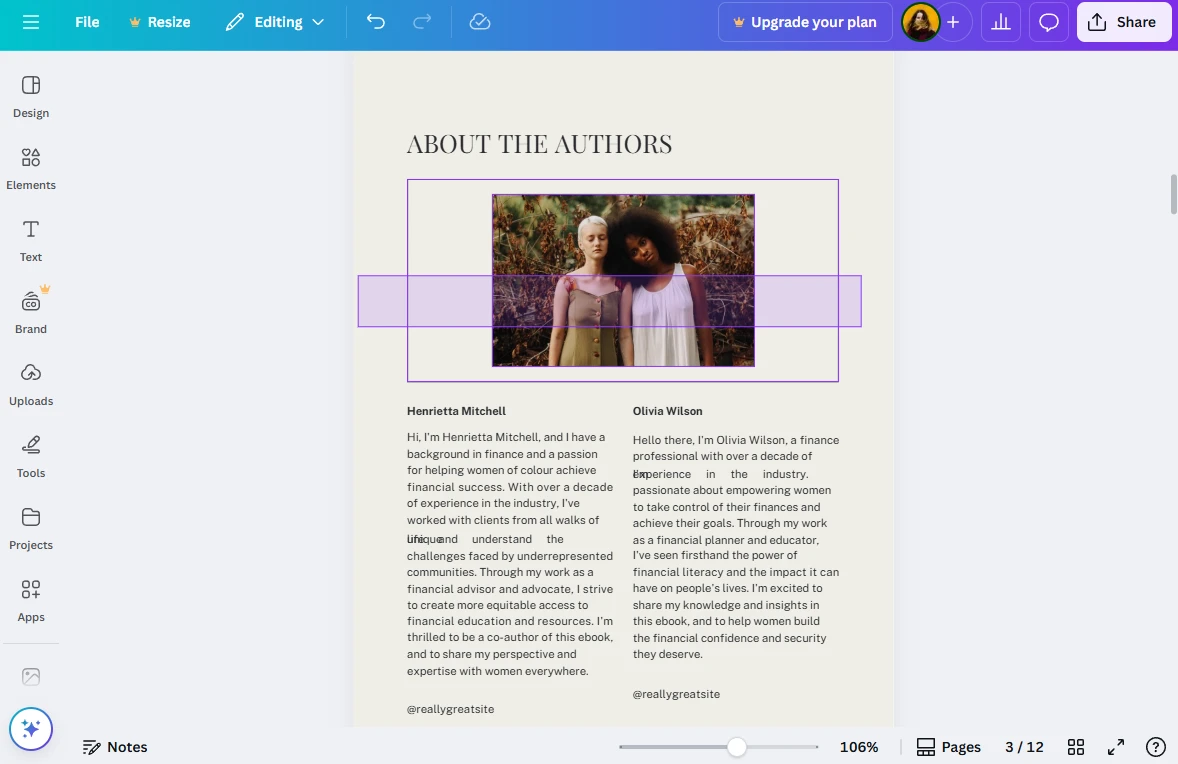
- In Canva’s editor, select the image that you don’t need.
- If you want to remove several elements that are positioned close to each other, click and drag the cursor over them. This will select all of them at the same time.
- Click on Delete or press the Delete button on your keyboard.
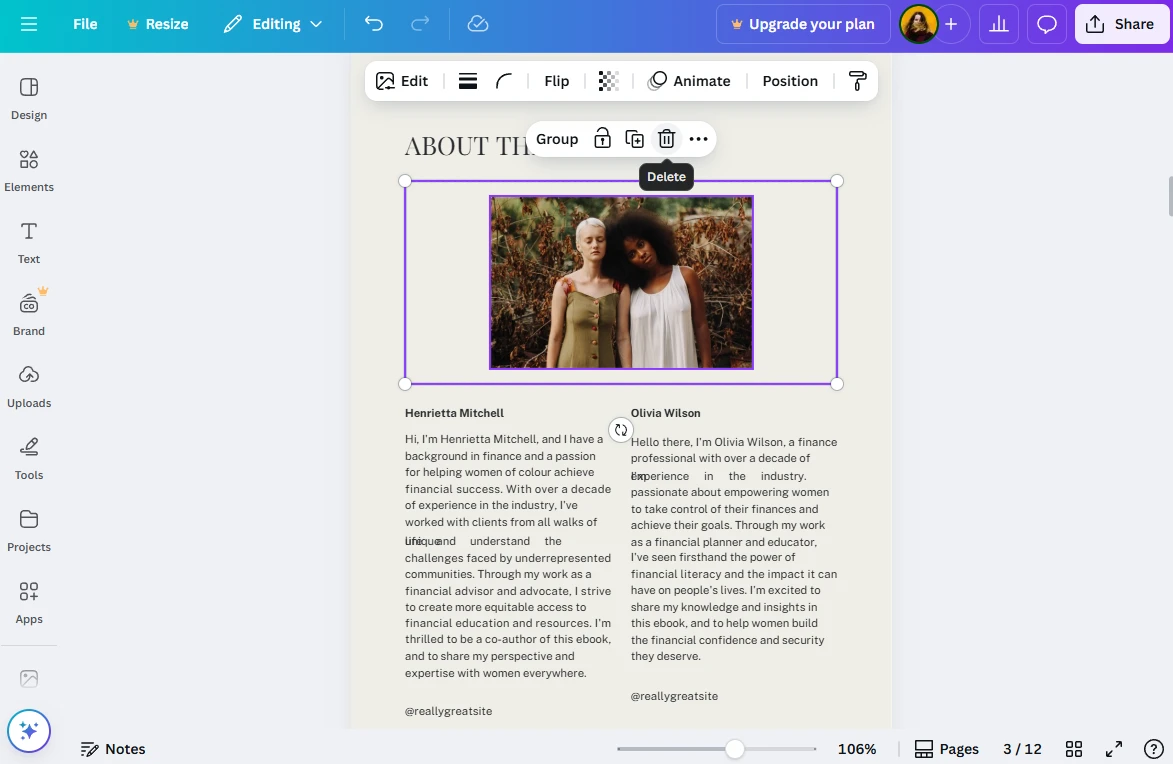
- You will end up with an empty gap, so you might want to re-arrange your text blocks afterward.
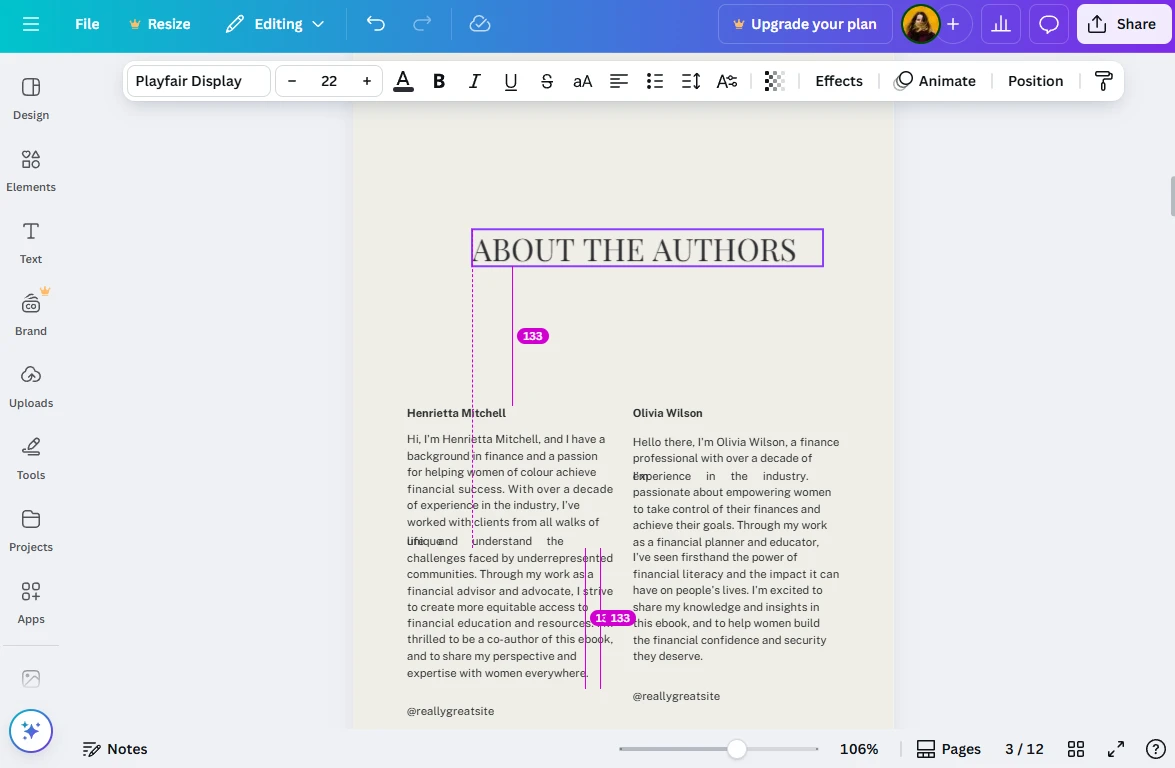
- Click on Share > Download, then export your modified PDF.
The file size of your PDF should become smaller.
Of course, both of these options aren’t ideal because they involve changing the actual contents of the original document. But they might help in some cases.
In Conclusion
Making a PDF smaller doesn’t have to be either complicated or expensive. Compressing your PDF with the help of a downloadable or online PDF compressor is probably the best method because it requires minimum time and effort. But it’s also possible to resize your PDF with the Print option. You can even get rid of redundant pages or images!
And if you’re currently creating a document in MS Word, reduce the size of your images before inserting them, then export your document as a compressed PDF. These days, there are plenty of ways to cut down your PDF’s file size while maintaining good enough quality.