
How to Insert a Watermark in MS Word
by ![]() Lina Thorne • Updated · Posted in Watermarking Tips
Lina Thorne • Updated · Posted in Watermarking Tips
Need to insert a watermark in a Microsoft Word document? Word lets you add a semi-transparent text or picture watermark behind your content so it remains visible without distracting from the text.
You can apply a built-in watermark template or create a custom one using your own text or image. The process is quick and works well for common cases like “Draft”, “Confidential”, or branded documents.
Below you’ll find step-by-step instructions for adding a text watermark and a picture watermark in Microsoft Word, along with practical notes on Word’s limitations and how to work around them.
Why You Should Insert a Watermark in Microsoft Word
Adding a watermark in Microsoft Word can be useful for personal, academic, or business documents. You might want to:
Protect intellectual property
Unfortunately, it’s not uncommon for people to copy and share documents without permission or proper credit. A watermark (for example, your name or logo) helps show ownership and can discourage unauthorized distribution. This is especially helpful for manuscripts, reports, proposals, and other documents you share externally.
Indicate status
A watermark can clearly communicate document status. For example, “Confidential” signals that the document shouldn’t be shared, while “Draft” shows that the content is not final.
Clarify the purpose
Watermarks can also tell the recipient how the file should be handled. For example, “For Review” or “Urgent”.
Comply with regulations
In some industries, sensitive or proprietary documents must be clearly marked. Watermarks like “Attorney-Client Privileged” or “Confidential” can help with compliance and reinforce the intended use of the document.
Reinforce brand identity
Adding a logo or company name to proposals, price lists, and other client-facing documents can make them look more formal and recognizable.
Make it easy to contact you
In some cases, you can use a watermark to include contact details such as a website address - useful when documents are forwarded or printed.
Now, let’s look at how to insert a text or picture watermark in Microsoft Word.
How to Add a Text Watermark in Microsoft Word
Here’s how to add a text watermark in Word - for example, “Draft”, “Confidential”, or a company name.
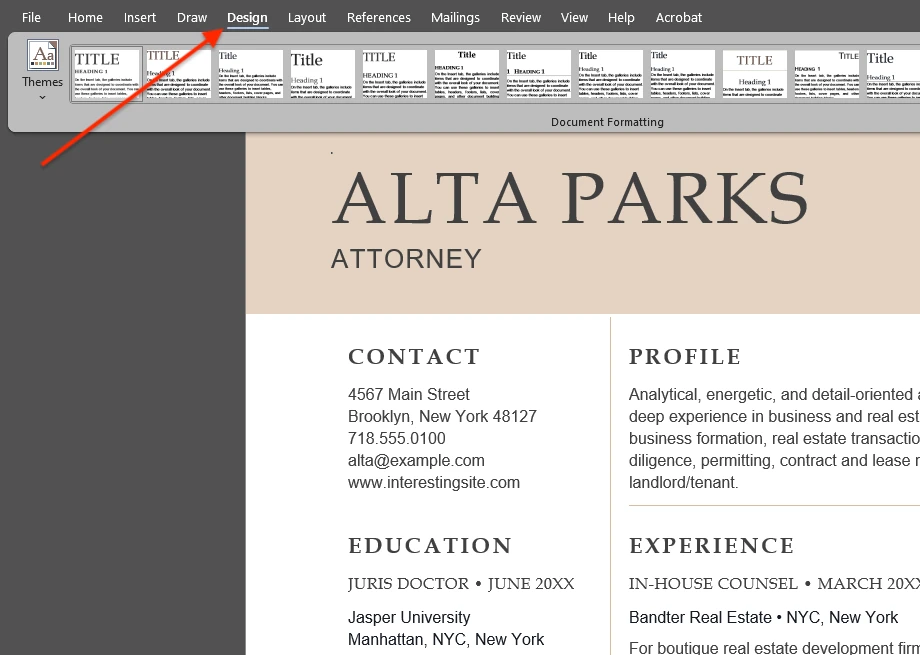
1. Open your document and go to the Watermark menu.
In Microsoft Word, open your file and go to the Design tab, then click Watermark on the right side of the ribbon. In some older versions of Word, this option may be under Page Layout.
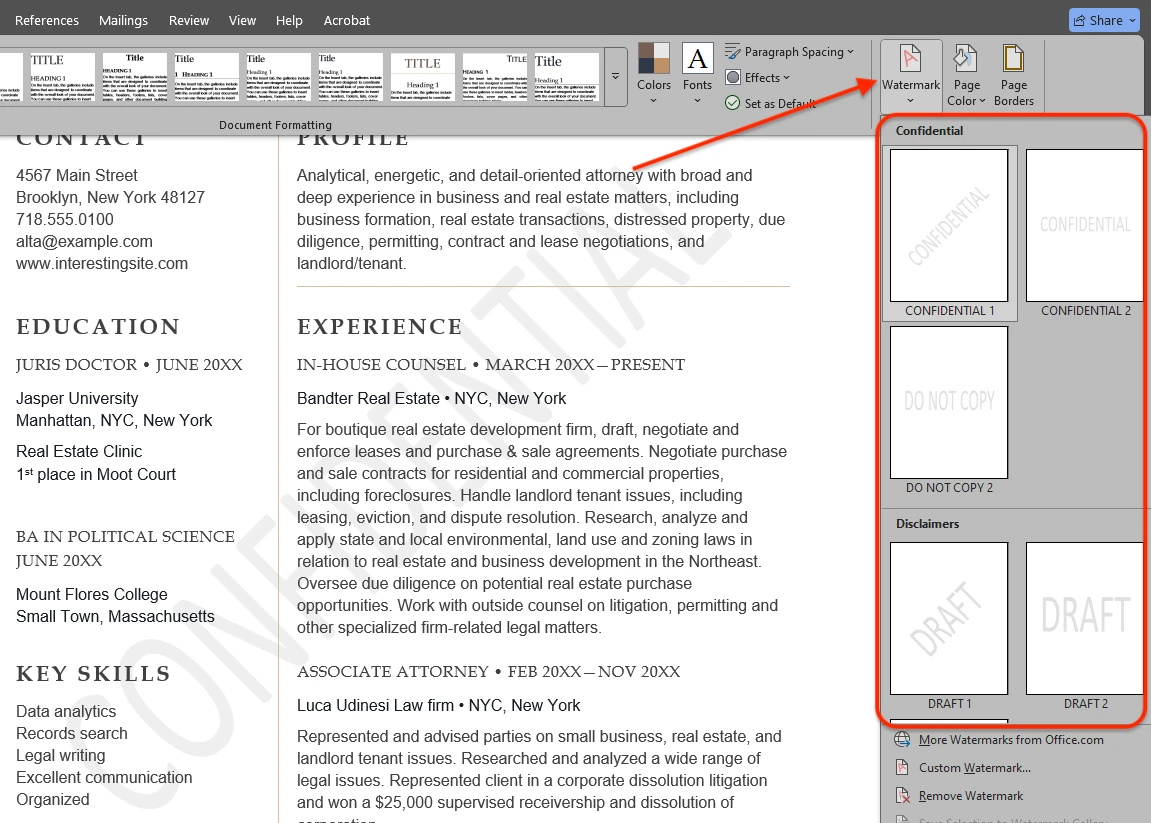
2. Choose a built-in template (optional).
You’ll see a drop-down menu with built-in watermark templates such as Draft, Confidential, and ASAP. Click any template to apply it to the document.
Note: template watermarks have limited customization—you won’t be able to change their opacity or color.
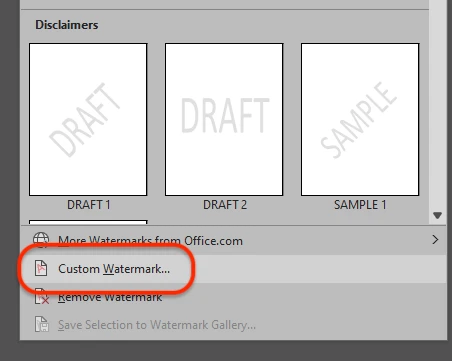
3. Create a custom text watermark.
To create your own, click Custom Watermark at the bottom of the menu.
4. Enter the text and choose basic settings.
In the dialog box, select Text watermark. Choose the language, enter your text in the Text field, then set the font, size, color, and layout (diagonal or horizontal).
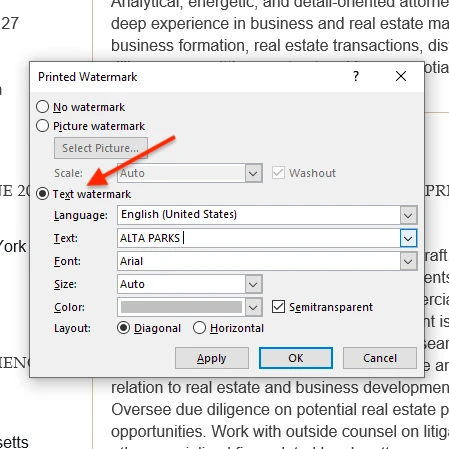
5. Use “Semitransparent” for readability.
Enable Semitransparent so the watermark stays visible without making the document hard to read. Word doesn’t allow you to set an exact transparency value, so if the watermark still looks too strong, try switching to a lighter color.

6. Apply and check the result.
There’s no full live preview in the dialog, but you can click Apply to see the watermark appear while the window stays open. Adjust settings if needed and click Apply again.
7. Finish and save.
Click OK when you’re done. Then save the document via File → Save or Ctrl/Cmd + S.
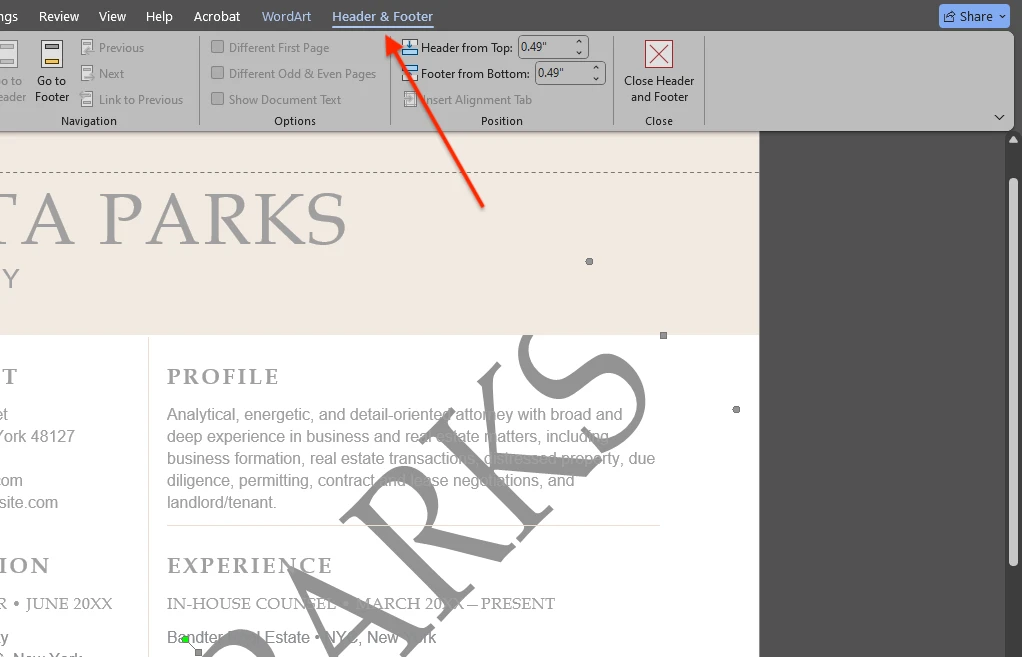
8. Optional: fine-tune position and size.
If you need additional adjustments, double-click the top area of the page to open Header & Footer mode, select the watermark, and reposition or resize it.
How to Add a Picture Watermark in Microsoft Word
You can also use an image (for example, a logo) as a watermark in a Word document. Here’s how to insert a picture watermark:
1. Open the Custom Watermark settings.
In Microsoft Word, go to Design → Watermark → Custom Watermark.
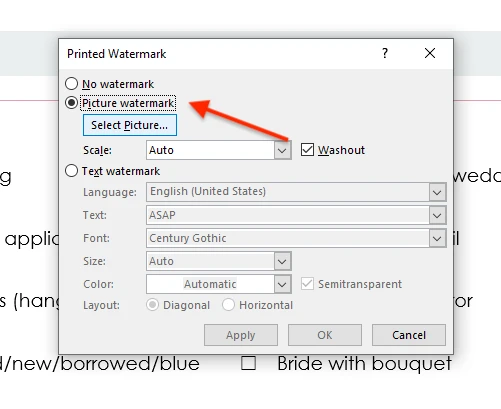
2. Choose “Picture watermark” and select an image.
In the Printed Watermark dialog box, select Picture watermark, then click Select Picture…. Choose where you want to import the image from (for example, From a File) and select the image you want to use.
Note: you won’t see the image appear on the page immediately after selecting it - this is normal.
3. Set the watermark scale.
Use the Scale menu to choose how large or small the picture watermark should be.

4. Enable “Washout” for readability (recommended).
Turn on Washout to make the image semi-transparent so it doesn’t distract from the document text.
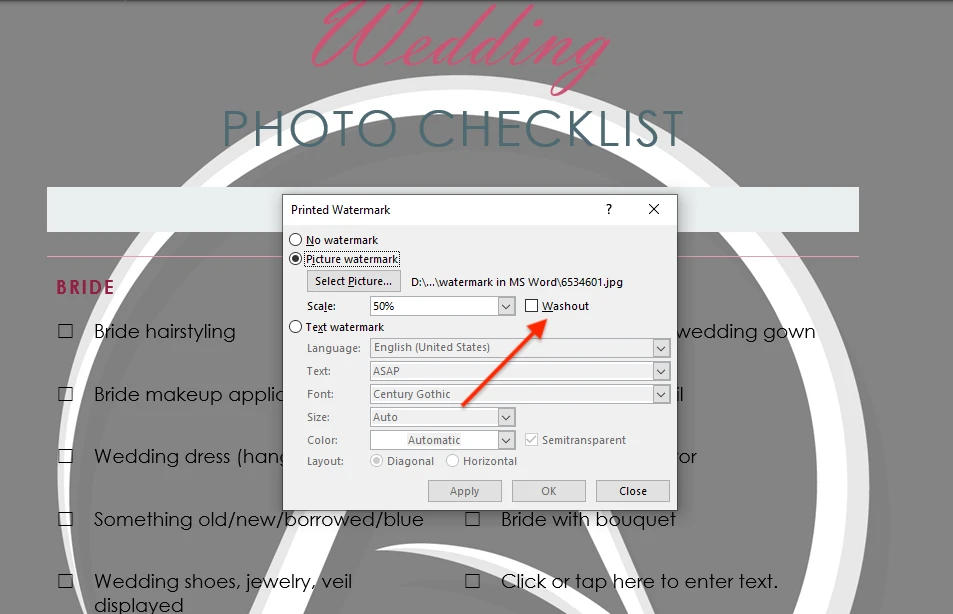
5. Preview and apply.
Click Apply to preview the watermark on the page. If everything looks right, click OK.

6. Optional: fine-tune position and size.
If you need more precise placement or sizing, double-click the top area of the page to open Header & Footer mode, select the watermark, and reposition it. You can also resize it manually if the Scale option doesn’t give you the exact size you need.

Pros and Cons of Adding a Watermark in Microsoft Word
Pros:
- It’s straightforward. You can add a watermark while editing your Word document, and it takes just a few clicks. Even if you’ve never done it before. If you want to save time, you can also choose one of the built-in watermark templates.
- No extra software is required. If you already have Microsoft Word, you don’t need to install another app just to add a basic watermark to a document.
Cons and limitations:
- A Word watermark can be removed. If you send a Word file with a watermark, the recipient can remove it in Word via Design → Watermark → Remove Watermark. If you want it to be harder to remove, save the document as a PDF and watermark the PDF instead. You can do that online with Watermarkly’s PDF watermark tool.
- Limited design controls. Word is a word processor, not a dedicated watermark editor. Creating a simple text or picture watermark is easy, but Word offers limited tools if you want a more complex or visually polished result.
- No page range selection. Word applies the watermark to all pages in the document. You can’t choose a specific page range or select only certain pages.
- Only one watermark at a time. In Word you can’t stack multiple watermarks. For example, if you add a picture watermark and then add a text watermark, Word will replace the picture with the text. If you need a watermark that includes both an image and text, you’ll have to prepare the image first (for example, add text to it) and then insert it as a picture watermark.
Summing Up
Now you know how to insert a watermark in Microsoft Word. For simple document labels like “Draft” or “Confidential”, Word’s built-in watermark templates are a quick and convenient option.
Use the steps above to add either a text watermark or a picture watermark and adjust the result so it stays visible without interfering with the document content.
More Word & Office tutorials
How to Insert a Watermark in Microsoft Excel
How to Add a Watermark in PowerPoint
More watermarking guides
Looking for tutorials for other tools? Browse more step-by-step guides in our Watermarking Tips section.