
How to Add a Watermark in Excel
by ![]() Lina Thorne • Updated · Posted in Watermarking Tips
Lina Thorne • Updated · Posted in Watermarking Tips
Excel does not have a built-in Watermark button like Microsoft Word, but you can still create the same effect in several simple ways. In this guide, you will learn how to add a watermark in Excel, insert both text and image watermarks, adjust their appearance, and remove them when needed.
Before you start, it helps to understand which method best fits your goal. The best way to add a watermark in Excel depends on how you plan to use it:
- Use Header & Footer if you want the watermark to appear on printed pages.
- Use WordArt if you want the watermark to stay visible while working in the spreadsheet.
- Use a custom image if you want a repeated pattern or a more customized watermark design.
How to Add a Watermark in Excel Using Header & Footer
This is the most common way to add a watermark in Excel.
Before you begin, there is one important thing to keep in mind. Unlike in Microsoft Word, a watermark in Excel is not always visible after you insert it. If you switch to Normal view and do not see it, there is no need to worry. A watermark added this way is usually visible only in Page Layout and Print Preview.
How to Add a Text Watermark in Excel
- Open the document you need in Excel.
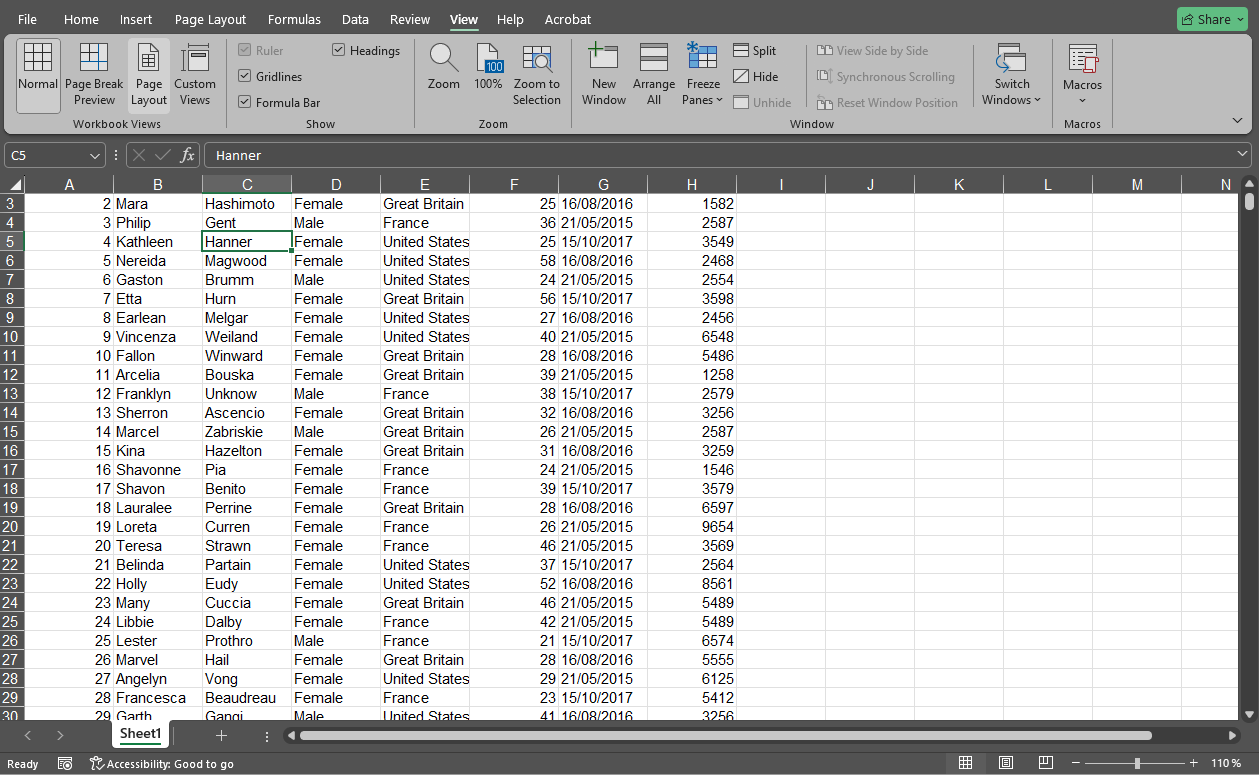
- Go to the View tab and switch to Page Layout.
- Click at the top of the worksheet to activate the header section. If you want the watermark to appear at the bottom of the page, activate the footer section instead.
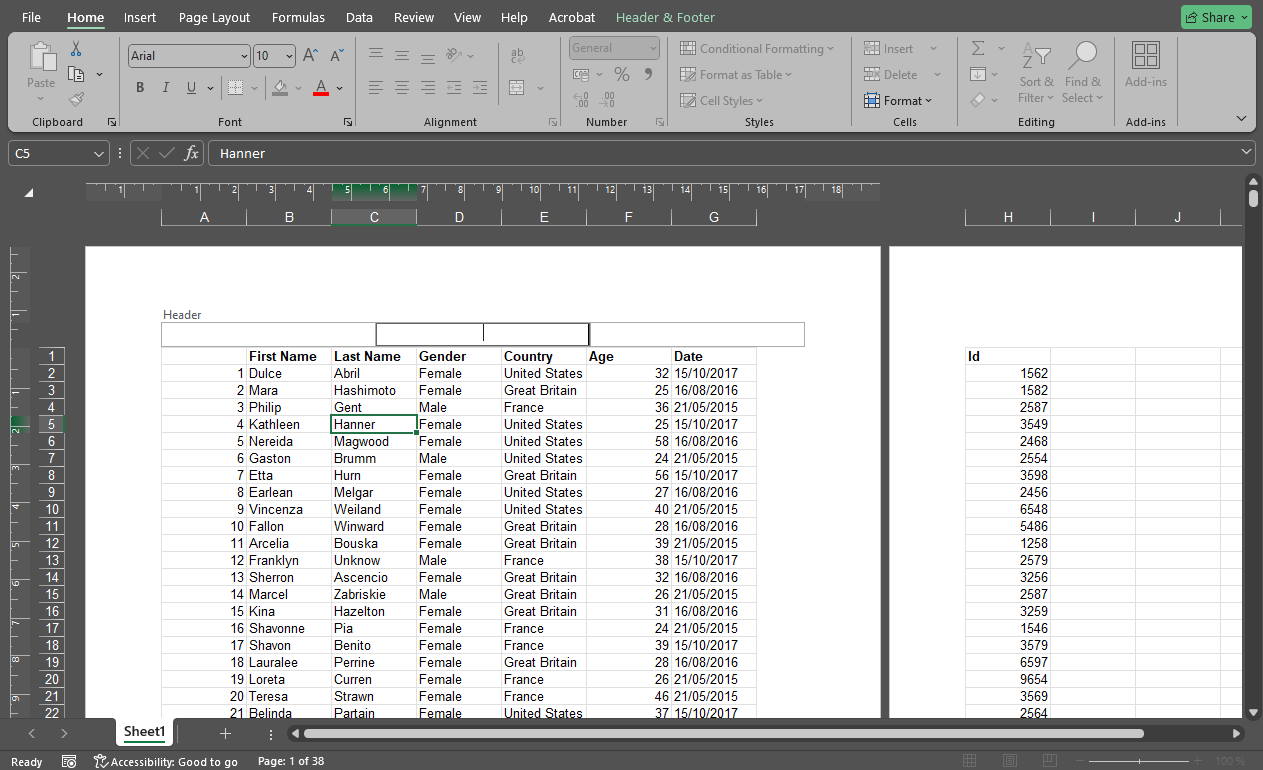
- Choose the center, left, or right section. The center section is the most common choice.
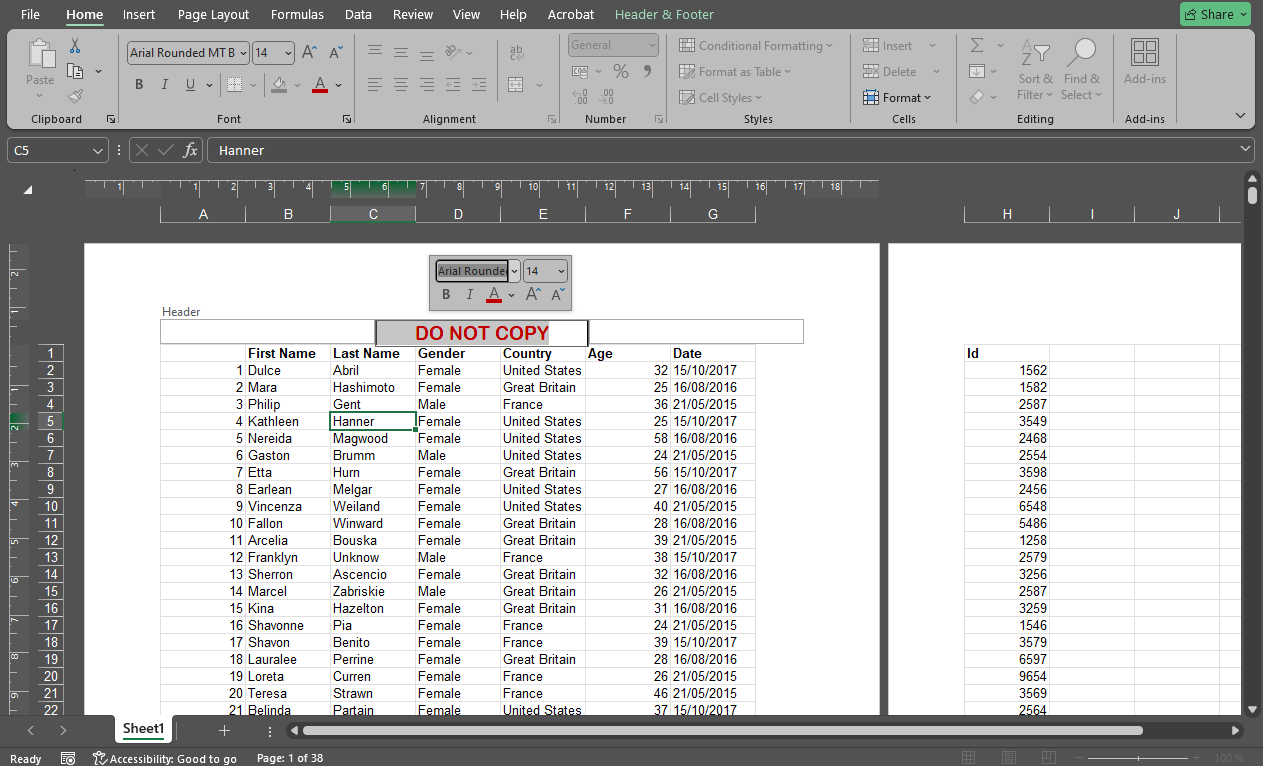
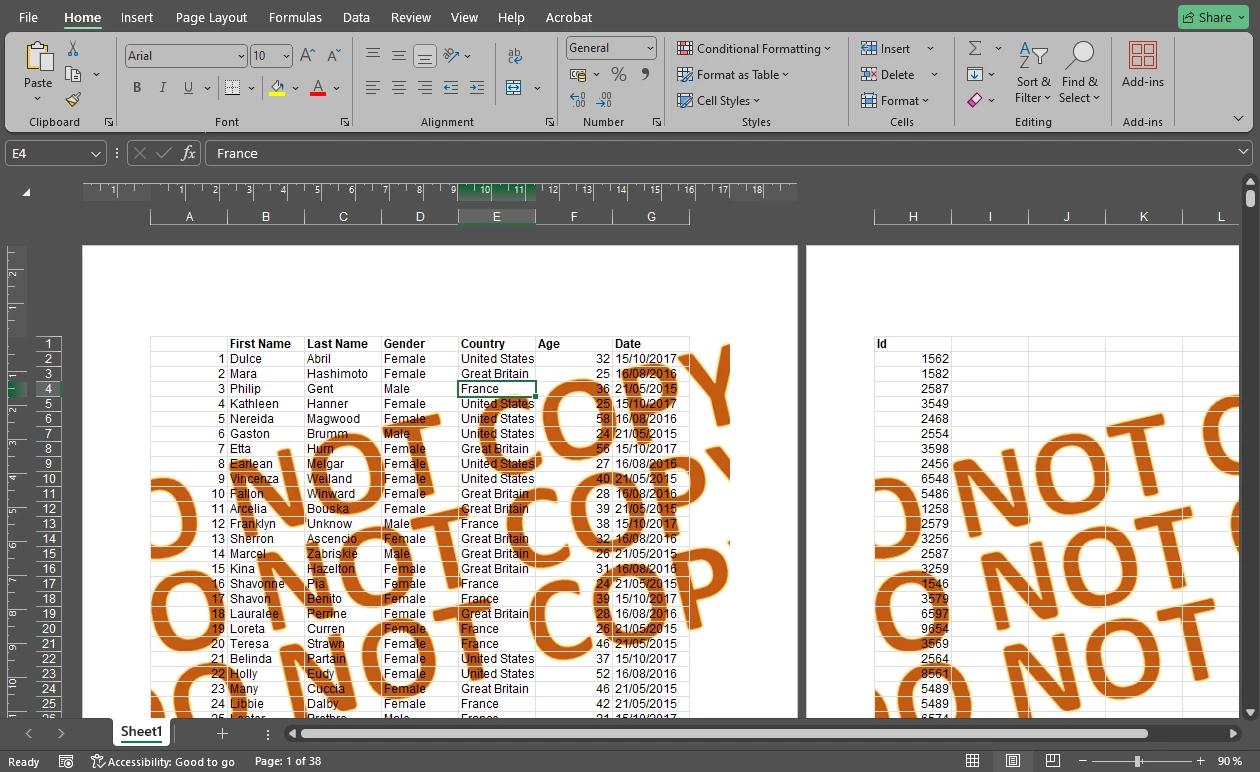
- Type the text you want to use as your watermark, such as DO NOT COPY, DRAFT, or CONFIDENTIAL.

- Select the text with your cursor and adjust its font, size, and color as needed.
- Use the spacebar or Enter key to reposition the text.
This is the easiest way to add a simple text watermark in Excel.
How to Insert an Image Watermark in Excel
If you want to use a logo or a more polished custom design, you can insert an image instead of text.
- Go to the Header & Footer tab in the ribbon.
- Click Picture.
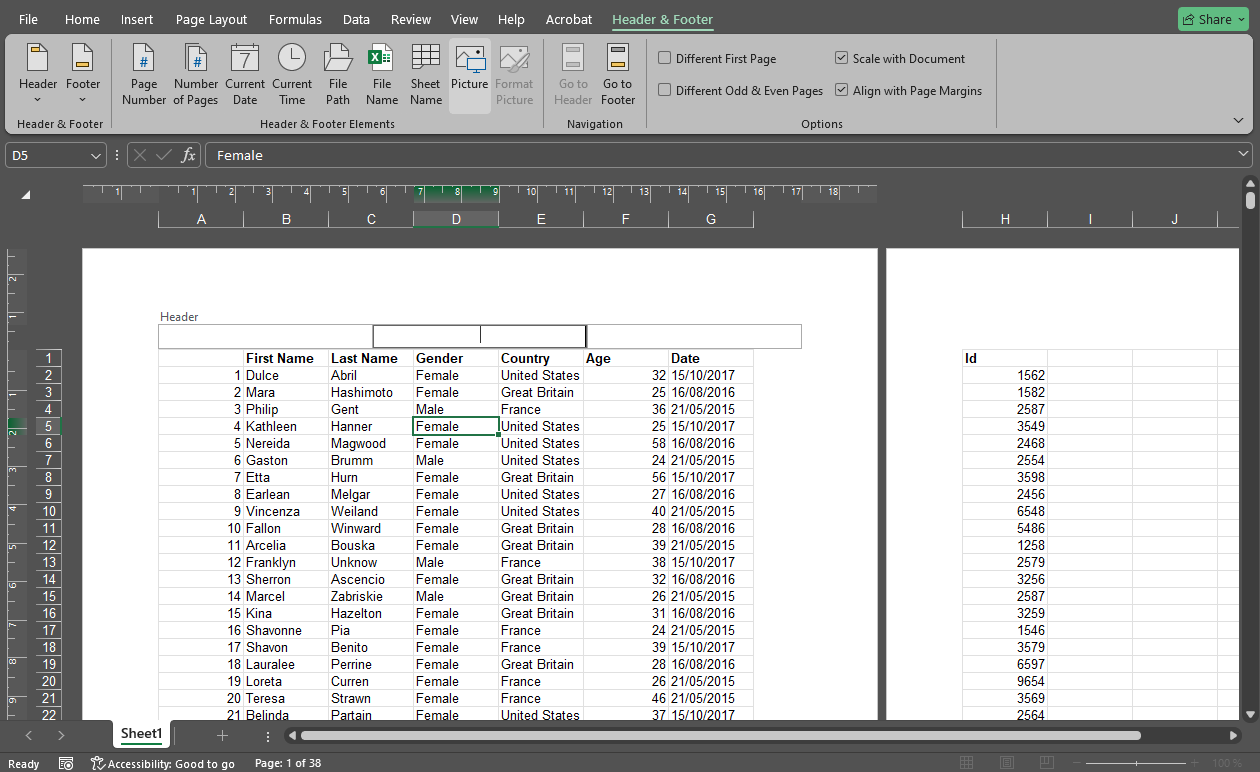
- Choose where you want to import the image from, then upload it.
- Excel will insert the ‘&[Picture]’ code into the selected header or footer section.
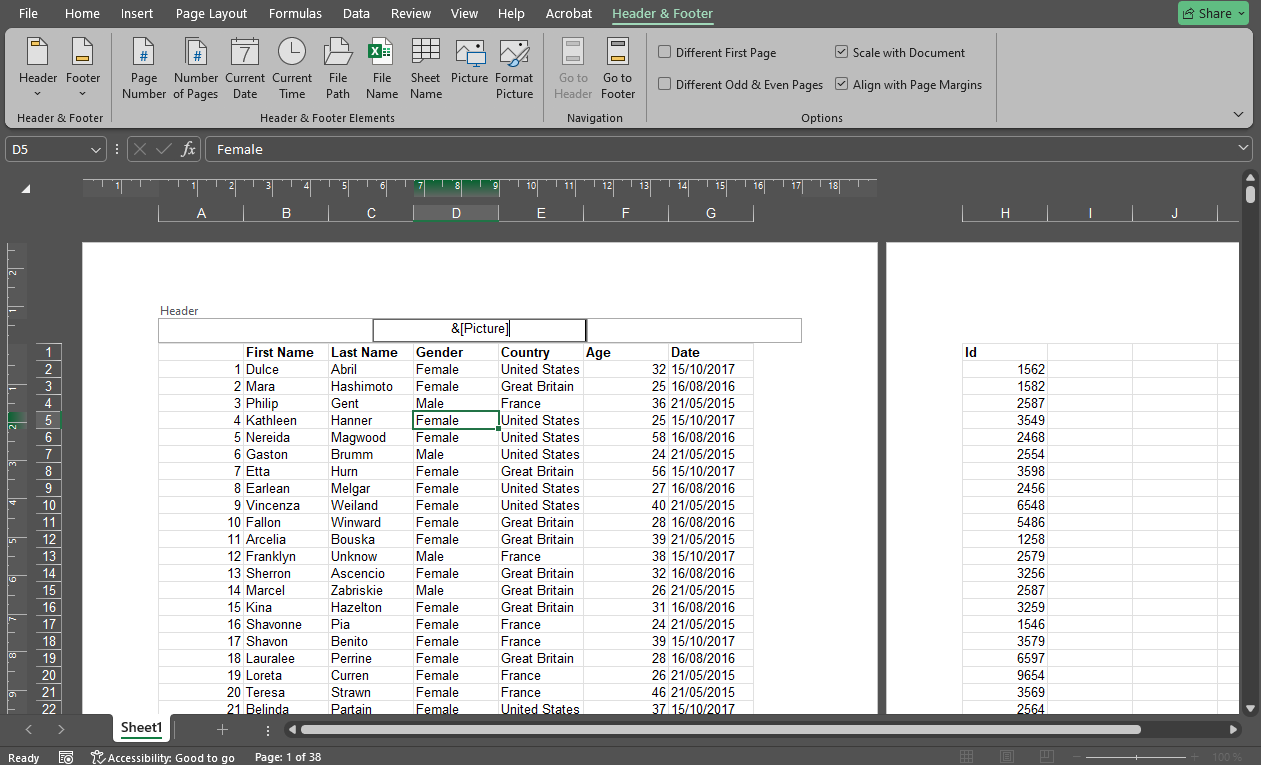
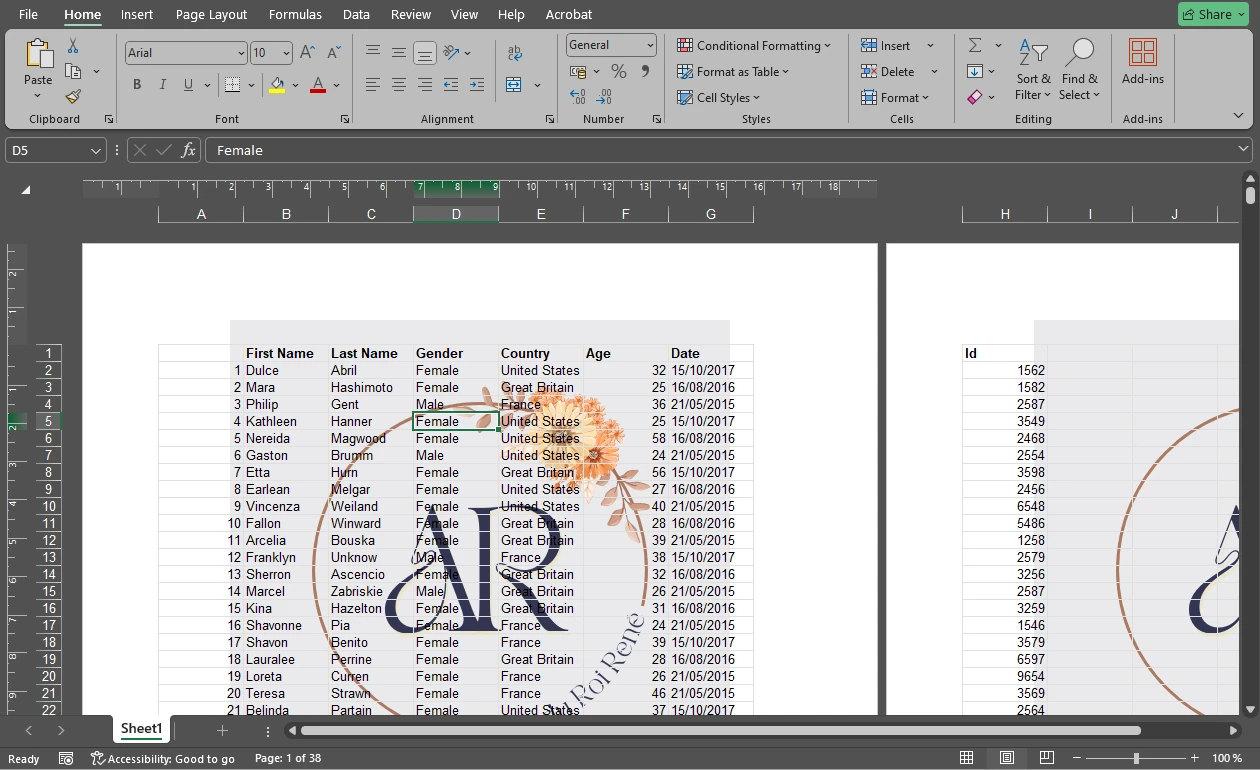
- Click anywhere outside the header area to see the image appear on the page.
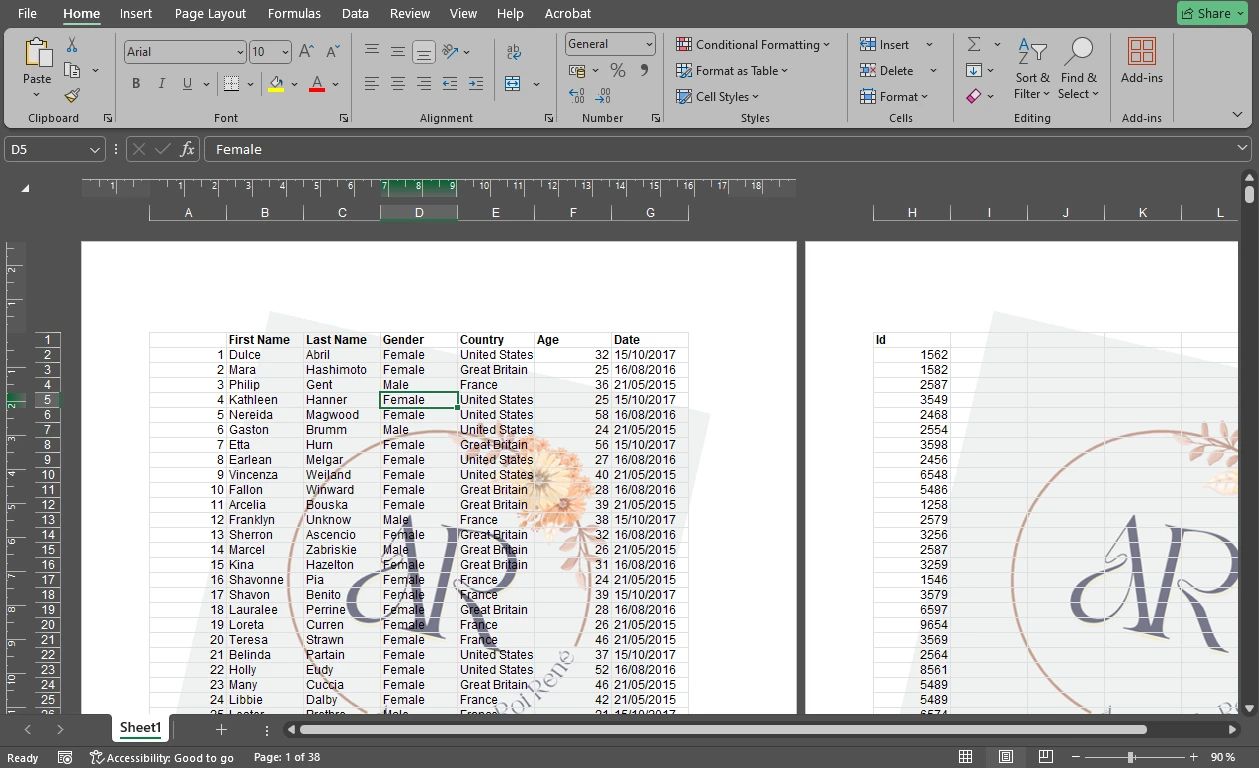
Your image file should be in JPEG or PNG format. If needed, you can prepare a semi-transparent watermark image in advance using an image editor.
How to Reposition the Watermark
Once the image is inserted, you can adjust its placement:
- To move the watermark slightly to the side, place the cursor before ‘&[Picture]’ and press the spacebar as many times as needed.
- To move it lower on the page, add line breaks before ‘&[Picture]’ by pressing Enter.

This gives you some control over where the watermark appears.
How to Adjust the Watermark Image
To make changes to the image:
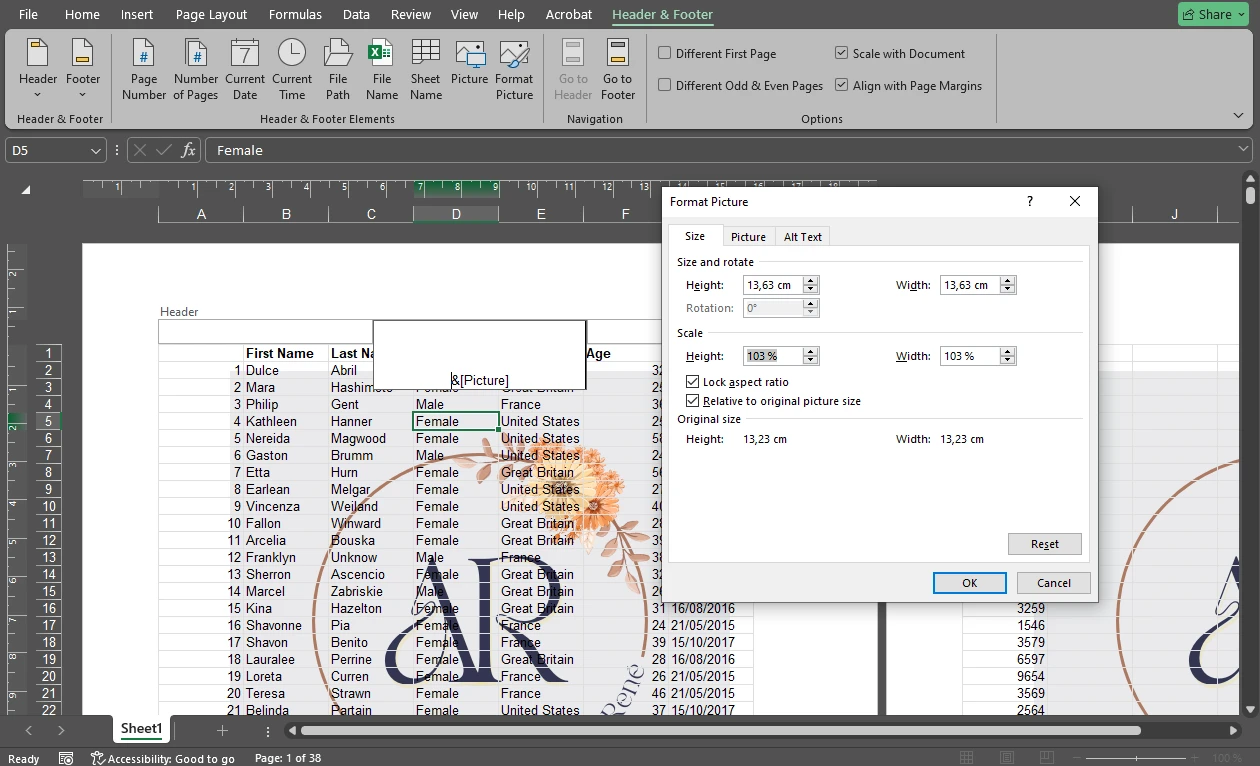
- Go to the Header & Footer tab.
- Click Format Picture.

- In the Size tab, resize the image if necessary.
- Make sure Lock Aspect Ratio is enabled so the image does not become distorted.
You can also make the watermark lighter:
- In the Picture tab, find the Image Control section.
- Open Color.
- Choose Washout.
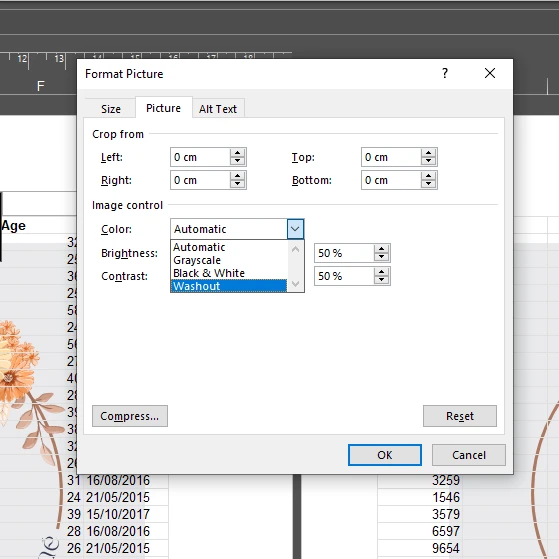
This will make the watermark semi-transparent. You can also crop the image and adjust its brightness and contrast in the same settings window.
When you finish, go back to the View tab and switch to Normal view if needed.
And that’s it — this is how you can add either text or an image as a watermark in Excel.
How to Rotate a Watermark in Excel
You may have noticed that the rotation option is not available in Format Picture. Unfortunately, Excel does not let you rotate a picture that has been inserted into the header or footer.
There is, however, a simple workaround: create a rotated version of the image first, then insert it into the header or footer as your watermark.
How to Rotate a Watermark Image Before Inserting It
- Open a blank Excel document.
- Go to Insert > Pictures.
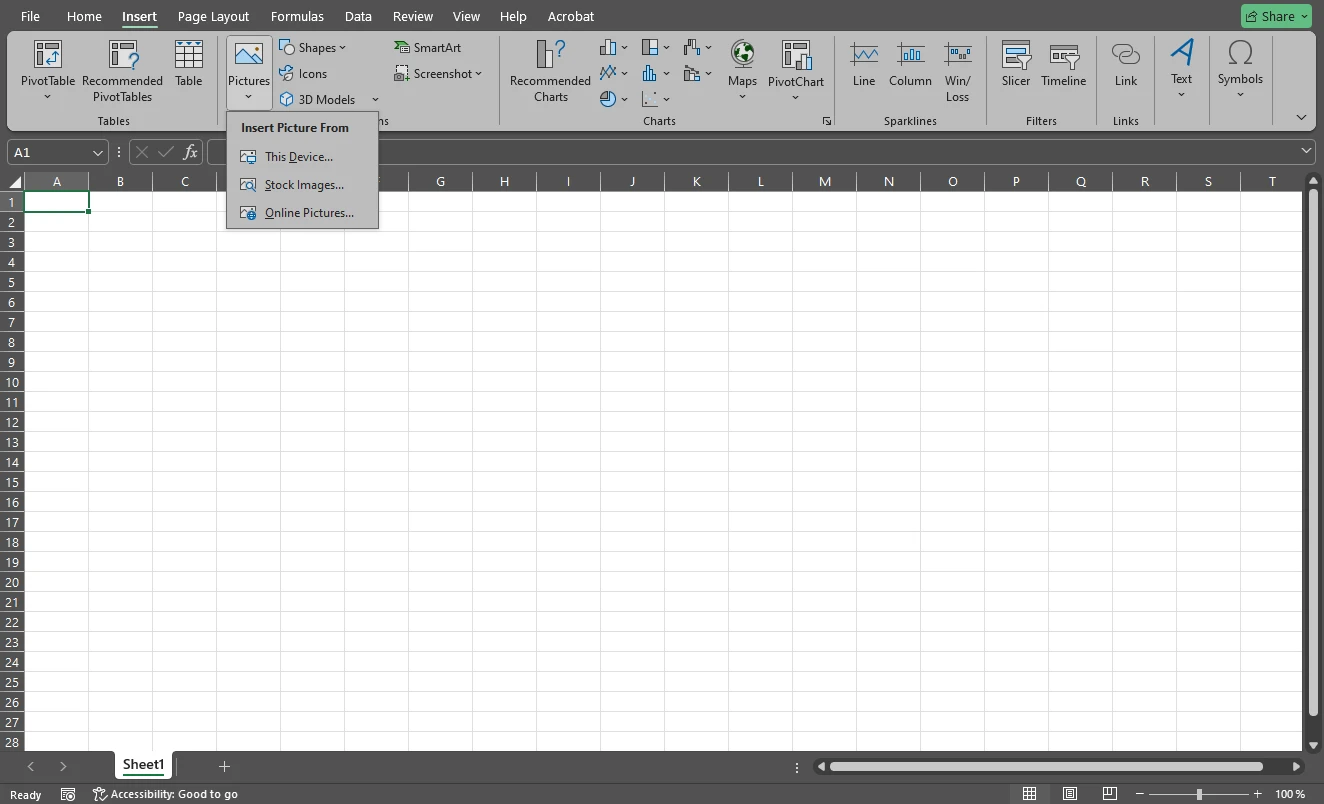
- Insert the image you want to use as your watermark.
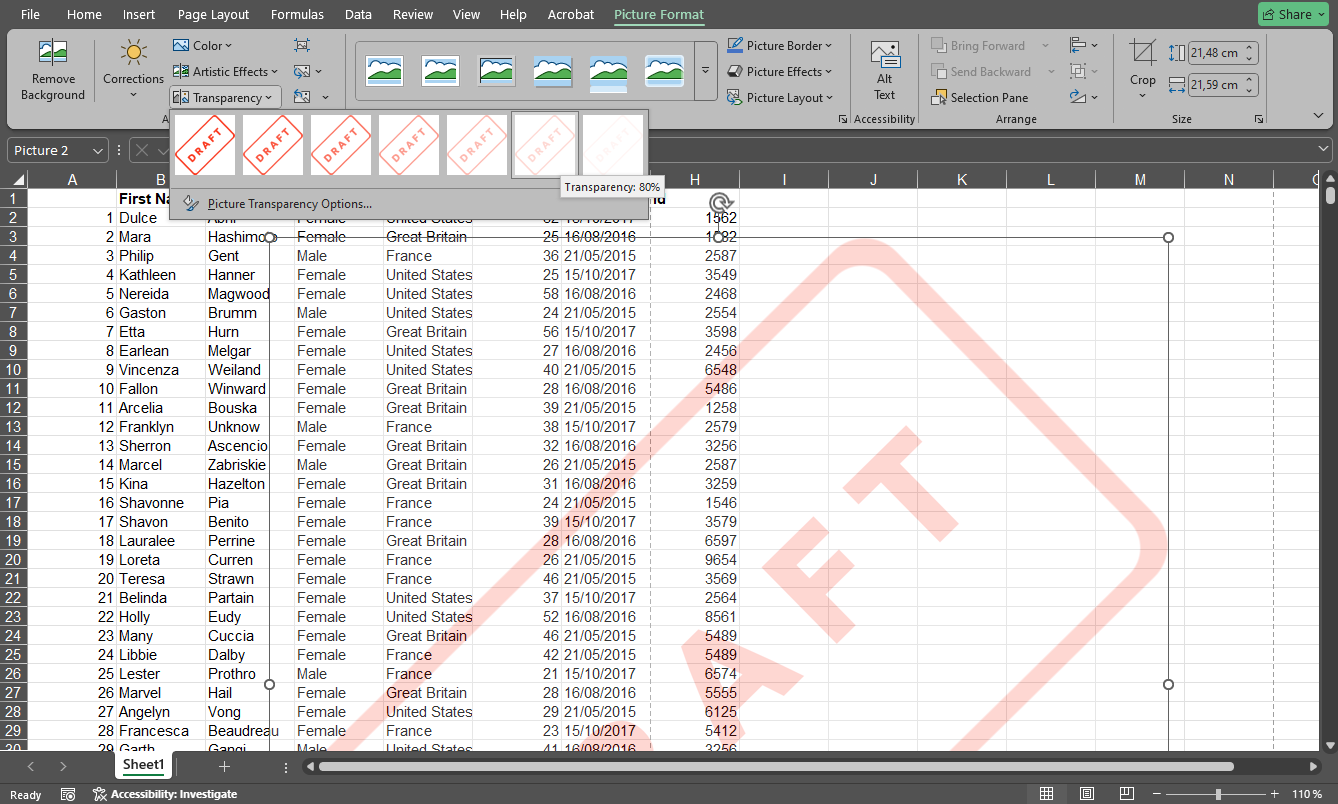
- Click the rotation handle and rotate the image to the left or right until it looks the way you want.

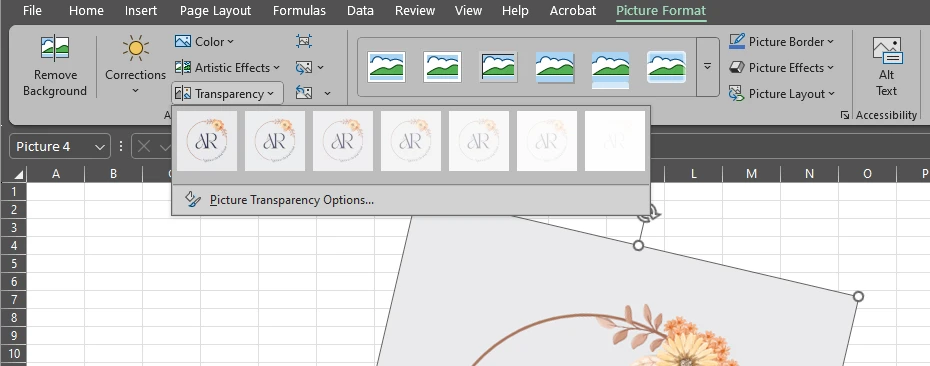
- If needed, adjust the transparency in the Picture Format tab by going to Transparency > Picture Transparency Options and moving the slider.
- When the image is ready, right-click it and choose Save as Picture.
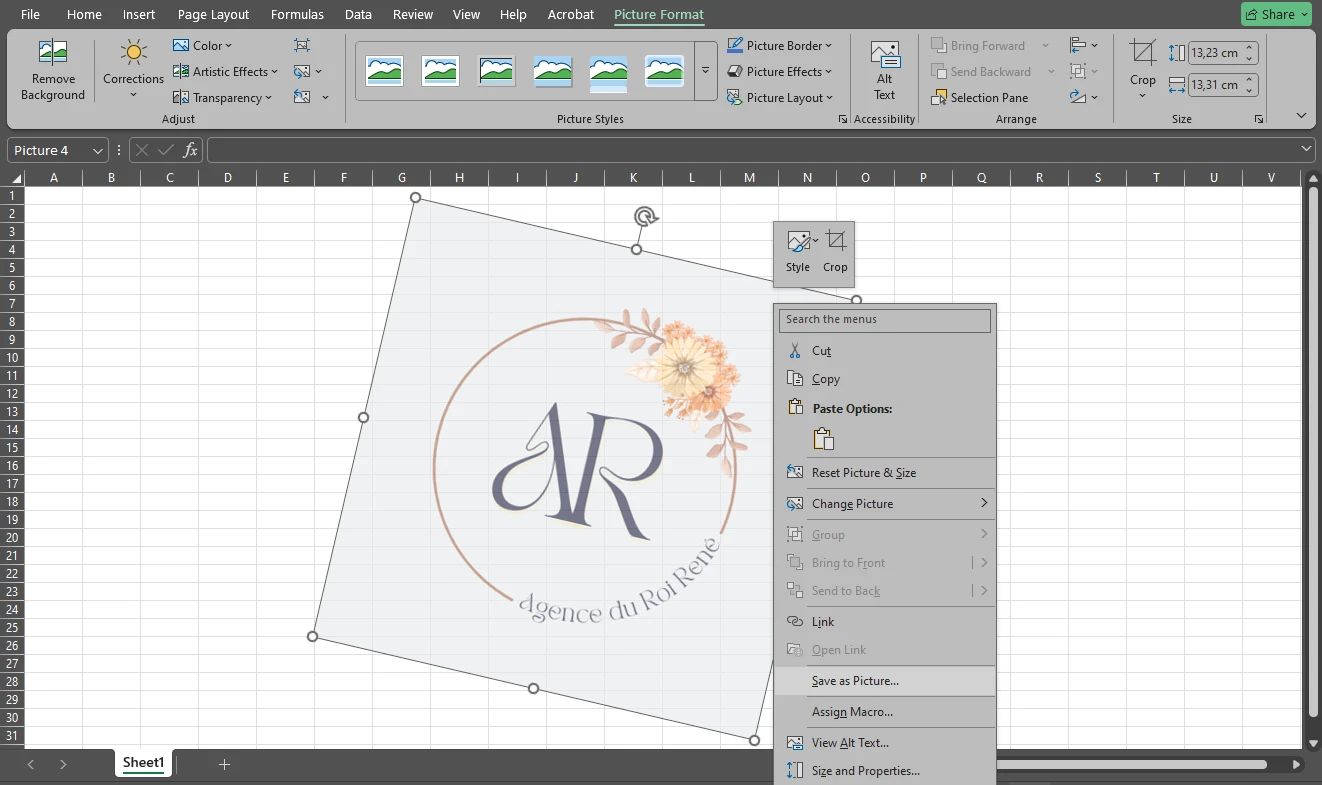
- Save the rotated image to your device.
- Open the worksheet where you want to add the watermark.
- Insert the saved image into the header or footer using the steps from the previous method.
This is the easiest way to create a rotated watermark in Excel when you are using the Header & Footer method.
How to Insert Repeated Watermarks in Excel
Excel does not offer a built-in option for adding repeated watermarks across a worksheet. If you need this effect, the easiest solution is to create a custom image with repeated text and then use it as your watermark.
How to Create a Repeated Watermark Image
You can make the repeated watermark design in any image editor. Create a blank file, add your watermark text several times across the canvas, and lower the opacity so the final result does not distract from the worksheet content. Once the image is ready, save it in PNG or JPEG format.

How to Add the Repeated Watermark in Excel
After the image is ready, insert it the same way you would insert any other image watermark:
- Open the worksheet where you want to add the watermark.
- Go to Insert > Header & Footer.
- Click the header section where you want the watermark to appear.
- On the Header & Footer tab, click Picture.
- Upload the repeated watermark image you created.
- If necessary, use Format Picture to adjust the size and appearance.
This is the easiest way to create a repeated watermark effect in Excel.
How to Add a Watermark in Excel Using WordArt
This method is also simple, but it works differently from the Header & Footer approach. Here, the watermark is placed directly on top of the worksheet content rather than in the header or footer. As a result, it remains visible while you work in the document. The downside is that you will need to make it as transparent as possible so it does not interfere with readability.
How to Add a Text Watermark with WordArt
- Go to the Insert tab and select WordArt.
- Choose the style you want to use.
- Delete the placeholder text inside the text box and type your own text.
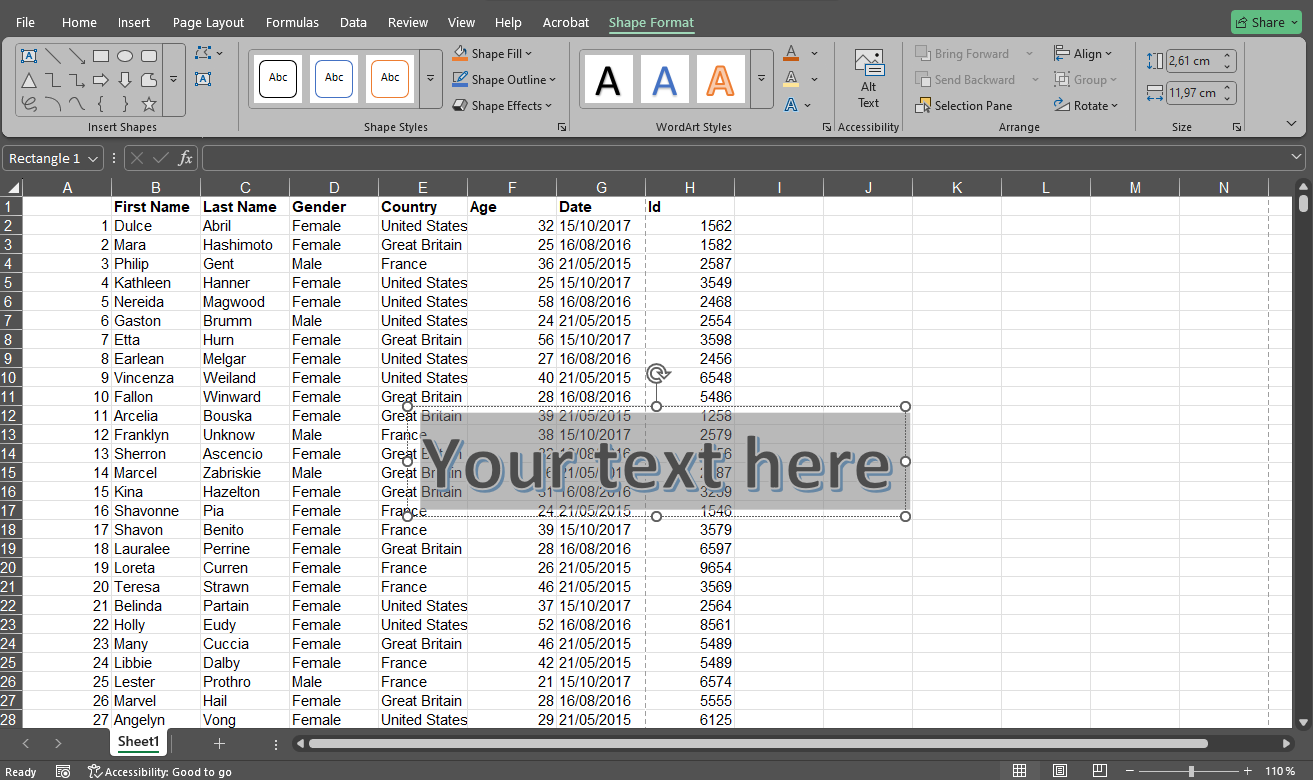
- Select the text and make the necessary adjustments to its font, size, color, and style.
- Use the rotation handle to rotate the text.
- Drag the text box to reposition it on the worksheet.

This method works well if you want the watermark to stay visible in the worksheet without switching to Page Layout.
How to Change the Transparency of a WordArt Watermark
- Right-click the WordArt text.
- Select Format Shape.
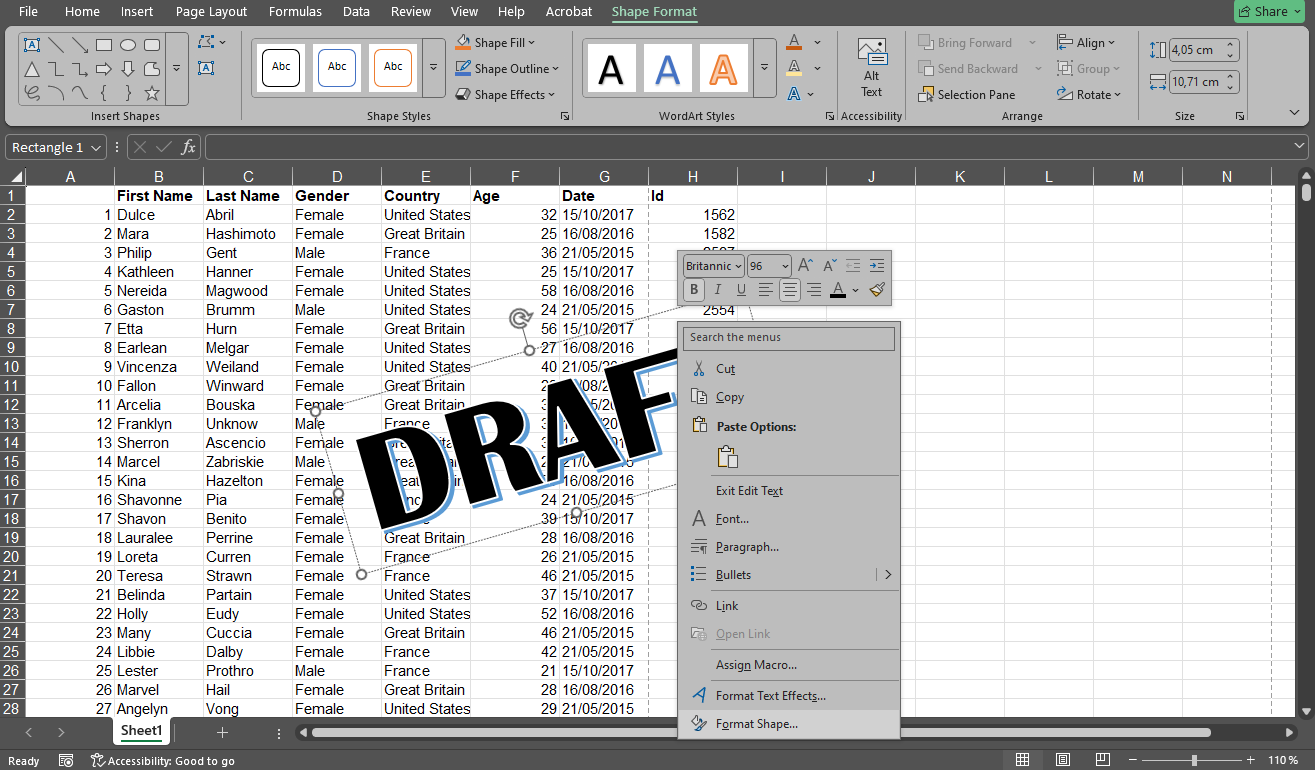
- In the Format Shape panel, go to Text Options.
- Adjust the Transparency slider.
- Depending on the selected style, you may need to adjust both Text Fill and Text Outline transparency.
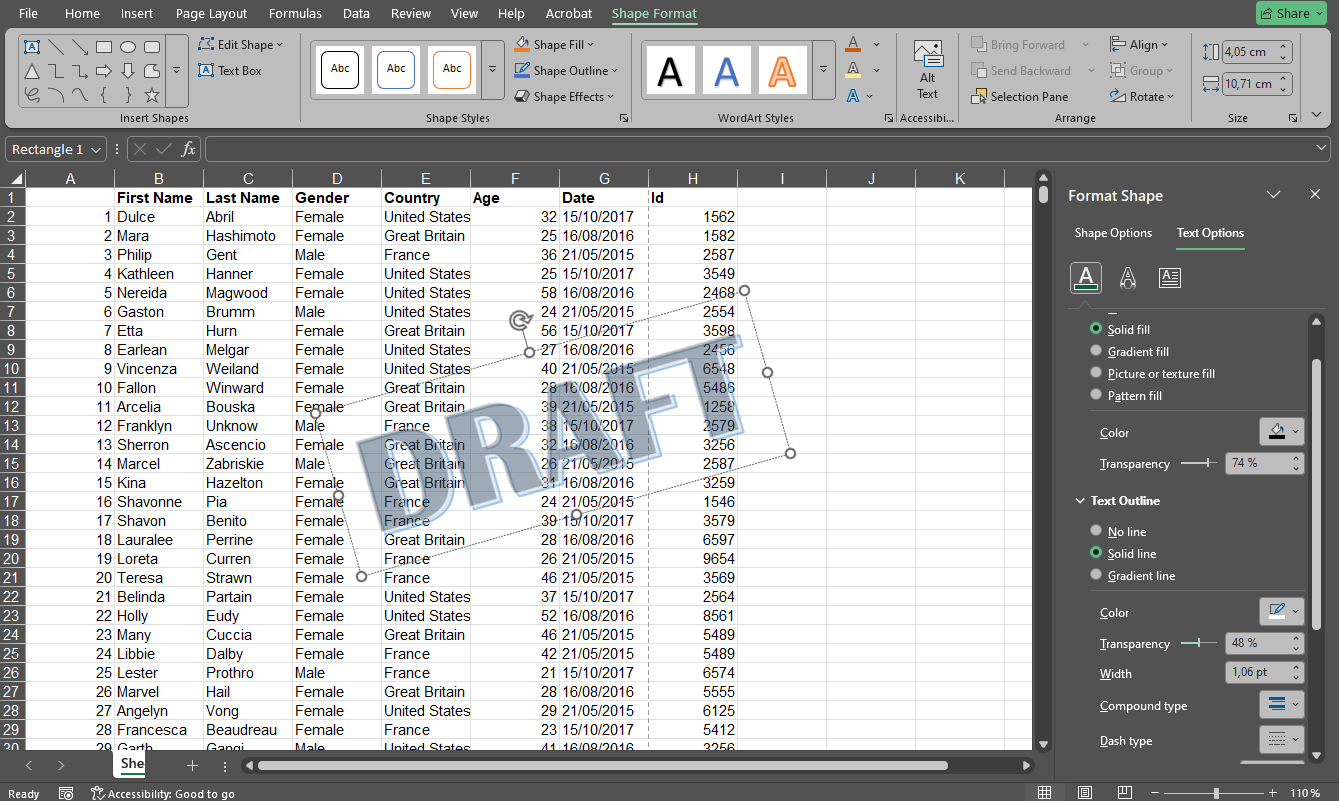
Lowering the transparency is essential here; otherwise, the watermark may make the worksheet contents difficult to read.
How to Add an Image Watermark on the Worksheet
If you want to use an image rather than text, the process is similar:
- Go to Insert > Picture.
- Import the image you want to use.
- Move and resize it as needed.
- Open the Picture Format tab.
- Lower the transparency of the image.
This is another simple way to add a watermark in Excel.
How to Remove a Watermark in Excel
The way you remove a watermark in Excel depends on how it was added. If you inserted it through Header & Footer, you will need to remove it from the header section. If you used WordArt or inserted an image directly onto the worksheet, you can simply delete the object.
- Open the worksheet that contains the watermark.
- Go to the Insert tab.
- Click Header & Footer.
- Click the header section where the watermark was inserted.
- Delete the text or the ‘&[Picture]’ code.
- Click anywhere outside the header area.
The watermark should now be removed.
How to Remove a WordArt Watermark
If you added the watermark using WordArt, click the text box to select it, then press Delete on your keyboard.
How to Remove an Image Watermark from the Worksheet
If you inserted an image directly onto the worksheet instead of using the header, click the image to select it and press Delete.
Once the selected object or header content is removed, the watermark will disappear from the worksheet.
Keep in mind that watermarks added directly in Excel are relatively easy to remove. If you need stronger protection or want the watermark to be harder to edit, save the worksheet as a PDF and add the watermark afterward with a PDF watermark tool.
In Conclusion
Adding a watermark in Excel does not take much time once you know which method to use. Whether you need to mark a file as Draft, Confidential, or add branded visuals, Excel gives you several practical ways to create the same effect.
Use Header & Footer for printable watermarks, WordArt for visible on-screen labels, and a custom image for repeated or more flexible designs.
Choose the method that best fits your goal, and you will be able to add, adjust, and remove watermarks in Excel with ease.
You can explore more watermarking tools on Watermarkly.