
How to Crop a PDF in Adobe Acrobat
by ![]() Lina Thorne • Updated · Posted in PDF Editing
Lina Thorne • Updated · Posted in PDF Editing
PDF is a widely used file format for sharing and storing documents due to the fact that it can maintain consistency in a layout across various devices. But PDFs don’t always look the way you need them to. Scanned files may have dark edges, presentation slides might export with distracting white borders, and multi-page documents can contain pages of different sizes. It’s not the end of the world, but it’s not very professional, either. And you want your digital documents to look clean and polished, right?
Fortunately, one of the most popular software for working with PDFs, Adobe Acrobat, offers a cropping feature. Cropping is not only easy but also powerful. It can make your document neater and easier to read. Moreover, it can help you make sure that all the key elements fit within trim and bleed areas as well as set the margins precisely. If you’re preparing your document for printing, cropping might actually be essential to achieve the best results.
In this comprehensive guide, you’ll learn why cropping can be useful, how to crop a single page and multiple pages in your PDF using Adobe Acrobat. You’ll also find out how to use Action Wizard for batch-cropping and how exactly you can permanently remove hidden data from a document.
Why you should crop a PDF
Cropping a PDF in Adobe Acrobat can be necessary for several reasons. Here are the most common ones:
- Cleaning up scanned documents. When you scan physical documents, the digital version might end up with black borders, hole-punch marks, or even some shadows around the edges. Cropping can help you fix these issues effortlessly.
- Removing unnecessary margins. Slides, forms, and certificates often have a lot of white space around the main content. This can make documents look cluttered or unprofessional. It might be a good idea to remove all the excess and focus attention on only what matters.
- Achieving uniformity. Multi-page PDFs sometimes contain pages that vary in size: one page is letter-sized, while another one is A4. Cropping allows you to bring all the pages to the same size, which creates a smooth reading experience.
- Preparing for printing. In printing, it’s crucial for your PDF to meet printing specifications correctly. For instance, when a poorly formatted PDF is printed, some text or images might be cut off in the printed version. By cropping your PDF in Adobe Acrobat, you’ll make sure that the final printed product will look exactly as you want.
- Focusing on what’s important. Headers, footers, side notes or some artsy elements can sometimes distract from the main content. Cropping allows you to reduce visual noise, highlight key sections, and improve readability by removing all the redundant bits.
- Hiding sensitive information. You can easily get rid of draft PDF watermarks or confidential details (e.g., tracking numbers, internal notes, or signatures) if they are close to the edges of a page.
What cropping does and doesn’t do
When you crop a PDF in Adobe Acrobat, you make certain parts of a page invisible. It’s not the same as cropping an image because the cropped-out bits will still be in the file. They won’t go anywhere. This means two things:
- If you want to crop a PDF to reduce its file size or delete some sensitive content, you will need to take some extra steps to remove the hidden information permanently.
- If you don’t take those extra steps, you’ll be able to restore your edited PDF to its original state with minimum effort.
How to crop a PDF in Adobe Acrobat
Let’s see how you can crop a single page using Adobe Acrobat’s desktop version, which is available for both Mac and Windows. Follow these steps:
- Open the document you want to edit in Adobe Acrobat.
- Removing the edges of a page would be easier if you zoom out so that the whole page is clearly visible. But if you want to crop a certain part of a page, zooming out might not be necessary.
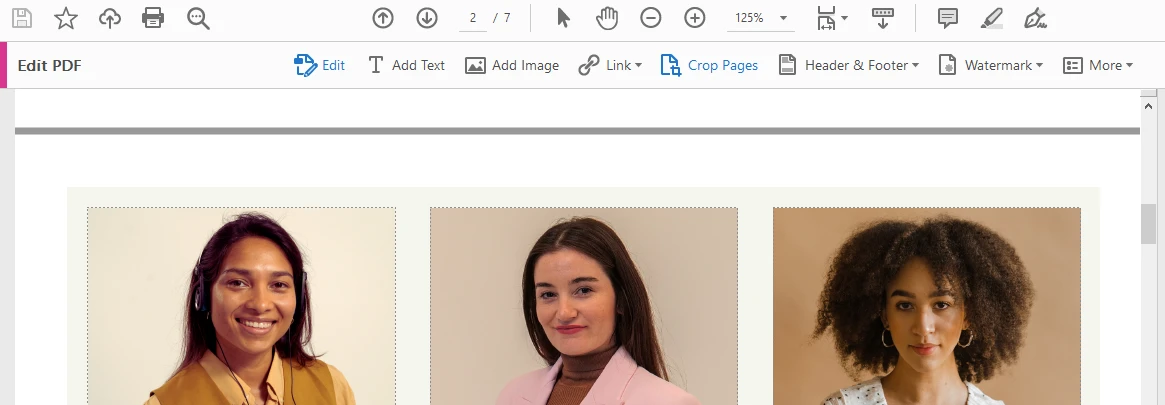
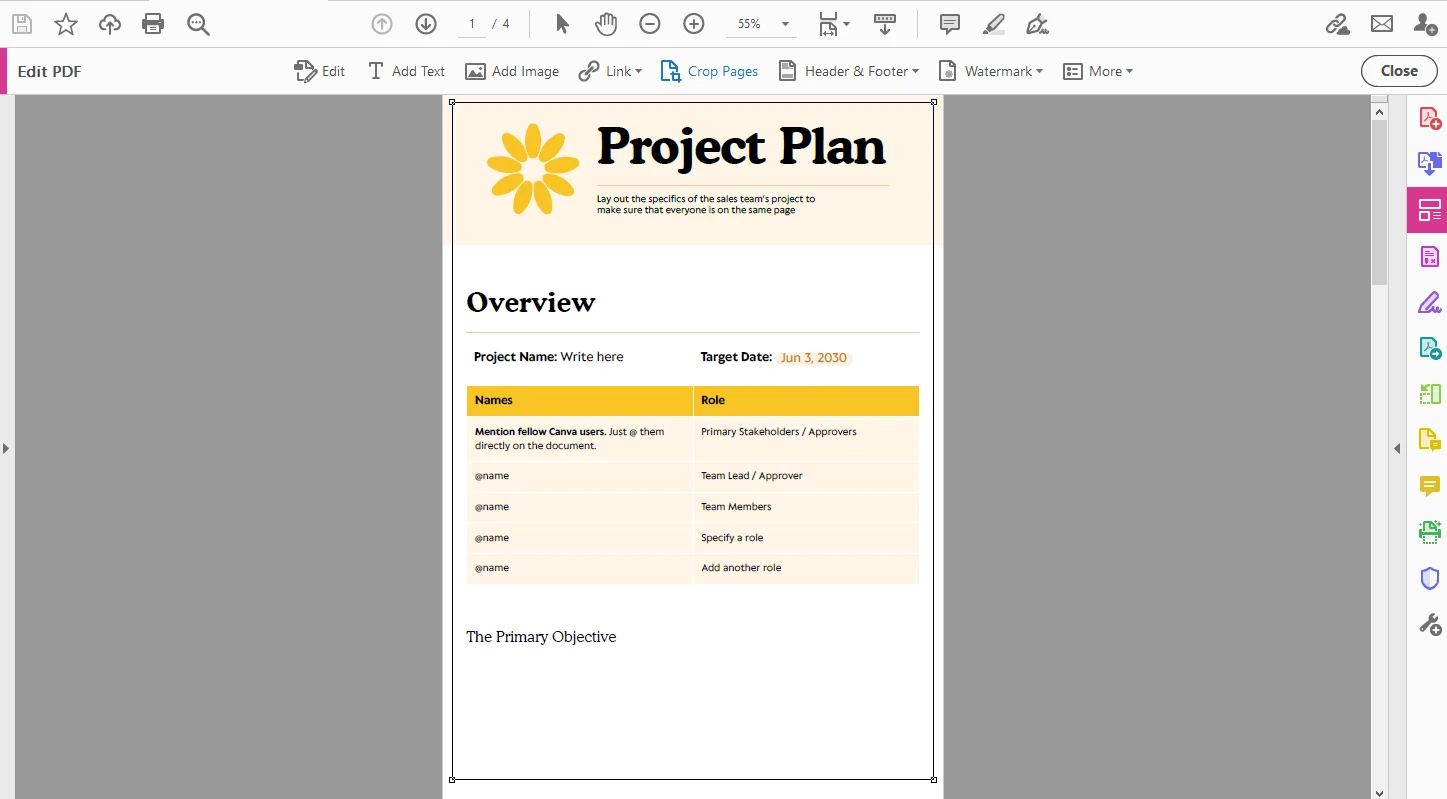
- Enable the editing mode by clicking on Edit PDF in the toolbar.
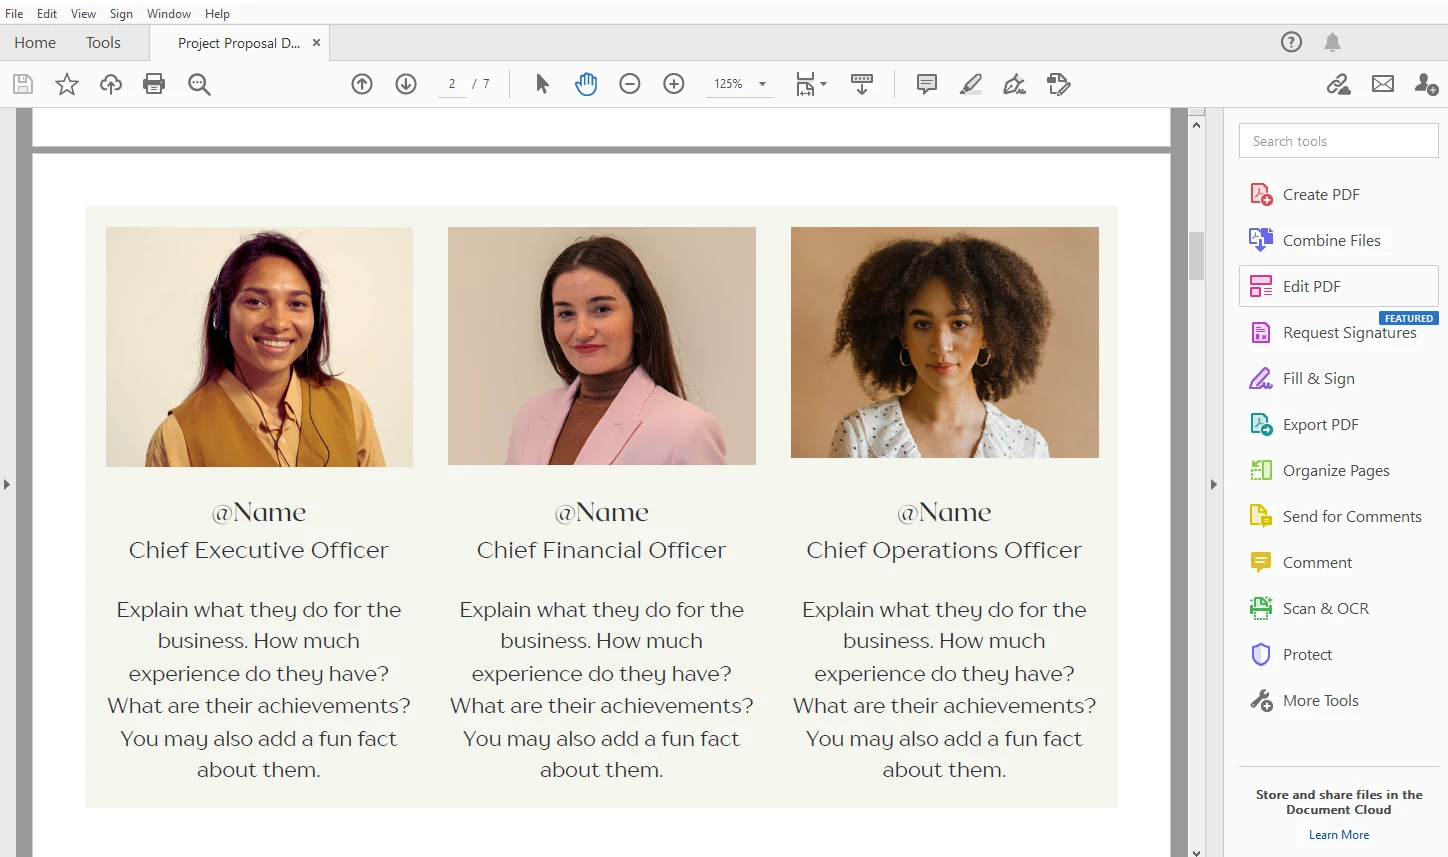
- Click on Crop Pages at the top.
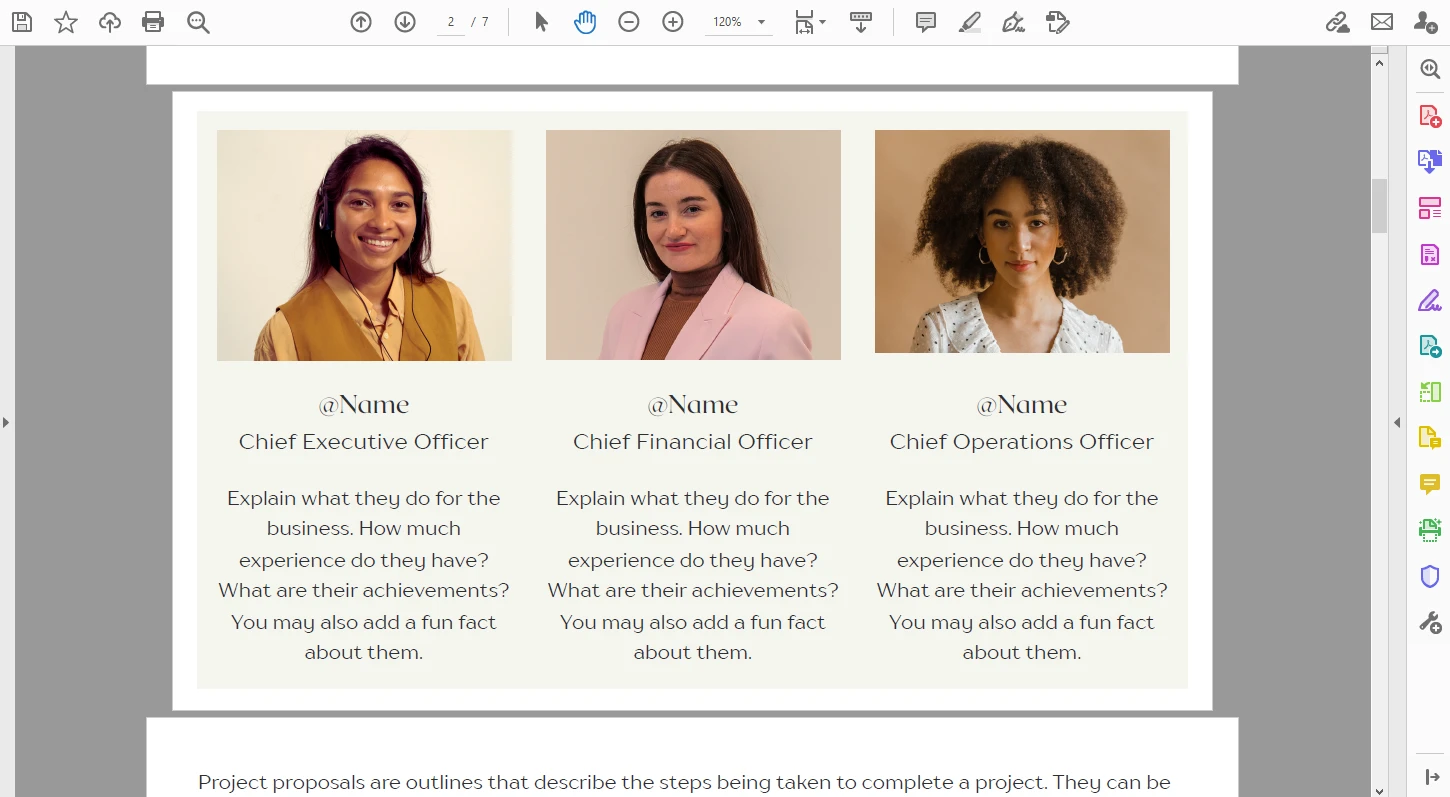
- Your cursor will turn into the crosshair. Click and drag it over the area that needs to be preserved.
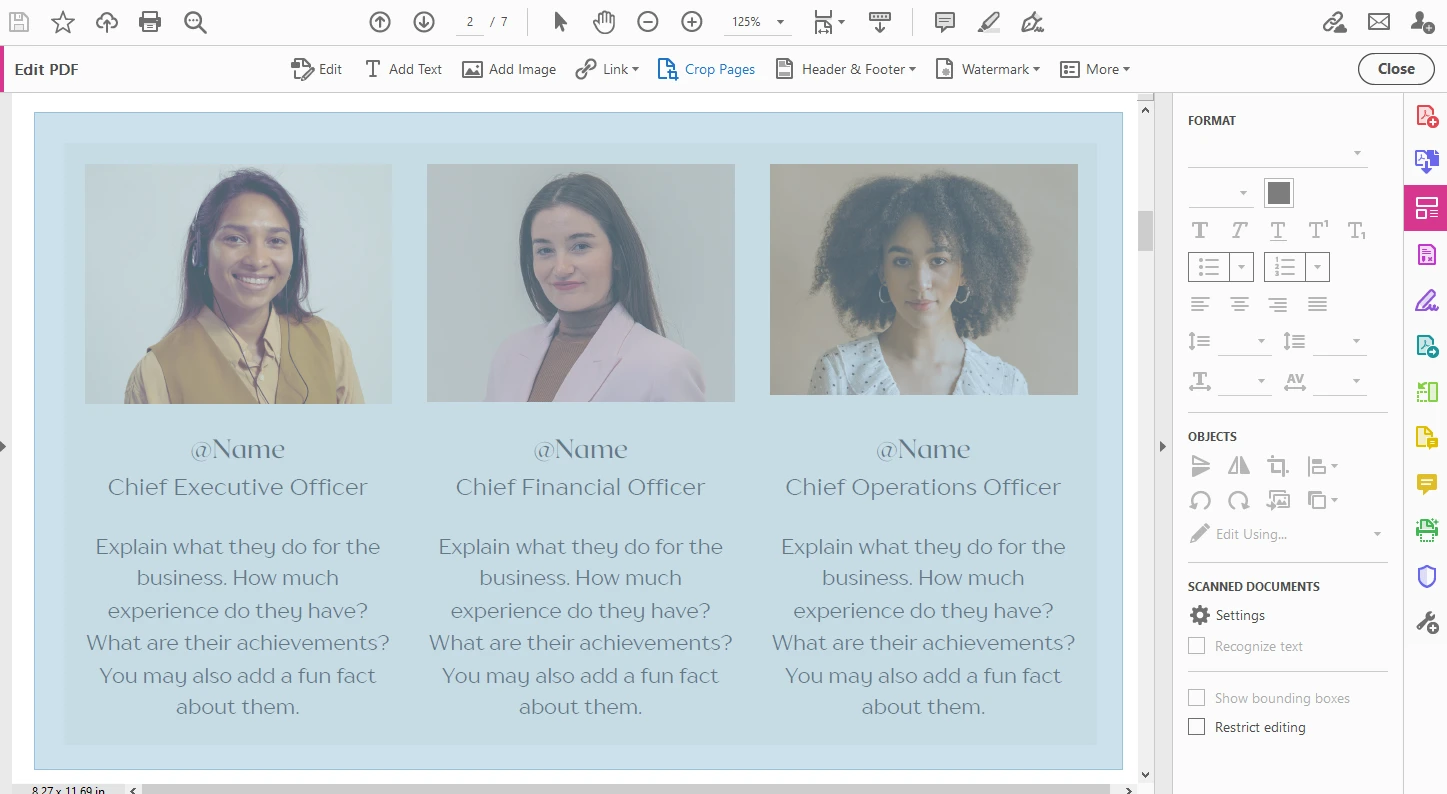
- Don’t worry about making a perfect selection. Once you select the necessary area, the sizing handles will appear. Use them to adjust your selection.
- Do you need to make more precise tweaks to the cropping area? That can be done in the Select Page Boxes dialog. In fact, you need to open this dialog anyway to apply the cropping. So, to open the Select Page Boxes dialog, double-click inside the cropping area.
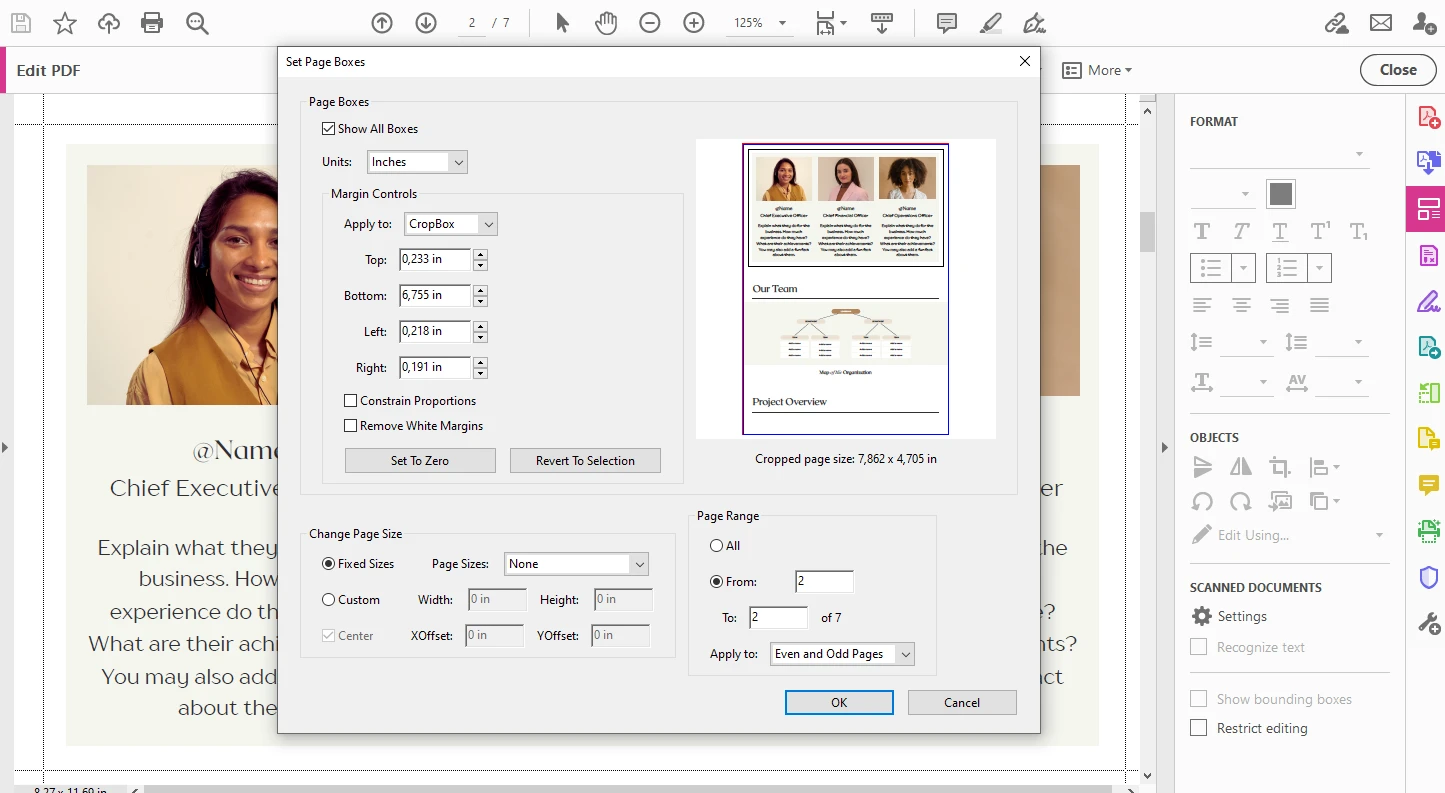
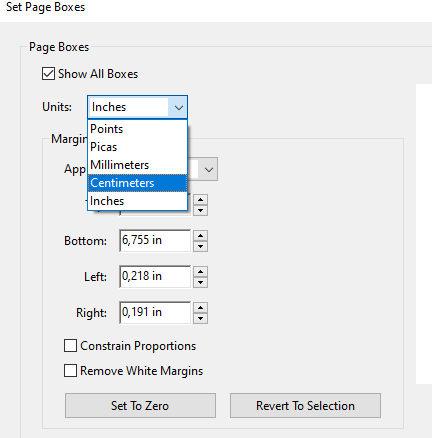
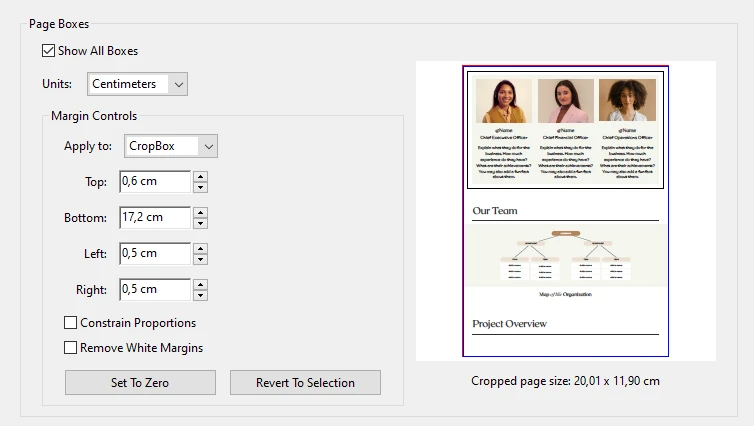
- Here, you can change the Units if necessary. For instance, you can switch from inches to centimeters.
- When the Show All Boxes is enabled, you will see rectangles of different colors. These colors indicate the CropBox, ArtBox, TrimBox, and BleedBox. Please note that only one colored line will appear if several margins coincide.
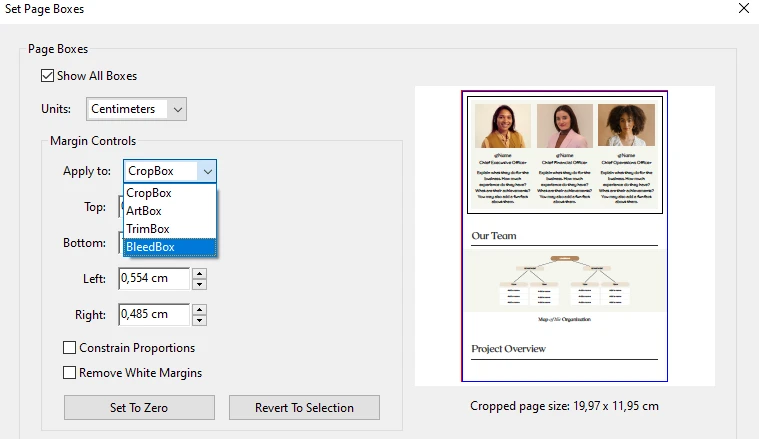 Learn more about the margins: CropBox is what is usually displayed by a PDF viewer. The area that contains the artwork of a page is usually indicated by ArtBox. It can include some white space. TrimBox actually defines the page size that gets printed. Please note that by default, the TrimBox is equal to the CropBox. You should worry about the BleedBox only if your documents will be printed out in a production environment. The term Bleed Area refers to the extra space around the edges of a printed document. The bleed area usually extends beyond the final trim line. It will be later trimmed off and won’t show up in the final product. You see, even if you have precise cutting equipment, it’s still possible for the paper to shift slightly and, as a result, you’ll end up with a thin white border around the main content. The bleed area helps to ensure this doesn’t happen.
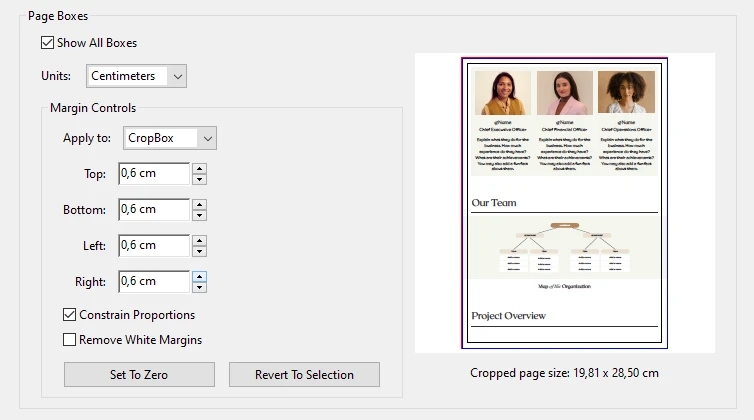
 - In the Margin Controls section, there are also two features that you can enable: If you tick the Constrain Proportions, the proportions of the cropped area will be locked. This option is for you if you want margins to be at the same distance.
 If you enable the Remove White Margins, the page will be cropped to the ArtBox margin. In other words, all the elements of the page will be included. This option can help you trim the edges of a page quickly and accurately. Also, the Remove White Margins can be applied to all pages or only to a certain page range.
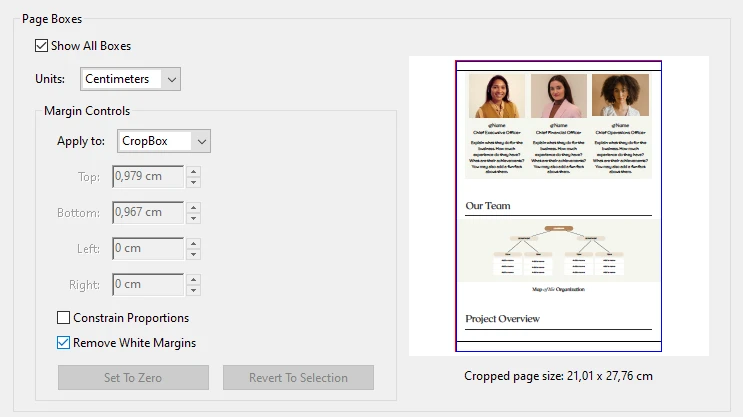
- You can actually make some further and more precise changes to your cropping area in the Margin Controls section. Enter new values in Top, Bottom, Left, Right sections. Please note that if you enable the Constrain Proportions, the values in other boxes will change automatically as soon as you change the value in one of the boxes.
 For instance, if you change the value in the Bottom, the other values will also change without you doing anything. If this isn’t what you want, disable the Constrain Proportions feature, then make the necessary changes.
 - If you want to get rid of the cropping, click on Set to Zero.
- But if you want to restore the cropping, click on Revert to Selection.
- When you are ready to apply the cropping, click OK.
- You can save the changes in the original document by simply clicking on the Save button. If you want to save the modified document as a copy, go to File > Save As, then find the location for your new document and name it.
That’s it! You’ve cropped a page in your PDF document using Adobe Acrobat!
How to crop multiple pages in a PDF in Adobe Acrobat
Now, you might be wondering: “What if I need to crop several pages? Do I need to crop each page one by one?”
Well, it depends. If each page needs to be cropped differently, then yes, you’ll need to crop each page separately. But if you want to apply the same cropping area to multiple pages in one document, there’s a way to do it quickly.
Here’s what you should do:
- Open your PDF, choose Edit > Crop page, then select the cropping area.
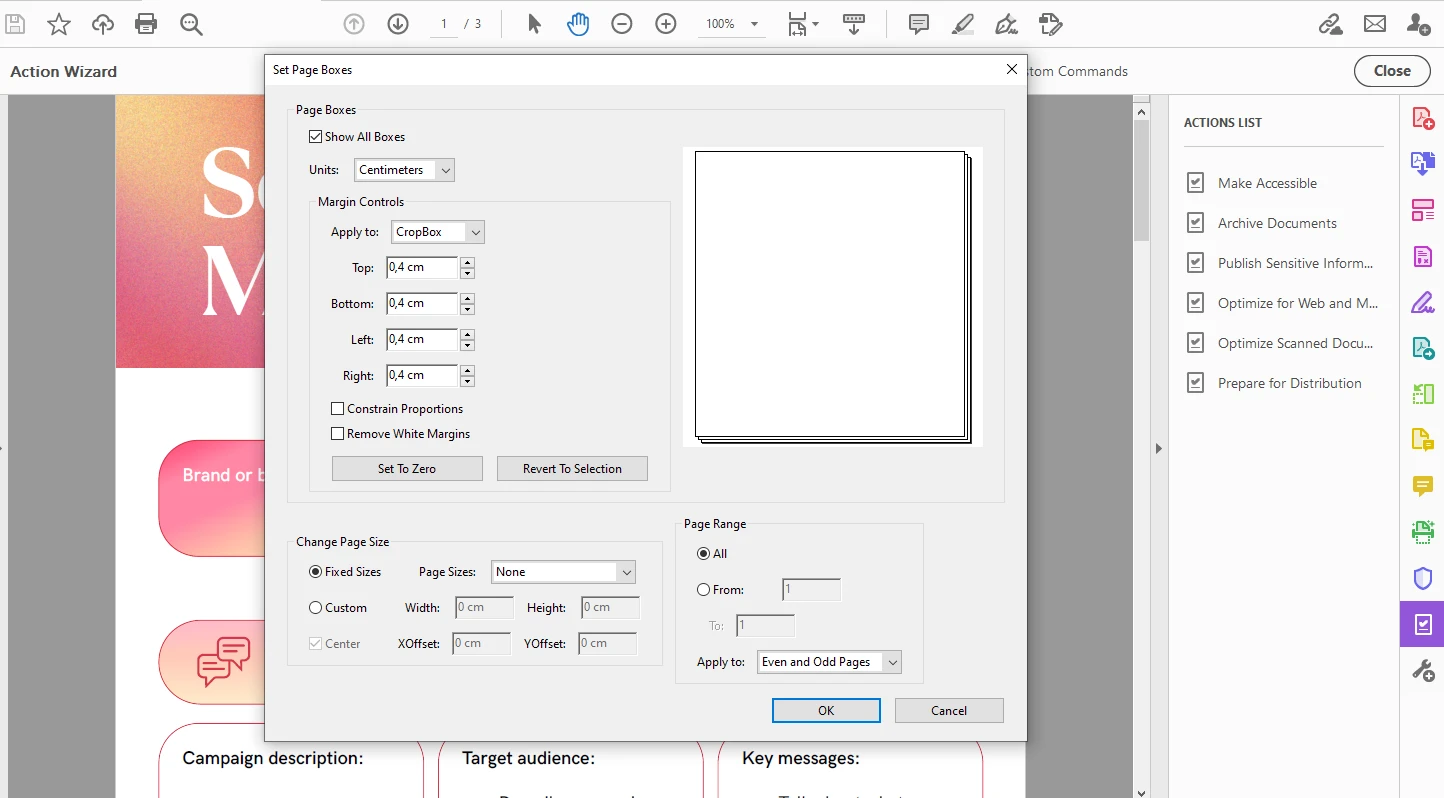
- Open the Set Page Boxes dialog and adjust the settings, if necessary.
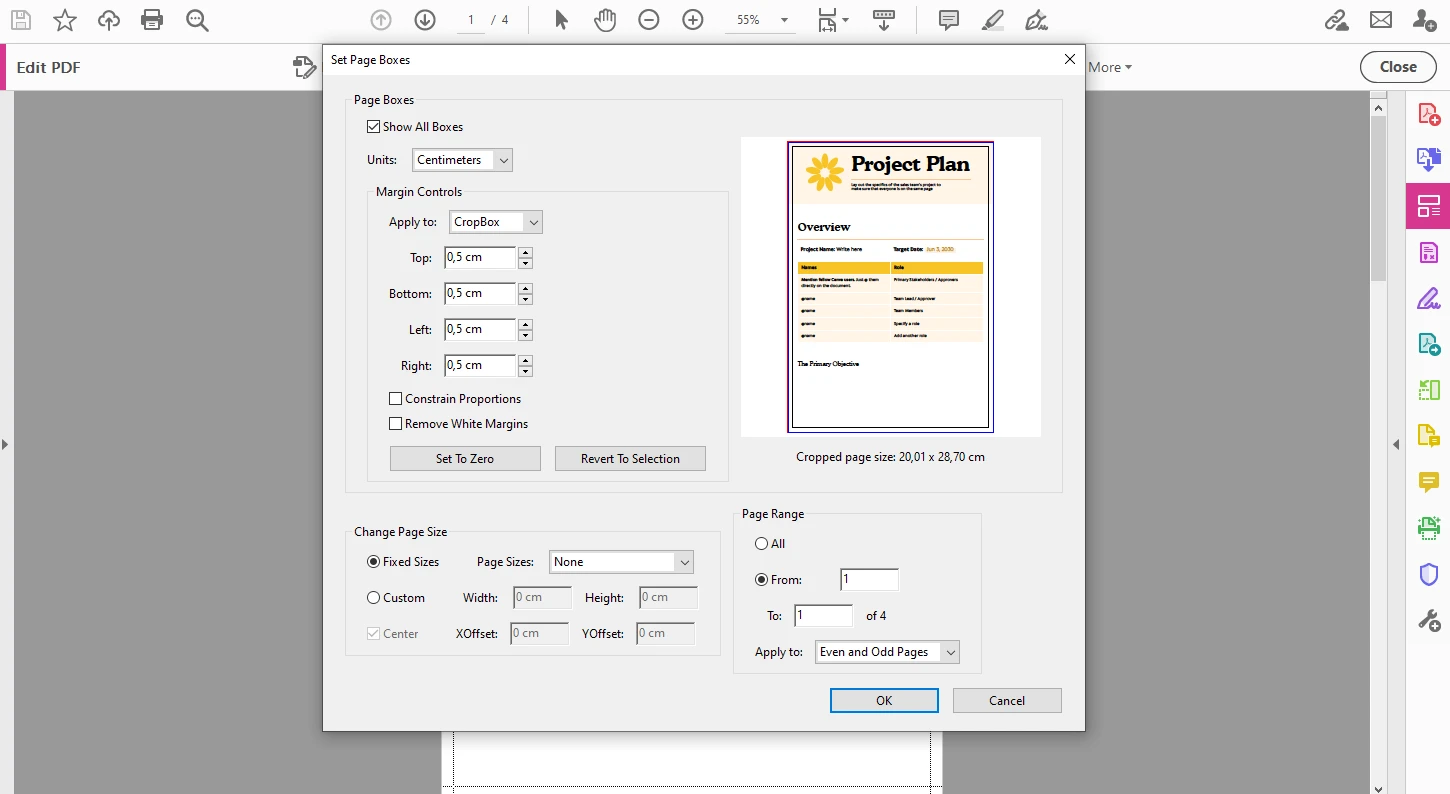
- Under the Page Range, select: All – to apply the cropping to every page in the document. From / To – to apply the cropping to a specific range of pages.
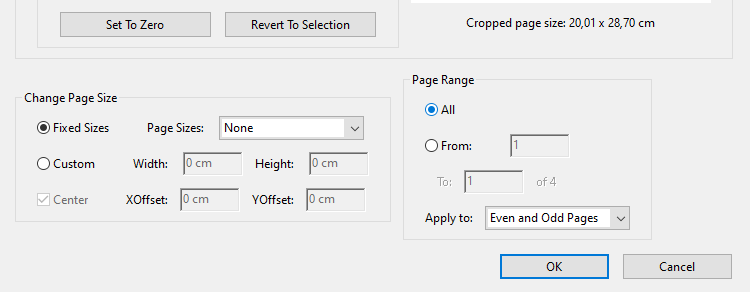
- It’s also possible to apply the cropping to even and odd pages, only to even pages, or only to odd pages within the chosen page range.

- Click OK to apply the cropping.
And now, you won’t have to painstakingly crop one page after another.
Undo the PDF cropping
Do you want to undo the cropping? Here’s what you need to do:
- Go to Tools> Print Production.

- Once the toolkit of the Print Production is open, select Set Page Boxes.
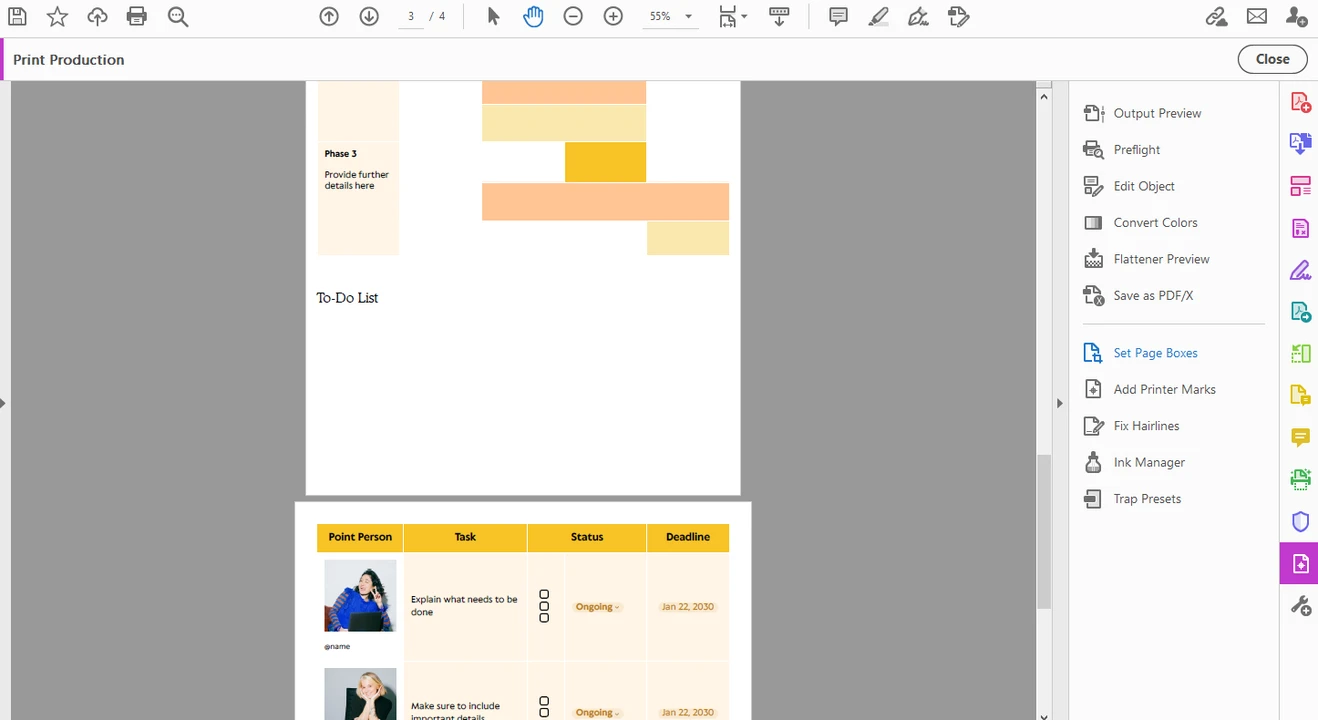
- Click the Set to Zero button to undo the cropping. The pages in your PDF will be restored to their original state.
It goes without saying, but by going to Tools> Print Production > Set Page Boxes, you can simply access the Set Page Boxes dialog again and make some further tweaks to the cropping area, if needed.
How to crop multiple PDFs in Adobe Acrobat
Do you need to crop multiple PDF documents in one and the same way? You can crop one PDF file after another using the aforementioned methods, of course. But a better and quicker way would be to use Acrobat Pro’s Action Wizard.
It’s not as complicated as you might think:
- In Adobe Acrobat, go to Tools and select the Action Wizard option in the Customize menu.
- Click on New Action at the top.
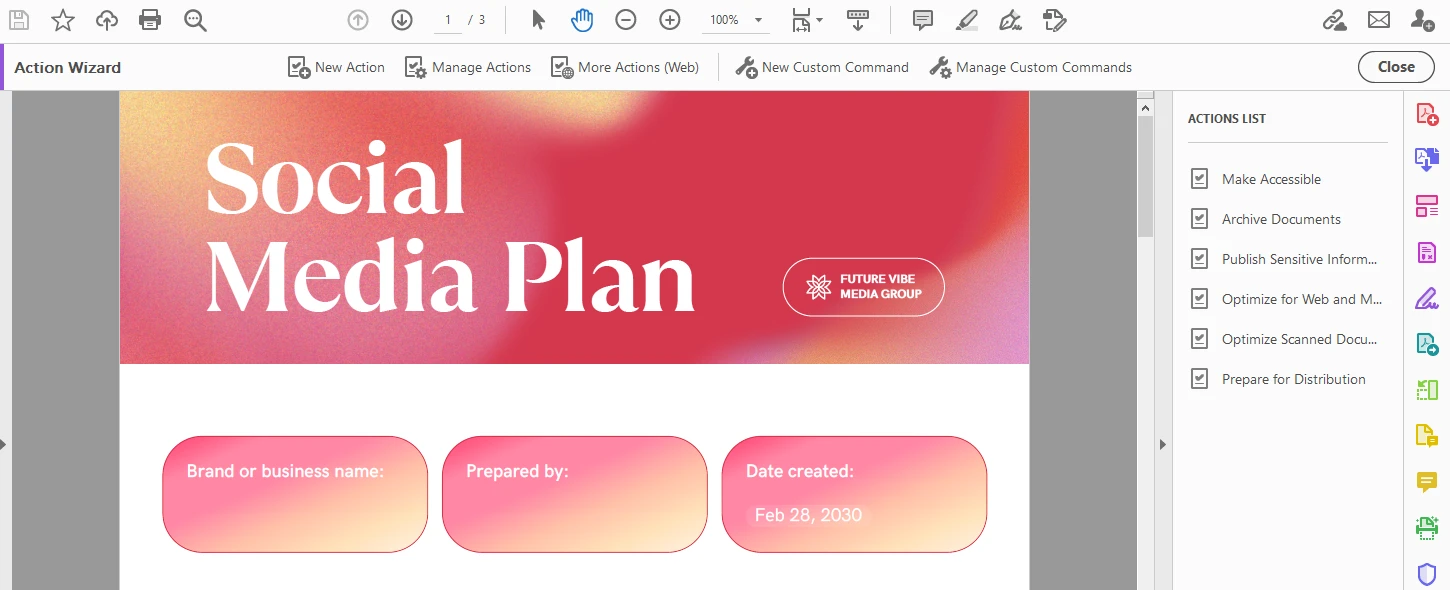
- In the Create New Action window go to the Pages section and select Crop Pages.
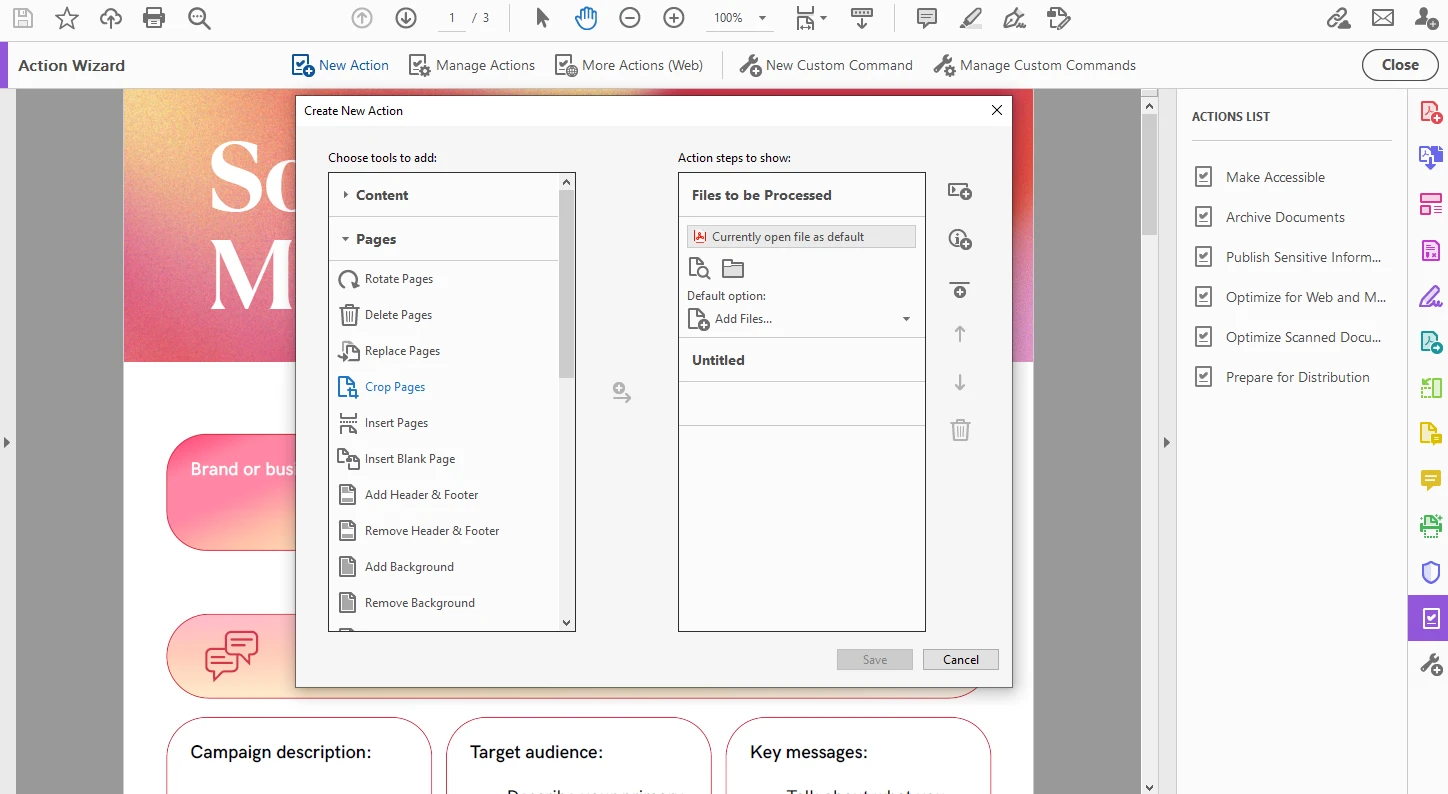
- Once you see the Crop Pages action appear on the right, click on Specify Settings under it.

- Enter the necessary values for the Crop Box and make some other adjustments. Click OK.
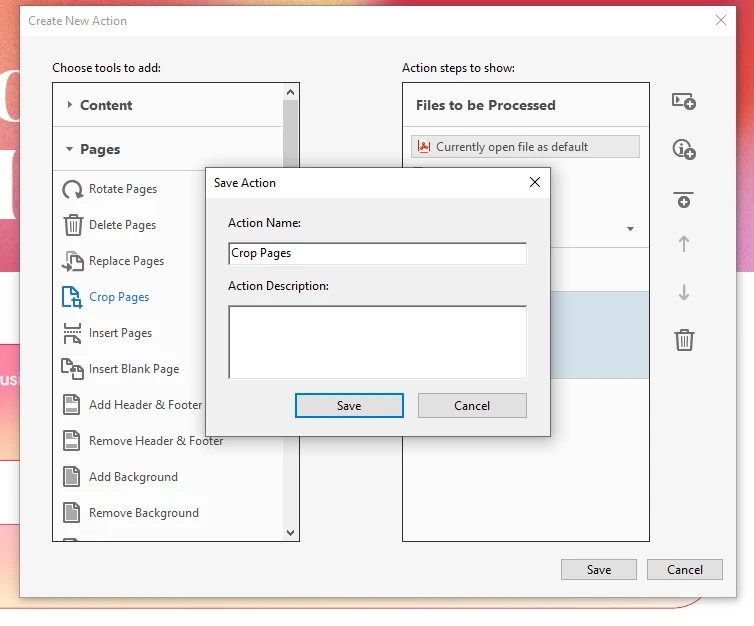
- Click on Save, enter the name for the action, and save it.
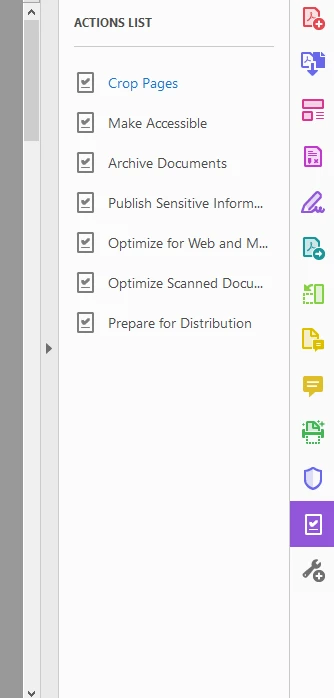
- Now, you’ll see your new action appear in the Actions List on the right.
- Click on it, then click on Add Files and add the files or even folders that you want the action to be applied to.
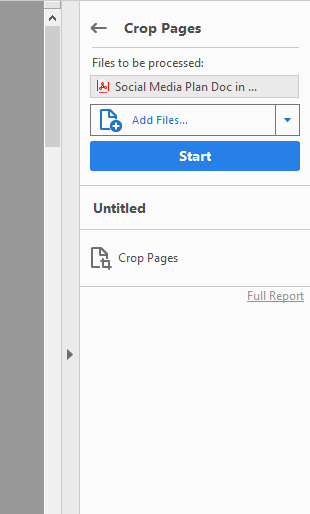
- All that’s left to do is to click on Start, and the batch-processing will begin.
Naturally, if you need to crop large batches of PDFs on a regular basis, automation can save you lots of time and effort.
How to crop a PDF in Adobe Acrobat permanently
As it has already been mentioned, cropping only hides bits of pages. They aren’t deleted for good.
But what if that’s exactly what you need? Say, you want to reduce the file size of your PDF or you don’t want anyone to recover the cropped-out bits due to security reasons?
Fortunately, it’s possible. Here’s how you can do this:
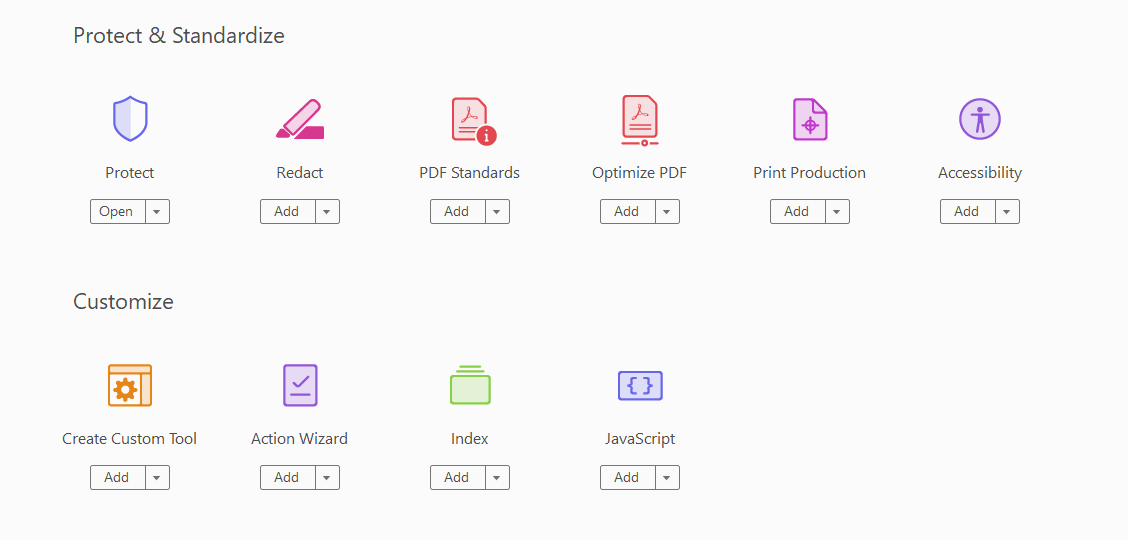
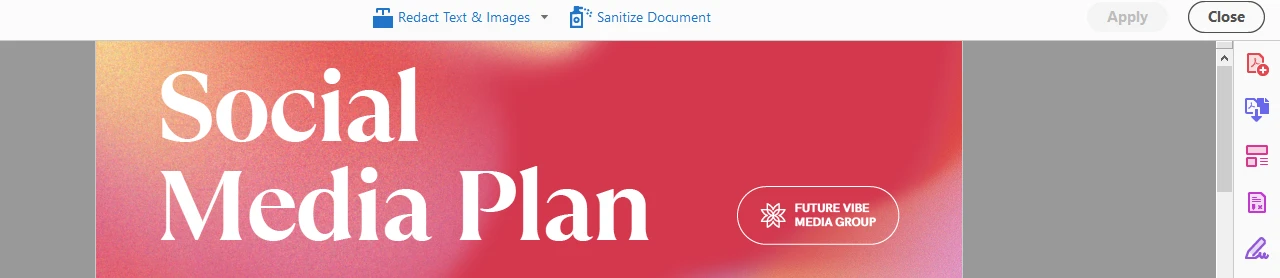
- After you’ve cropped pages of your PDF, go to All tools > Protect & Standardize > Redact.
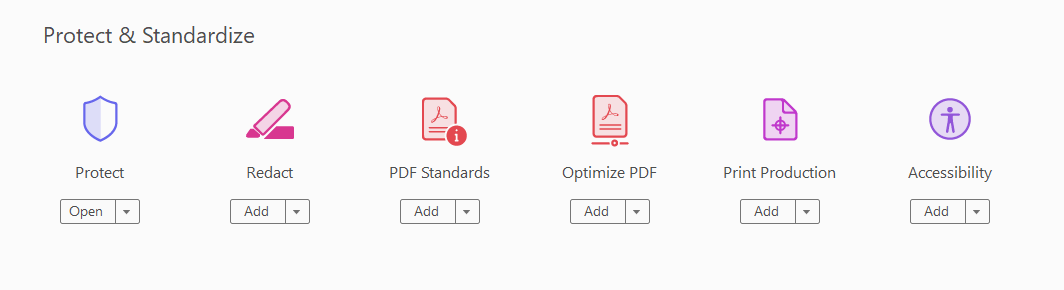
- Two options will appear at the top. Select Sanitize document.
- Once you do this, you will see this prompt:
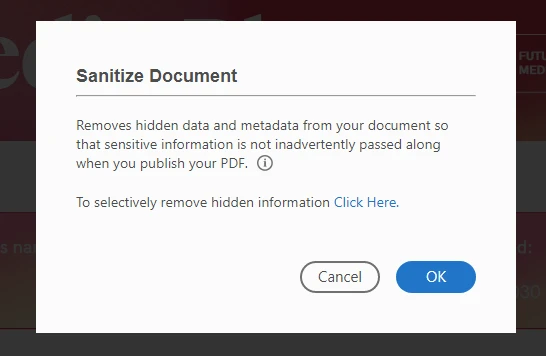
It’s important for you to know that sanitizing your document means removing metadata and other redundant information, not just the cropped-out bits. - If you need to selectively remove information, click on the words “Click Here” in the prompt. Select what should and shouldn’t be deleted, then click on Remove.
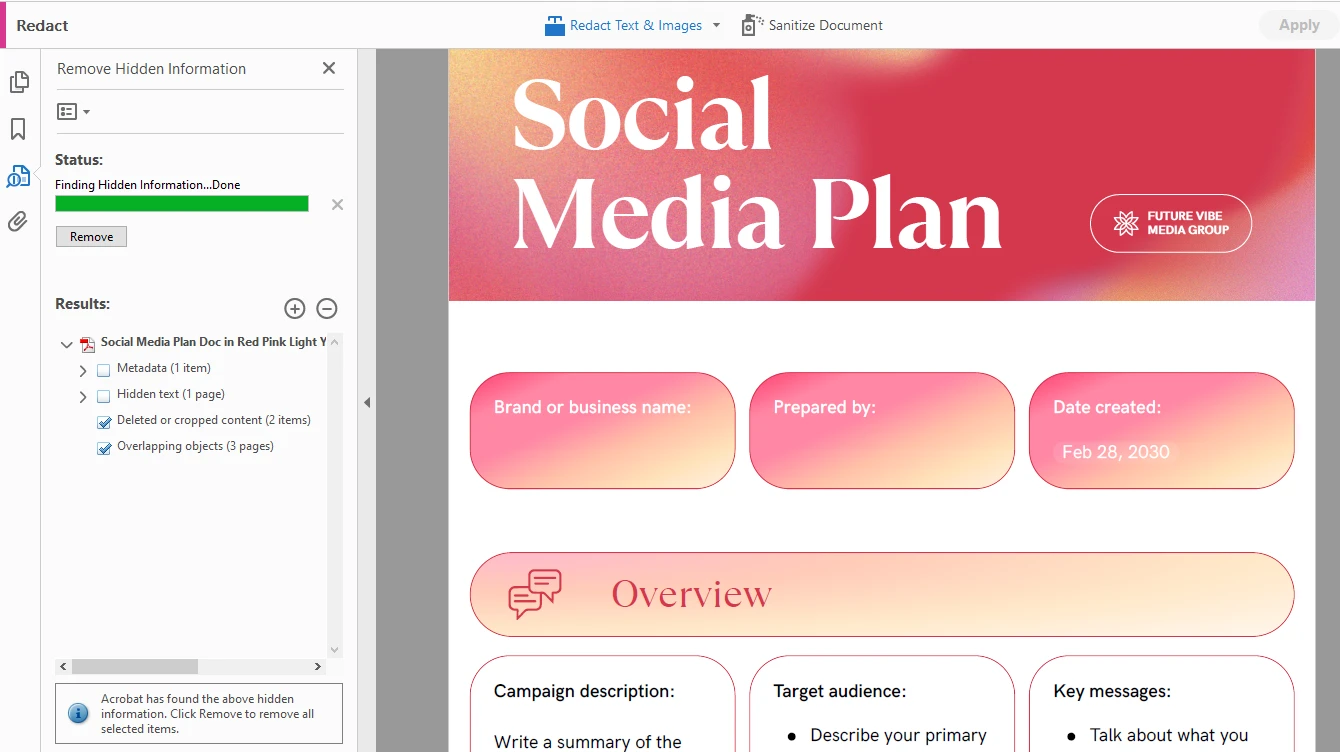
- Wait for the app to remove the hidden information.
- Another thing to keep in mind is that you can save a copy of your sanitized document, which is something you definitely want to do – this way, you’ll be able to get back to the original document whenever you need.
All done! Your cropped PDF is ready to be shared or sent for printing.
And if you are still worried about the safety of your document, check out our guide on How to Secure a PDF.
Conclusion
Cropping a PDF in Adobe Acrobat is actually a valuable skill to have in your toolkit. It can make your document look more professional and polished. It can also help to achieve consistent formatting across multi-page files and remove visual distractions that make a document harder to read.
Now that you know how to crop pages in your PDF document, it’s important to remember that cropping hides content rather than deletes it. For cases where security and privacy matter, you should take the extra step of using Adobe Acrobat’s sanitizing feature. This way, you’ll make sure that sensitive or unwanted data is permanently removed from the file.