
How to Compress Images in PowerPoint
by ![]() Lina Thorne • Updated · Posted in Photo Editing
Lina Thorne • Updated · Posted in Photo Editing
PowerPoint presentations are an integral part of business and education. They are often used when pitching a new product, presenting educational materials or simply showing some photos during a special event, like a wedding or a birthday party. So, yes, it’s possible to make use of a PowerPoint presentation for personal purposes, as well.
One of the best ways to make your presentation more memorable and engaging is to fill it with images. After all, the majority of people remember visual content much better than text. It’s also a great way to hold the audience’s attention.
However, there’s an issue that is often overlooked. You see, high-resolution images tend to be of a large size. As a result, if you fill your presentation with high-resolution images, its file size will increase significantly. And that can be a problem.
Fortunately, it can be easily solved. You will simply need to compress your images. By doing so, you will reduce the file size of your images and, therefore, the file size of the overall presentation quite drastically. Of course, as a result of compression, image quality might degrade, but just a bit. You will barely notice it in most cases.
In this comprehensive guide, you will learn why image compression is important and how you can compress images in PowerPoint in two different ways. You will also discover an alternative way to optimize your presentation and a better way to compress your images – not only for a PowerPoint presentation, but for any other purposes.
Why You Should Compress Images in PowerPoint
You might be wondering: “Can’t I just keep high-resolution images as they are? Do I really need to compress them?”
Well, here are the key reasons to do this:
- Reduce File Size. This is probably the most common reason. High resolution images can increase the file size of your PowerPoint presentation quite significantly. Large-sized files are notoriously difficult to share and store. By compressing image size, you will be able to reduce the overall file size of your presentation.
- Faster Uploads and Downloads. Whether you’re uploading to the cloud, sending by email, or accessing your file remotely, you won’t have to wait long if the file size is small.
- Save Storage Space. Are working on a device with limited storage – a tablet or cloud drive? A presentation with compressed images and a small file size will surely help you stay within your storage limits.
- Improve Performance. Presentations with uncompressed, high-resolution images can lag, especially on older computers. If you want your slides to load quickly and transition smoothly, you should compress your images.
How to Compress Images in PowerPoint on Windows & Mac
Let’s begin with the most common way to compress images in PowerPoint. You can do this while you are editing your presentation.
Here’s what you need to do:
- Find the necessary image on your slide, then click on it to select it.

- To select multiple images, click on the necessary slide, then hold the Shift key and click on each image that you want to compress. Alternatively, you can simply use the CTRL / CMD + A shortcut to select all the elements on the slide.
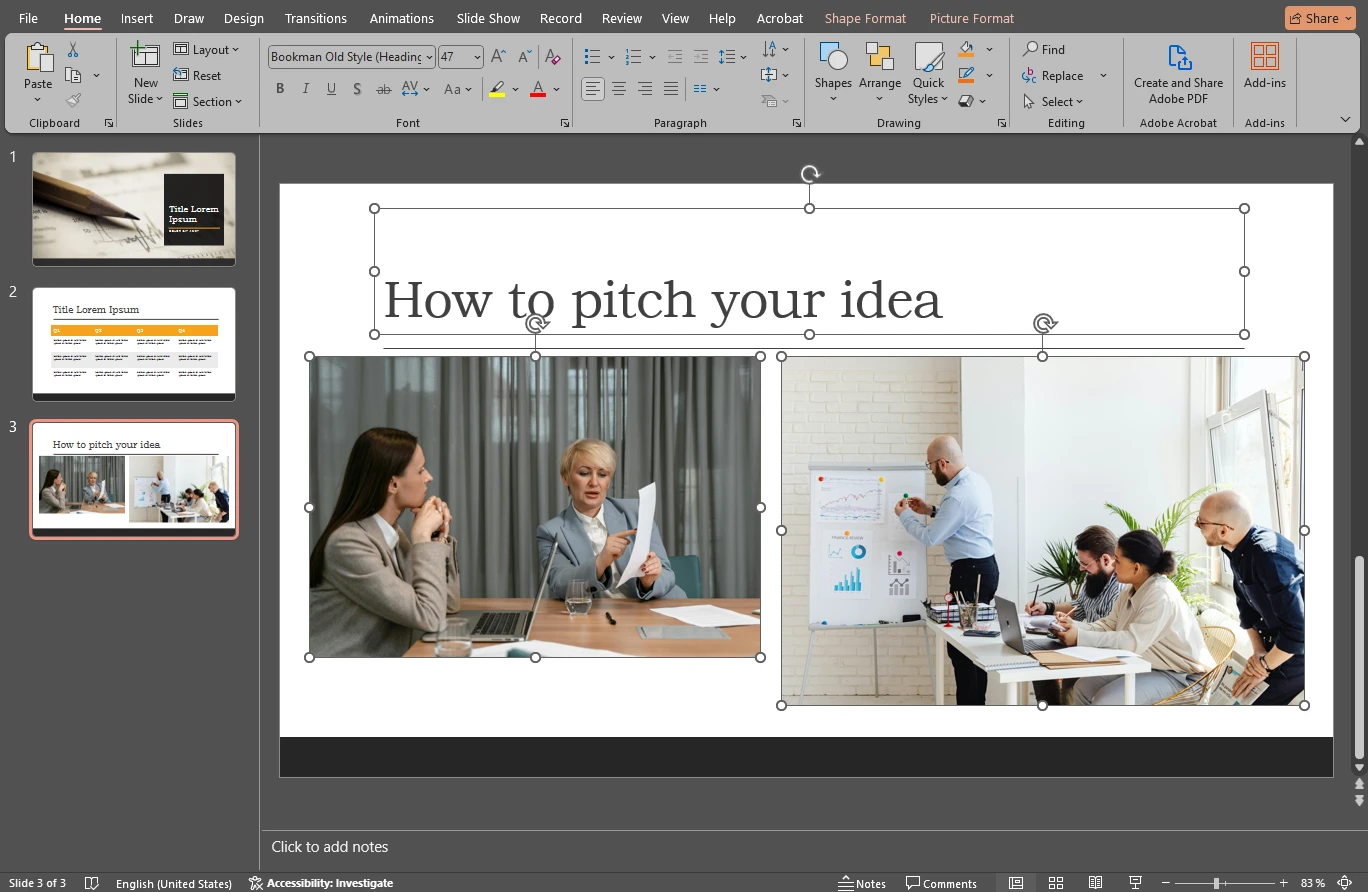
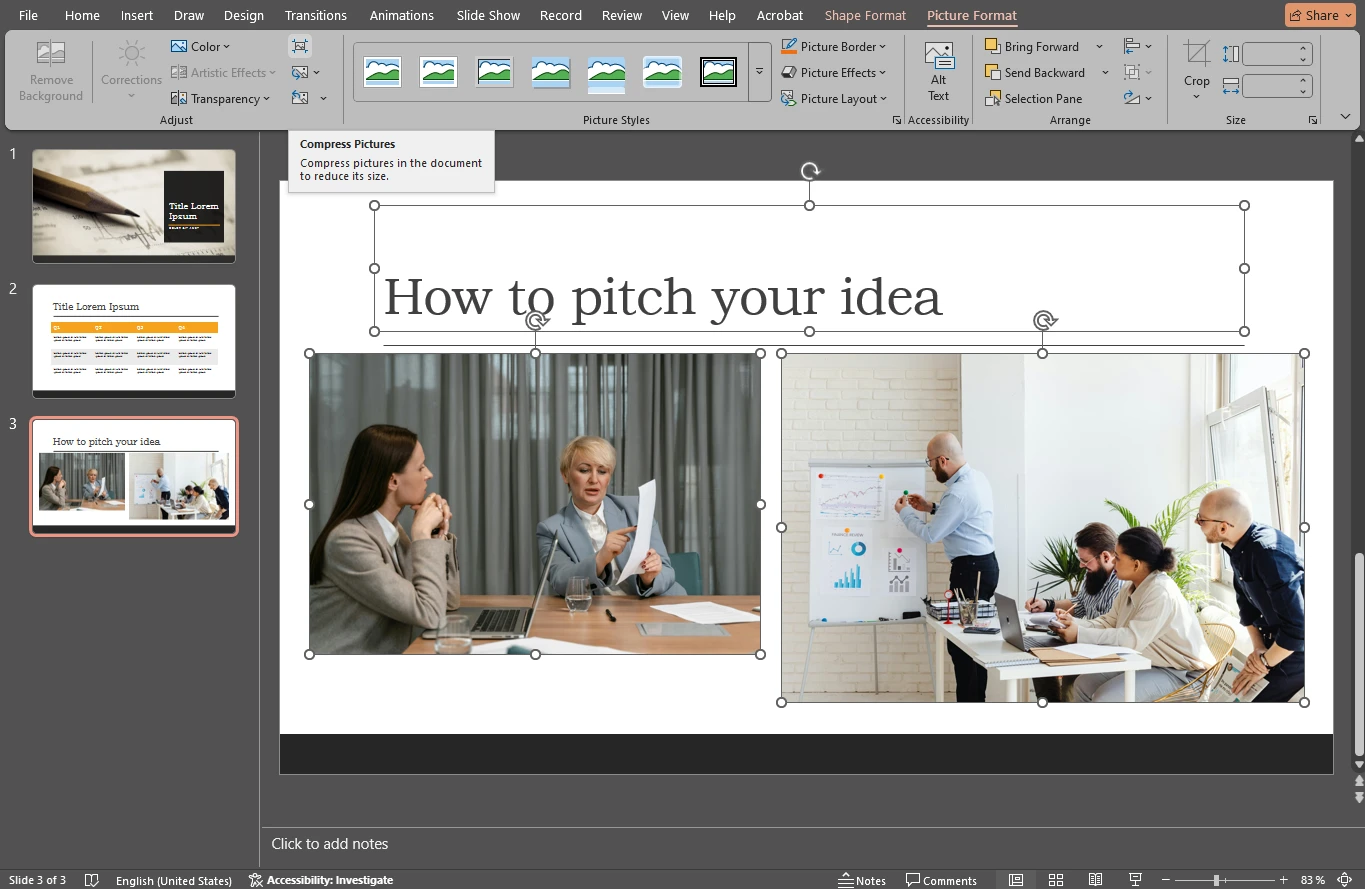
- Once your image is selected, the Picture Format tab will show up in the ribbon. Go to this tab.
- In the Picture Format tab click on Compress Pictures, which can be found in the Adjust group.
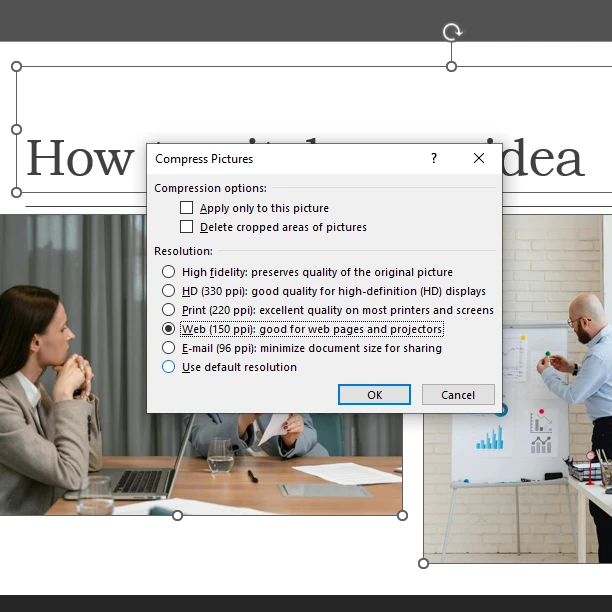
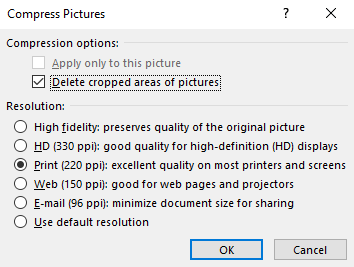
- The Compress Pictures dialog will open. First, check the Apply only to this picture option if you want to compress only 1 image. But if you need to compress all images in presentation, then make sure to uncheck this option.
- As you may know, you can crop images into a circle or any other shape in PowerPoint. So, if you cropped some of the pictures, it might be a good idea to select the Delete cropped areas of pictures option. Then all the cropped picture data will be removed. But please note that you won’t be able to restore your images to the original state, once the changes are applied.
- Choose the desired resolution.
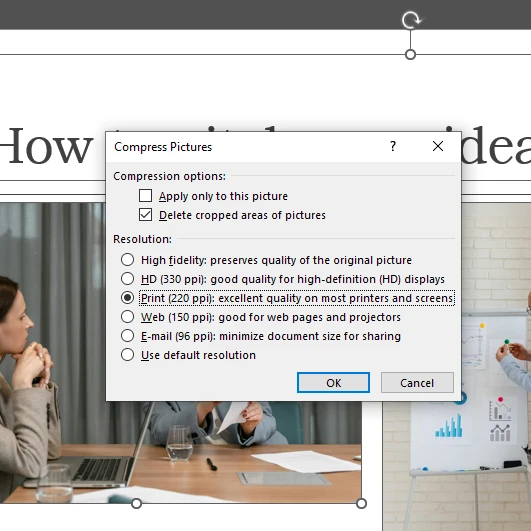
There are a couple of things to keep in mind. Depending on the quality of the original image, not all the options might be available. If an option is unavailable, you won’t be able to choose it. It’s better to opt for Print or Web. Either of these options will reduce the file size while maintaining good image quality. If you are okay with some quality loss, then you can also go for E-mail. - Click OK to apply the changes.
And that’s how you can compress images in your PowerPoint presentation! It’s really simple, isn’t it?
It’s worth nothing that you should compress your images when you’ve inserted and made all the necessary changes to them. Because if you compress your images then decide to make some of them larger in your presentation, you might end up with them looking unsharp and pixelated.
Here’s an original image that isn’t compressed yet:
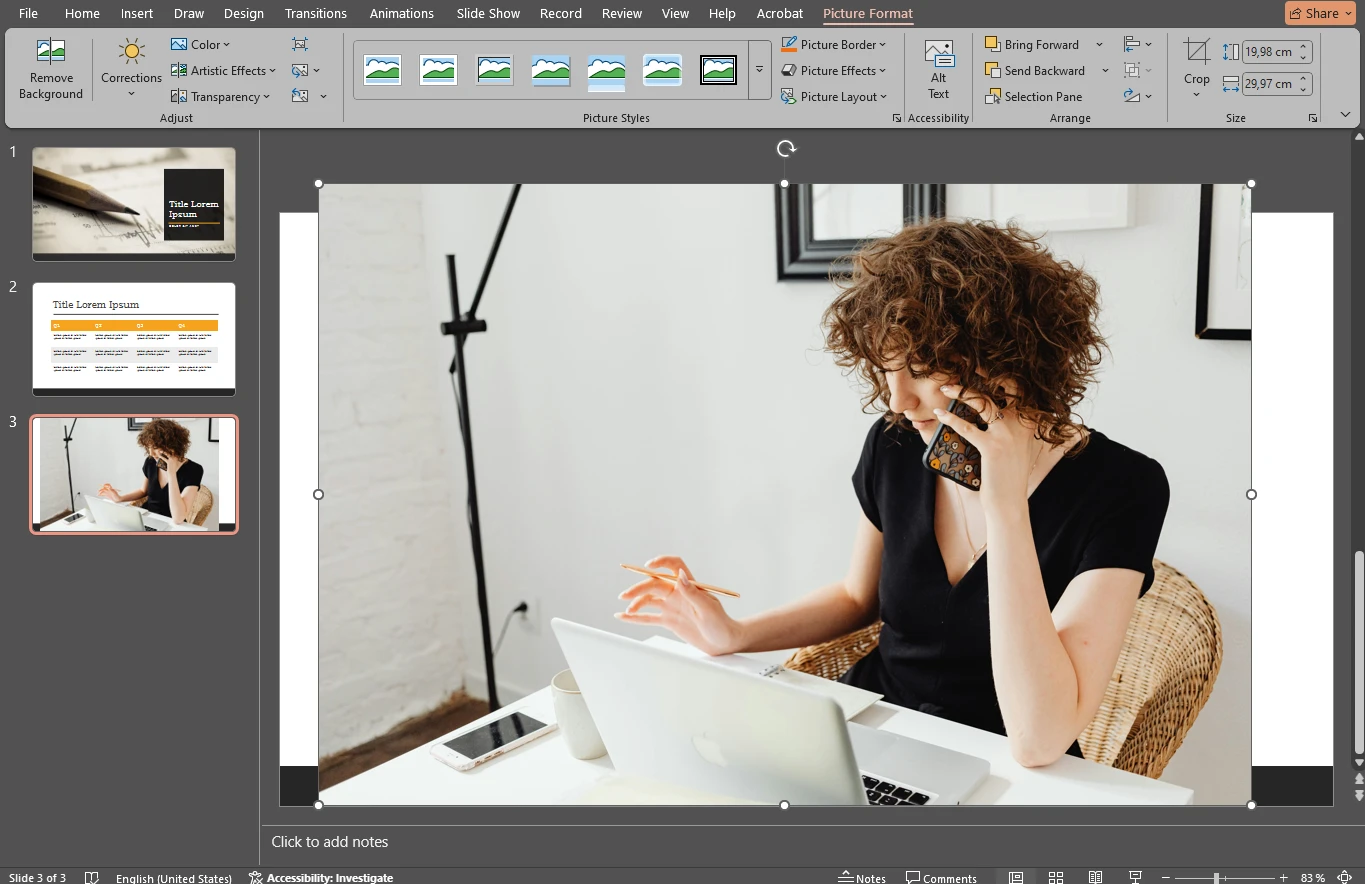
You can make it as big as you want on the slide.
And here’s an image that was decreased in size, then compressed using the E-mail (96 ppi) option and resized again after compression:
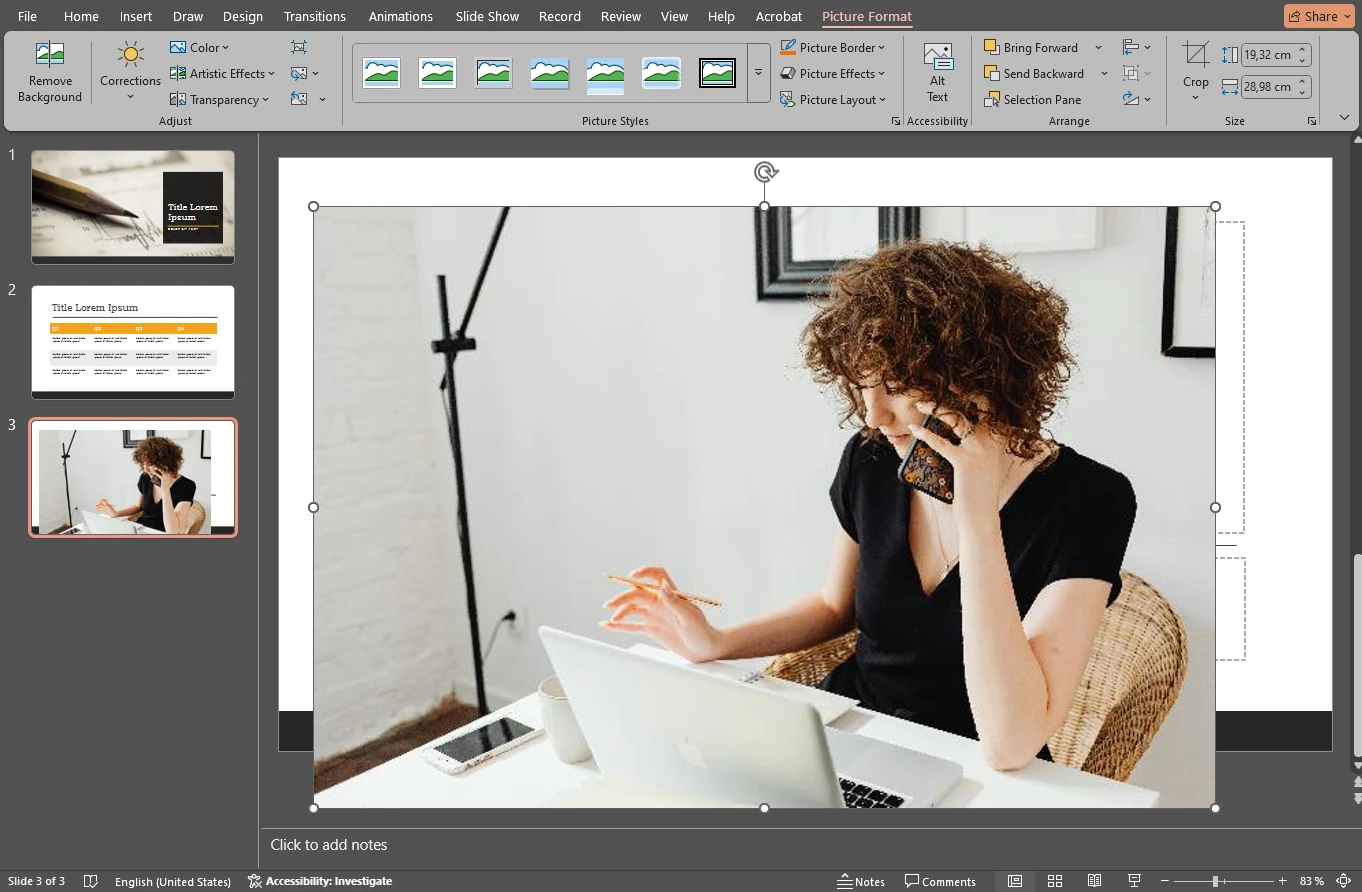
As you can see, it’s quality is much worse now, so it’s not really possible to make it bigger.
How to Check Whether an Image Was Compressed
Now, you probably want to check whether the size of your image actually changed. It’s actually quite simple.
This method will provide you with detailed information:
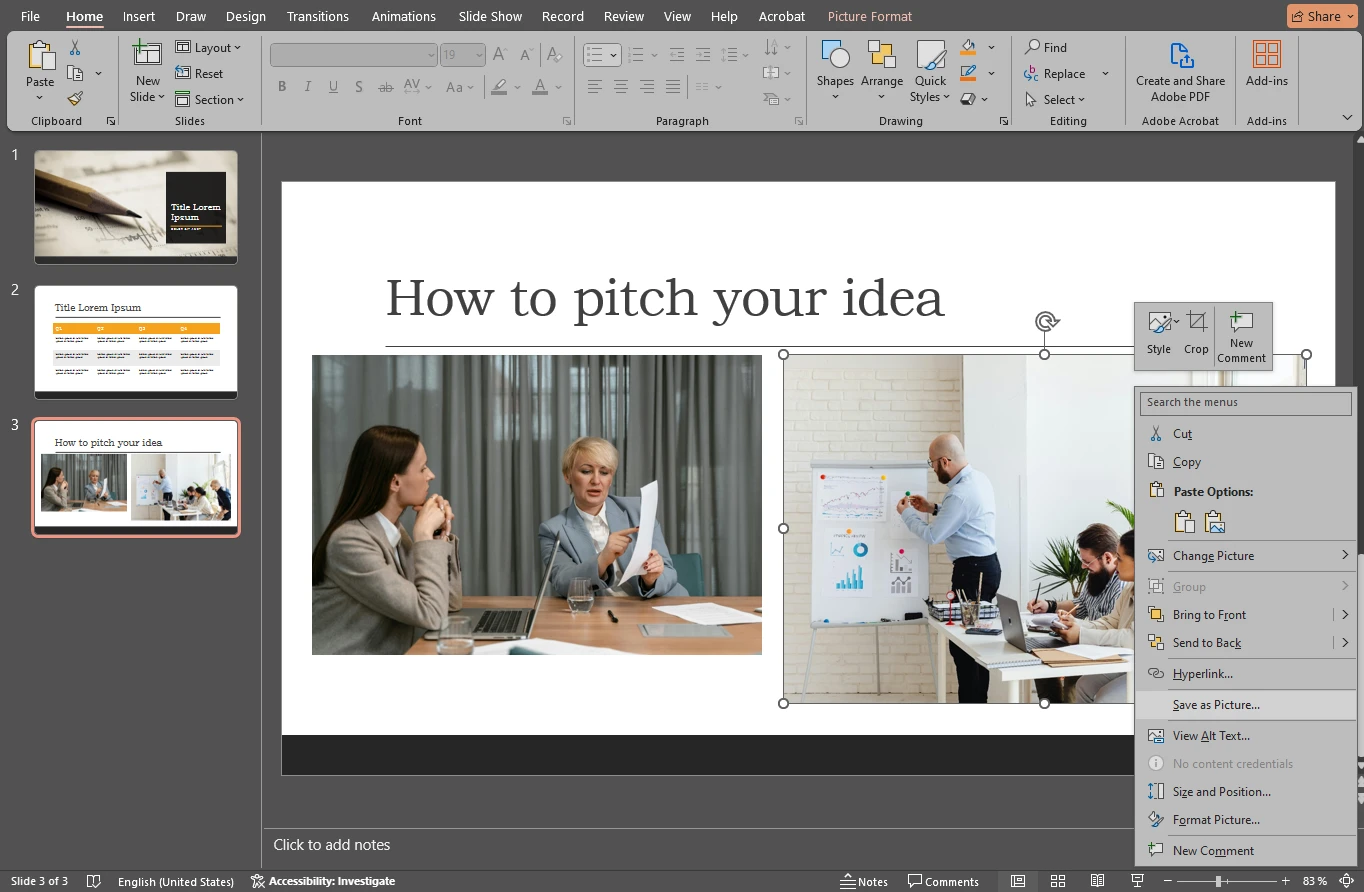
- Right-click on the compressed image, then choose the Save as Picture option.
- Make sure to save it in the same file format as the original image.
- Now, all that’s left to do is to locate this exported image on your computer and open the file’s properties.
- In the Properties dialog, check the file size. Then open the Details tab and check the pixel dimensions as well as the resolution of your image.
Now, you can also check the properties of the original image and compare them with the properties of the compressed image. The resolution, the pixel dimensions and the file size should be different.
Unfortunately, there’s no way to check the file size and resolution of an image right in PowerPoint.
How to Compress Images in PowerPoint When Exporting
This might come as a bit of a surprise, but you can actually compress your images when exporting your presentation. That’s right, this is also possible. And it’s pretty simple!
However, please note that this process slightly differs on Mac and Windows; and as you may know, you can use PowerPoint on both of these operating systems.
Let’s take a look how you can compress images in PowerPoint on Windows:
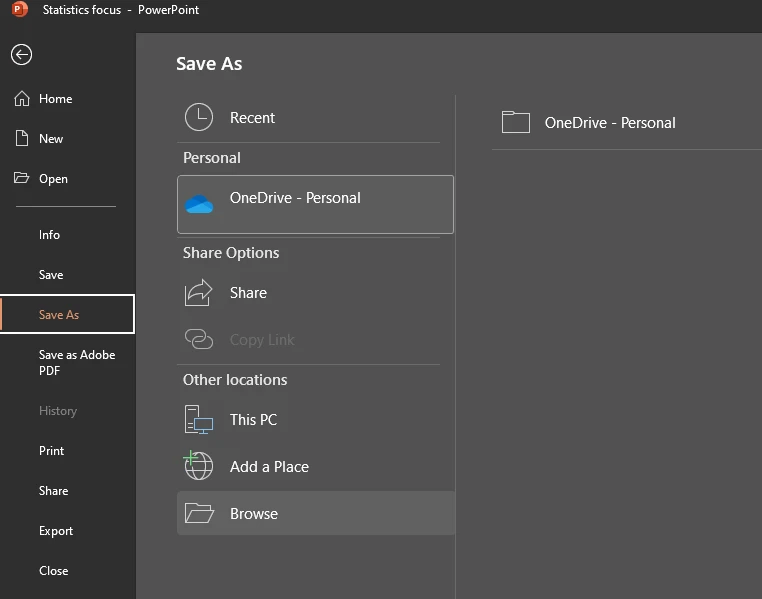
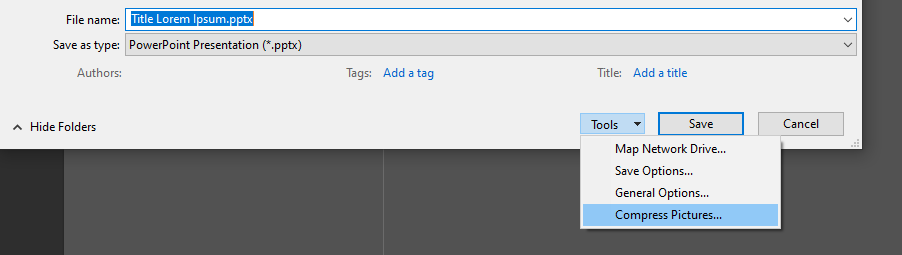
- When you’re ready to export your presentation, click on File > Save As.

- Select where you want to save your file. For instance, you can click on Browse.
- Once the dialog opens, click on Tools. This menu sits next to the Save button. In the Tools drop-down menu select Compress Pictures.
- You will see the same dialog as in the first method. Pick the necessary options in the Compress dialog and click OK.
- Name your file, then click on Save.
All done!
The process on Mac is much simpler. When you’re ready to export, just click on File > Reduce File Size. There you will be able to access the compression settings.
An Alternative Way to Reduce the Size of Your Presentation
If your goal is to make the file size of your presentation smaller, then you can actually change the default resolution and delete image editing data.
Why can this method help you reduce the file size of your presentation? Well, you see, when an image is edited, all the data from the original doesn’t just disappear. It’s retained in case you might want to restore your image back to the original. Therefore, removing this data will help you decrease the file size of images and, subsequently, the file size of the overall presentation. But of course, you won’t be able to restore an edited image to the original state if necessary. This is something you’ll need to keep in mind.
Also, it might not be a good idea to combine this method with either of the aforementioned methods, otherwise you might lower the image quality too much and all the pictures in your presentation will then look terrible. So, be careful.
If you decide to give this method a go, follow these steps:
- When you’re done with inserting and editing all the images in your presentation, navigate to File > Options. You will find the Options at the very bottom.

- In the Options dialog go to the Advanced section.

- In the Image Size and Quality section select Discard editing data.
- Untick Do not compress images in file if this option is selected.
- Open the Default resolution drop-down menu and choose either 220ppi or 150ppi. You may opt for a lower resolution if needed.
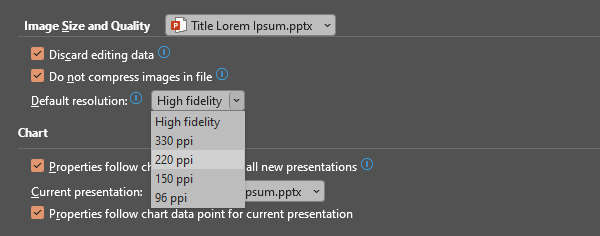
- Hit OK.
And you’re good to go! The file size of your presentation should be reduced now.
How to Compress Images Quickly And Efficiently With Watermarkly
Compressing images in PowerPoint doesn’t require much effort or any special skills. It’s pretty convenient and quick, too.
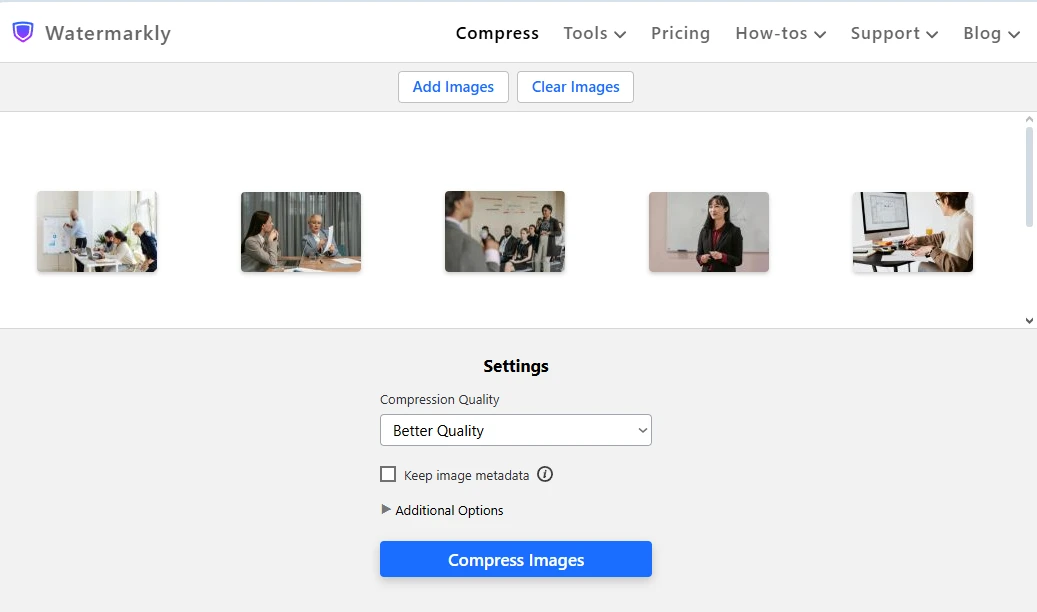
Nevertheless, it’s worth mentioning that there’s an alternative way to reduce the file size of your images. You can do it with Watermarkly’s online tool, which includes options for compressing images of all popular formats:
However, Watermarkly doesn’t support any of the PowerPoint’s format. So, you won’t be able to upload your presentation into the app. What you’ll need to do instead is to process your images before you insert them into your presentation. Watermarkly supports batch-processing, so you will be able to compress as many images as you need.
Why should you use Watermarkly even though compressing images in PowerPoint is pretty convenient? Well, here are the main reasons:
- Watermarkly’s app is designed specifically for compressing images. Therefore, it does a much better job at this than PowerPoint, which is a presentation program. So, the images that you compress with Watermarkly will definitely look much better than the images you compress with PowerPoint.
- Also, once the processing is finished, the app will tell you the new file sizes of your compressed images and exactly by how many per cents they were reduced. You won’t have to look for this information in the file’s properties.

- If you compress images in PowerPoint, they will be compressed only in your presentation. You will be able to save them as files, but you will need to save each compressed image one by one, which can be very tedious. If you compress your images in Watermarkly, you will be able to use them for other purposes. For instance, upload onto your website or send via email. Moreover, Watermarkly applies all the changes to automatically created copies, so nothing bad will happen to the original files.
On top of all that, Watermarkly can be incredibly useful for preparing your visual content for your presentation. It’s a website that offers a selection of online tools for basic image editing. You can:
- crop images into a circle, square or rectangle.
- add text to a single image.
- convert to JPEG, PNG, and WEBP.
- blur faces, blur license plates or blur any part of an image.
- watermark photos with a logo or some text.
For instance, JPEG images tend to have a manageable file size, while PNG supports transparency. So, it would be better for you to insert images in JPEG or PNG into your presentation. If your images aren’t in either of these formats, you can use Watermarkly for conversion.
In Conclusion
Now you know how to compress images in PowerPoint in not one, but two ways. It’s a really effective and powerful way to optimize the size of your presentation. Compressing images is a key step in creating a polished and professional presentation. You will be able to avoid any lagging or hindrance during your presentation, share your presentation quickly and effortlessly, or simply free up some storage space.
And if you want to compress images not only for your presentation but for some other purposes, consider using Watermarkly. It will do a much better job at reducing the file size of your images, yet maintaining their quality.
More Articles
How to Add a Watermark in PowerPoint
How to Сrop a Picture into a Circle in PowerPoint
How to Blur a Part of an Image in PowerPoint