
How to Circle Crop in Canva
by ![]() Lina Thorne • Updated · Posted in Photo Editing
Lina Thorne • Updated · Posted in Photo Editing
Images are often cropped to improve composition. Generally speaking, only one compositional technique will work perfectly for a circular image – the central composition. It means that you should place your main subject in the center because that’s where the audience will look first.
When you crop into a circle, it’s even easier to remove any visual noise and distractions because there won’t be any corners where potential distractions can sneak into.
A circle works especially well if the majority of the frame is taken up by a face. A human face has an oval shape which is similar to a circle. The similarity of shapes creates harmony, and you get a visually pleasing image.
For this reason, quite a lot of online platforms have round-shaped profile pictures. But as you may know, some of them don’t offer a built-in image cropper; they don’t even allow you to adjust the position of your image.
As a result, when you upload a rectangular photo, it might look awkward in a circle – your face isn’t in the center or maybe it’s barely visible at all. An easy way to solve this issue is to crop your image into a circle before you upload it onto a platform. This way, you will ensure that your profile picture looks just the way you want it to.
There’s another benefit to circle cropping your portrait beforehand.
Let’s say you have a rectangular photo of yourself that you want to set as a profile pic on several online platforms. You will need to upload it onto each platform, then go through the same process of resizing, adjusting and cropping your image into a circle over and over again. Not to mention that there might be slight differences across the platforms – for instance, on one platform your face will take up more space in the frame than on the other platform.
If you want your profile picture to look the same across various platforms, you might try to be extra precise and keep comparing and tweaking your pictures. But a better option would be to circle crop in Canva or any other image cropper, then upload your cropped image onto the necessary social media platforms. This will save you a lot of time and effort. And your profile picture will look identical across different platforms.
Canva is an incredible app that turns image editing into a fun and creative process. Cropping an image into a circle in Canva is similar to cropping in a circle in Photoshop, though it is much easier. Plus, this image editor offers a variety of shapes that you can crop your image into; including a circle.
In this article you will find detailed instructions on how to circle crop in Canva. It will require a little effort and just a few minutes of your time.
Let’s dive in!
How to Circle Crop in Canva
Cropping an image into a circle in Canva is pretty uncomplicated and straightforward. Just follow these simple steps:
- Open Canva. You will need to either sign into your account or create one for free. Unfortunately, since Canva is cloud-based, there’s no other way but to create an account. After you sign in, you will see Canva’s dashboard along with a variety of templates and design options.
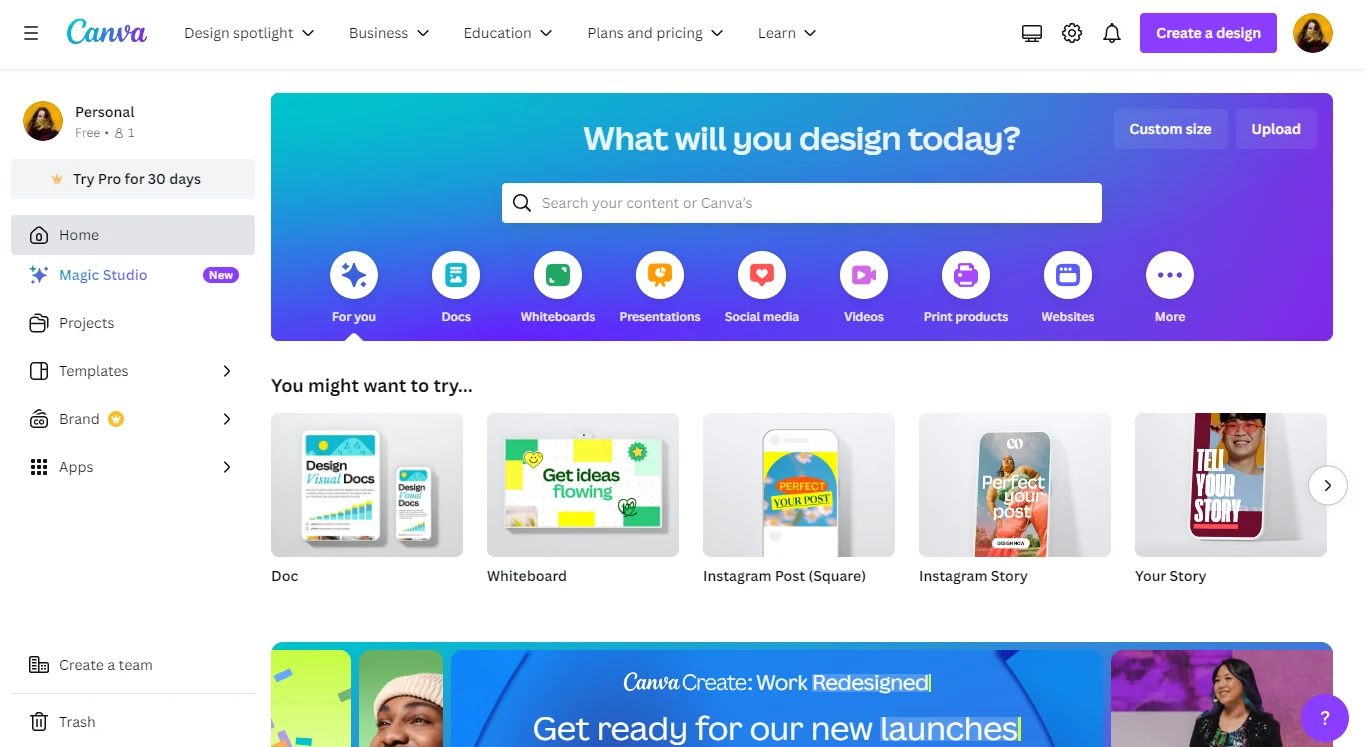
- To get started, click on the “Create a design” button in the upper right corner, then choose a template that you like and that will suit your needs.
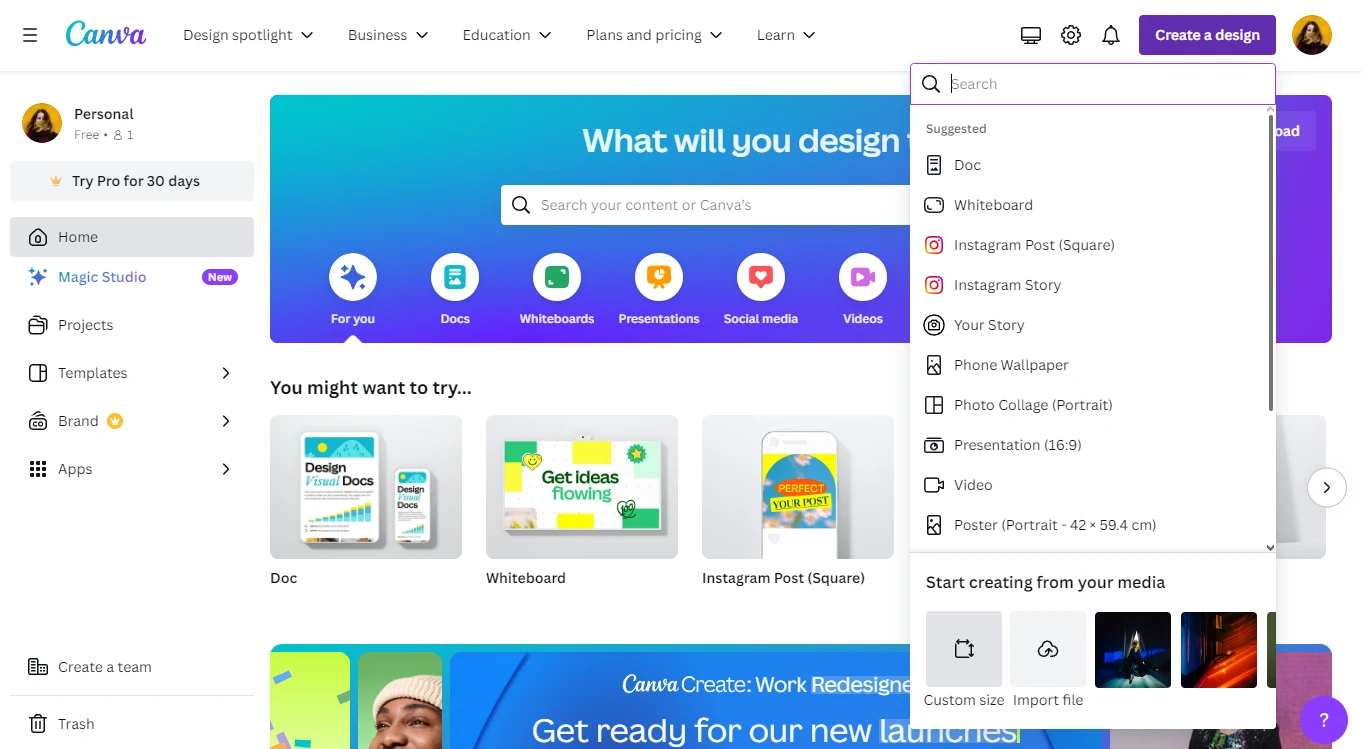 Alternatively, you can go for the “Custom size” option and enter the size that you need.
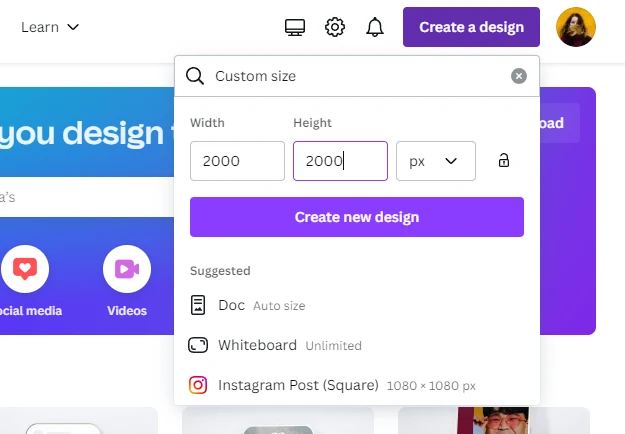
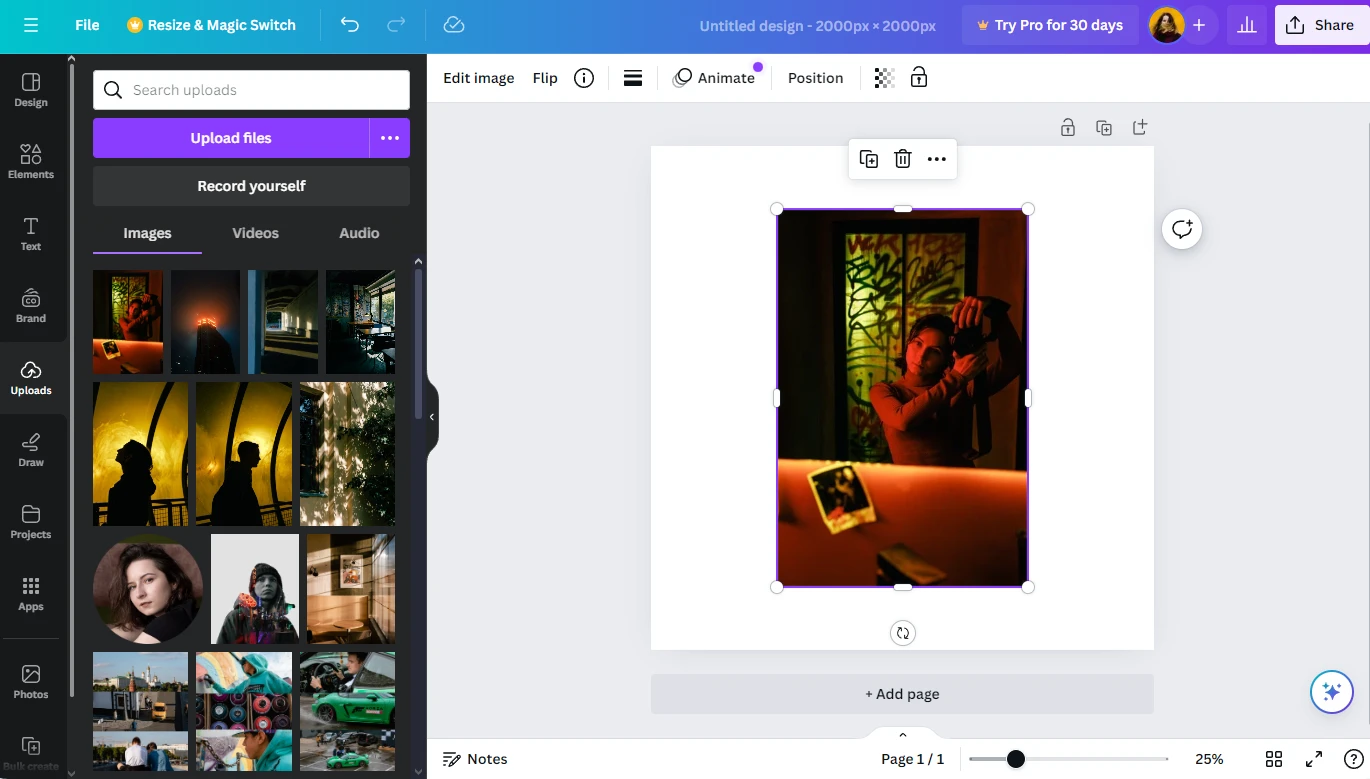
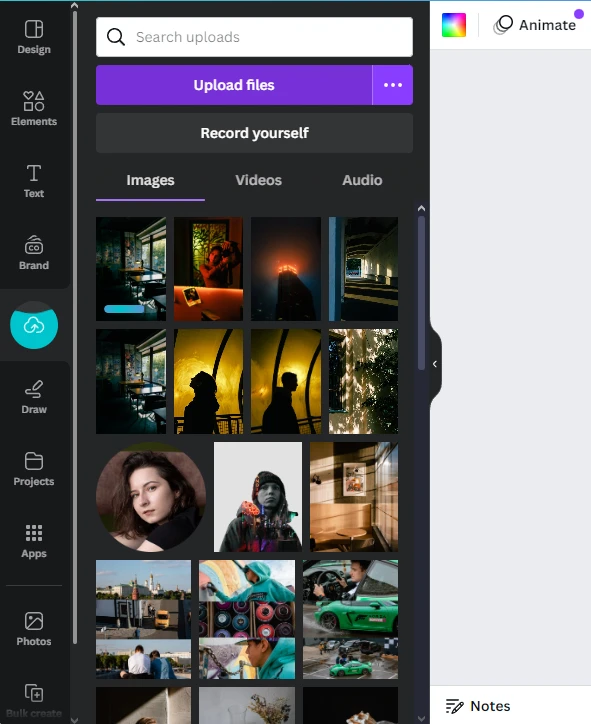
- When the editor with your blank template opens, go to the Uploads section in the side bar on the left. Upload an image that you want to crop, then add it to your blank template.
- There’s another way to get started. On Canva’s dashboard, click the “Upload” button which can also be found in the upper right corner.
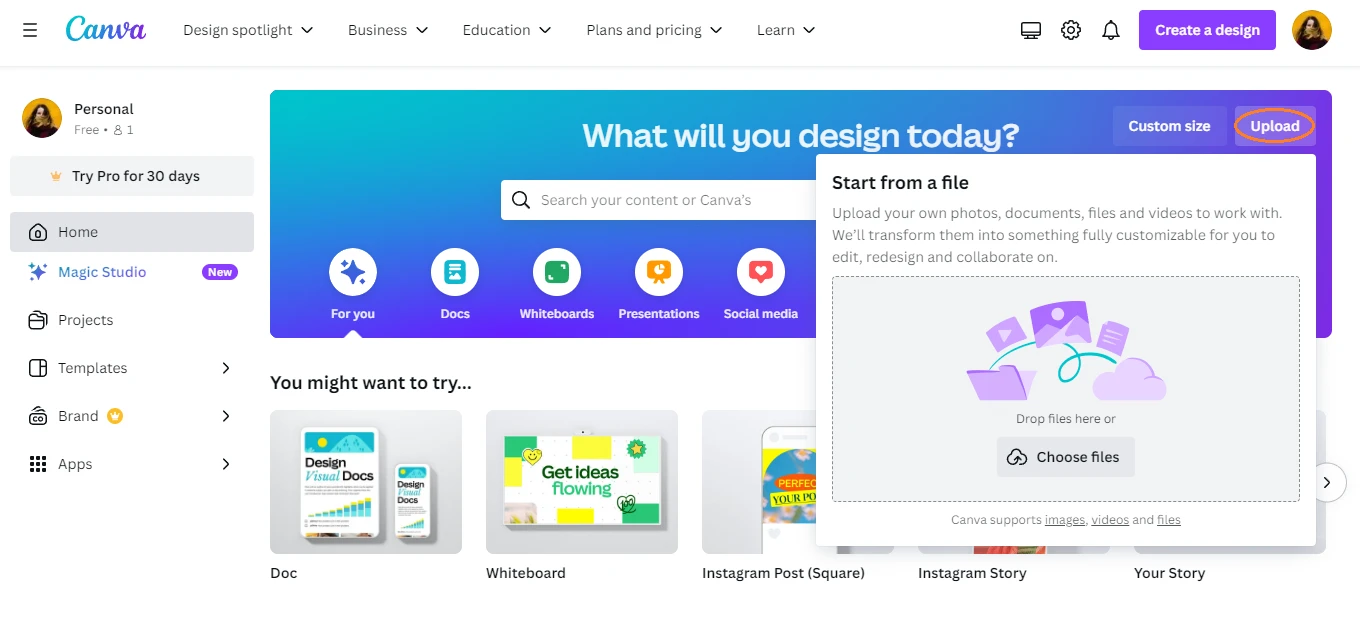 Import the image that you want to crop, then click on “Use in a new design”.
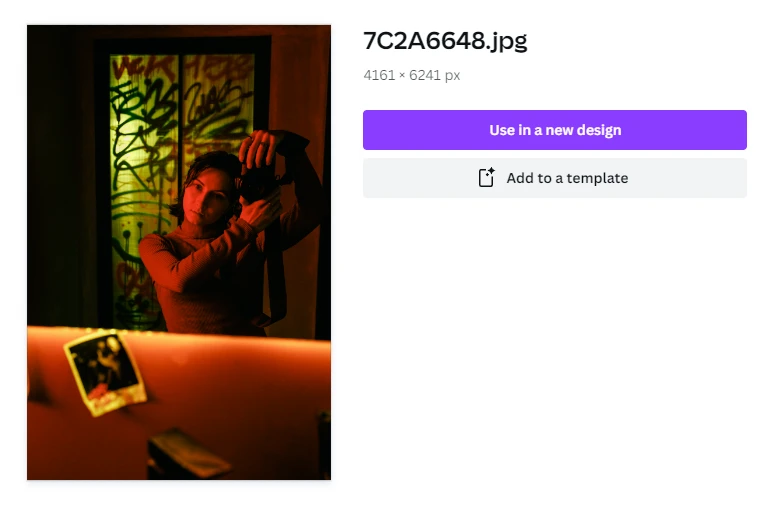
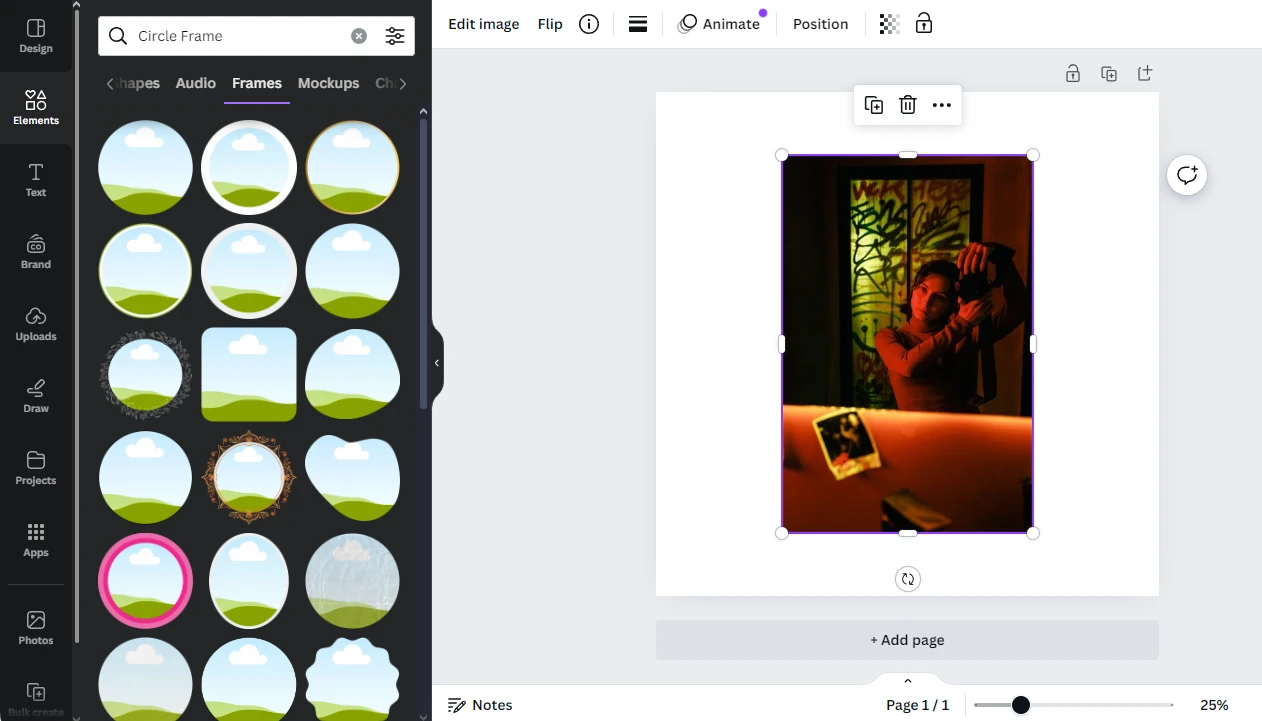
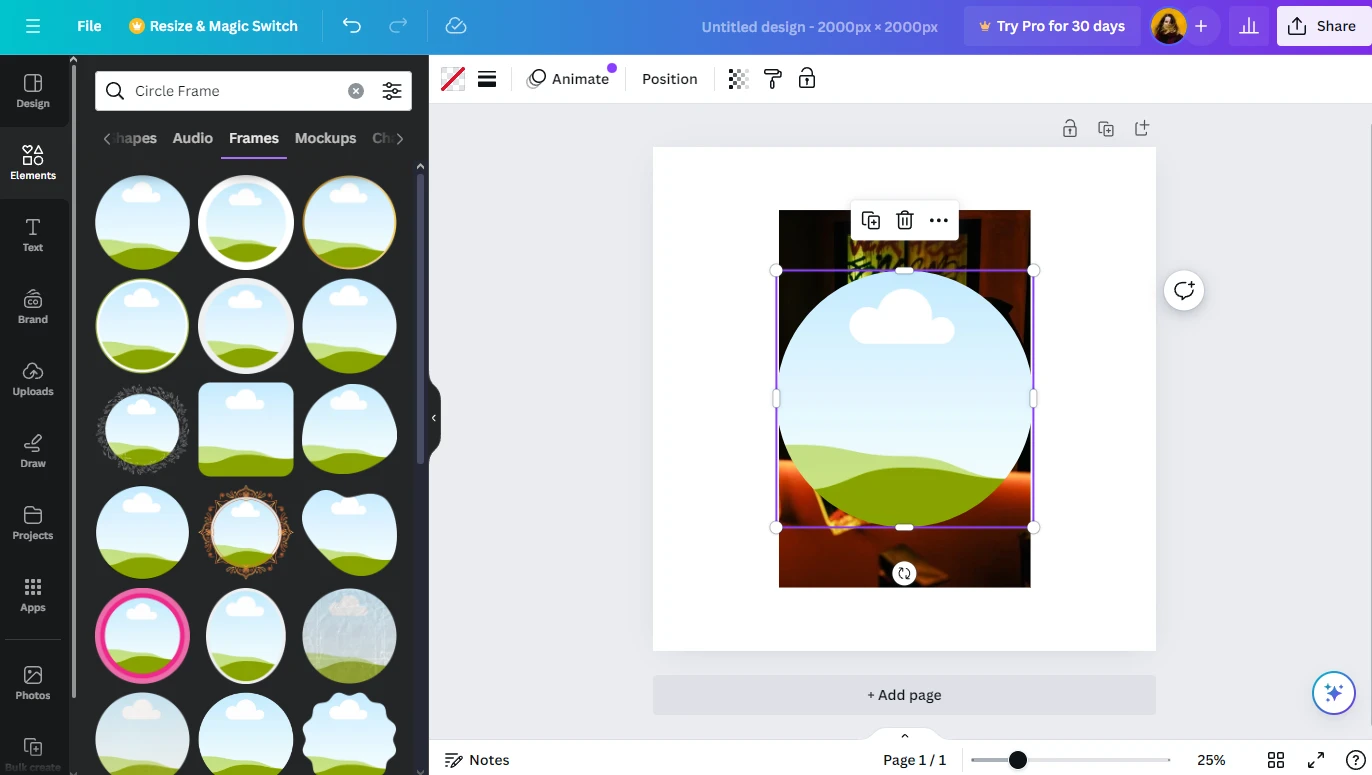
- Once your photo is on your blank template, go to the Elements section in the side panel. There, enter “Circle Frame” in the search bar and hit Enter. You will see a selection of circle frames. For instance, there are a couple of frames with outlines of varying thickness.
 Here’s a tip! You can crop an image into any other shape using frames. For instance, there’s a frame that looks like an iPhone, so you can make your photo look like it’s on the screen of an iPhone. Experiment with all the different options that Canva offers!
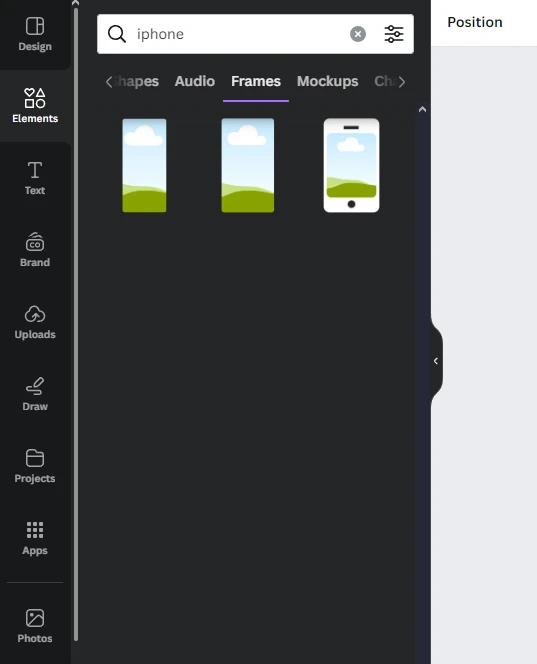
- Click on the frame that you like. It will be applied to your template.
- Select your photo, then drag and drop it into the frame. Once you do this, it will be cropped.
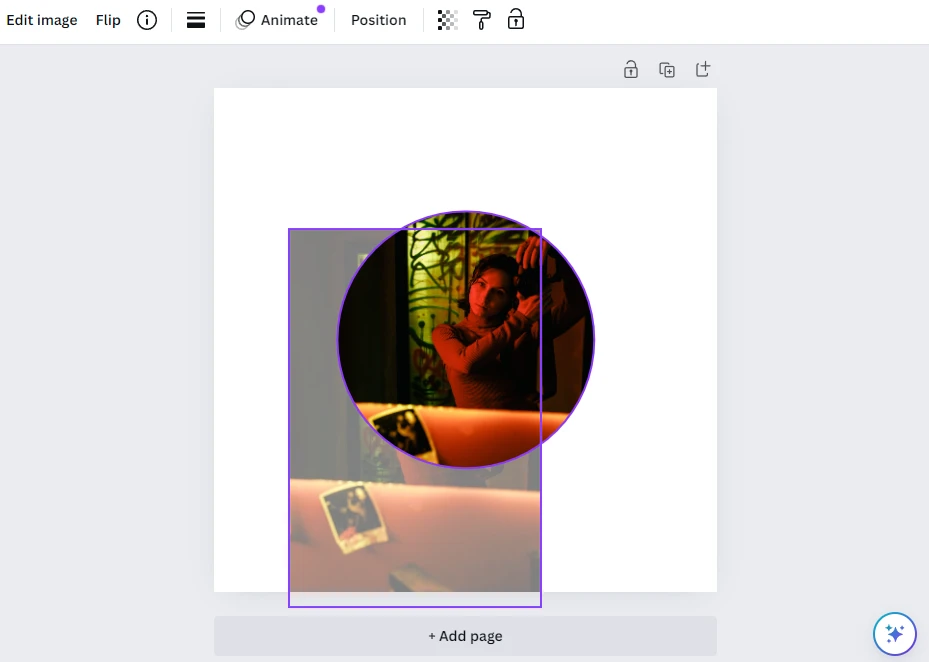
- You can resize and reposition the frame with the cursor.
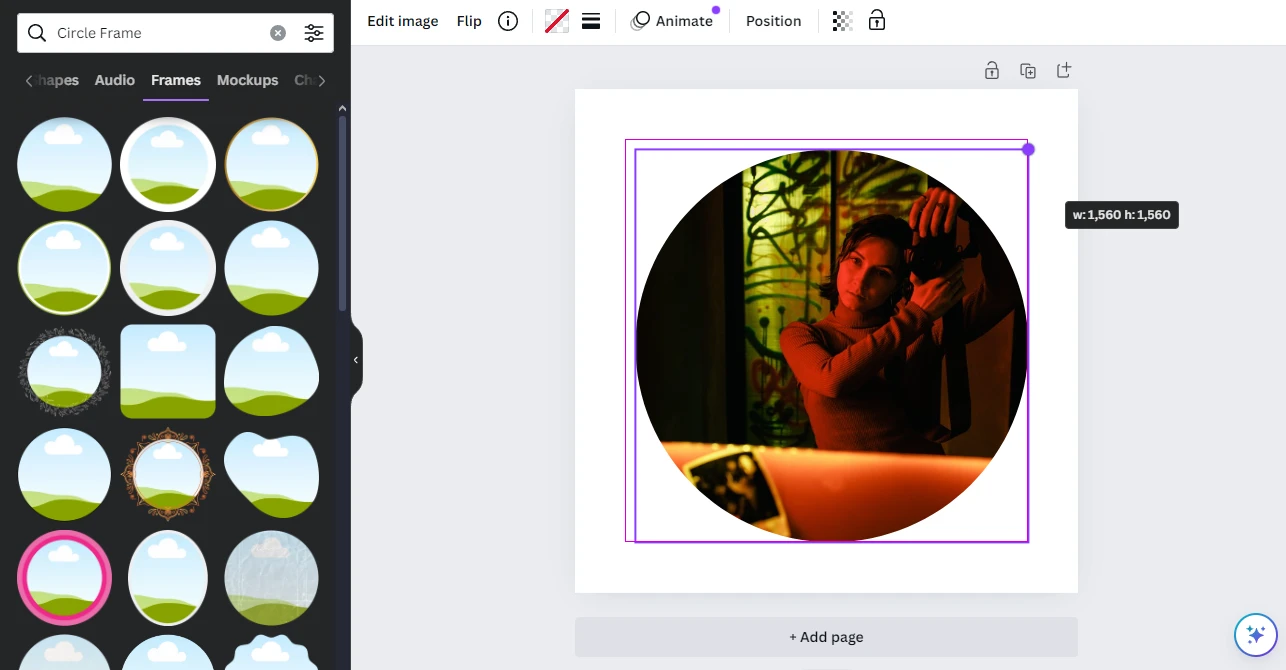
- If you want to edit the image within the frame, double-click on the image. Once you see the entire photo, you can resize and reposition it with the cursor. There’s the “Smart Crop” button. If you click on it, the app will analyze your image, then resize, reposition and even tilt it according to how it thinks it should look. It can be useful for some quick editing.

- If necessary, it is also possible to edit the photo itself – adjust its saturation, contrast, brightness. You can apply filters and various effects to it. To do this, go to the Adjust section.
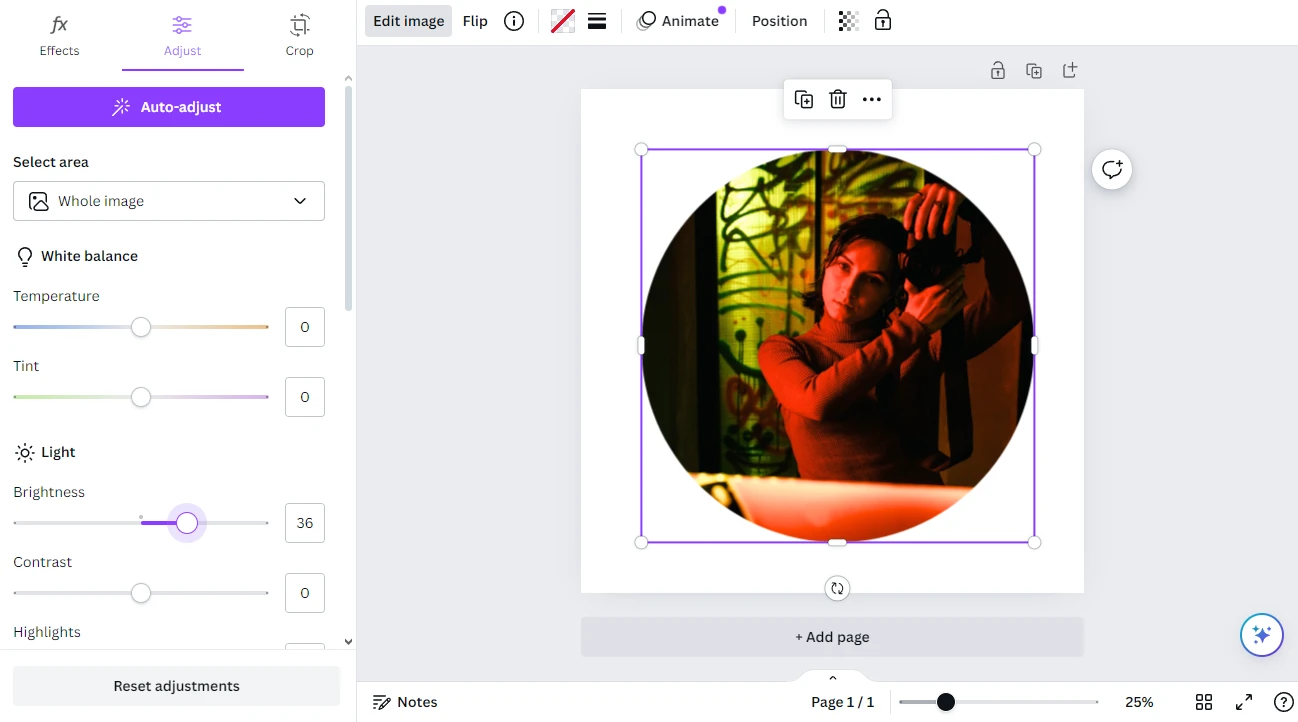
- Click on “Done” or press “Enter” to apply the changes.
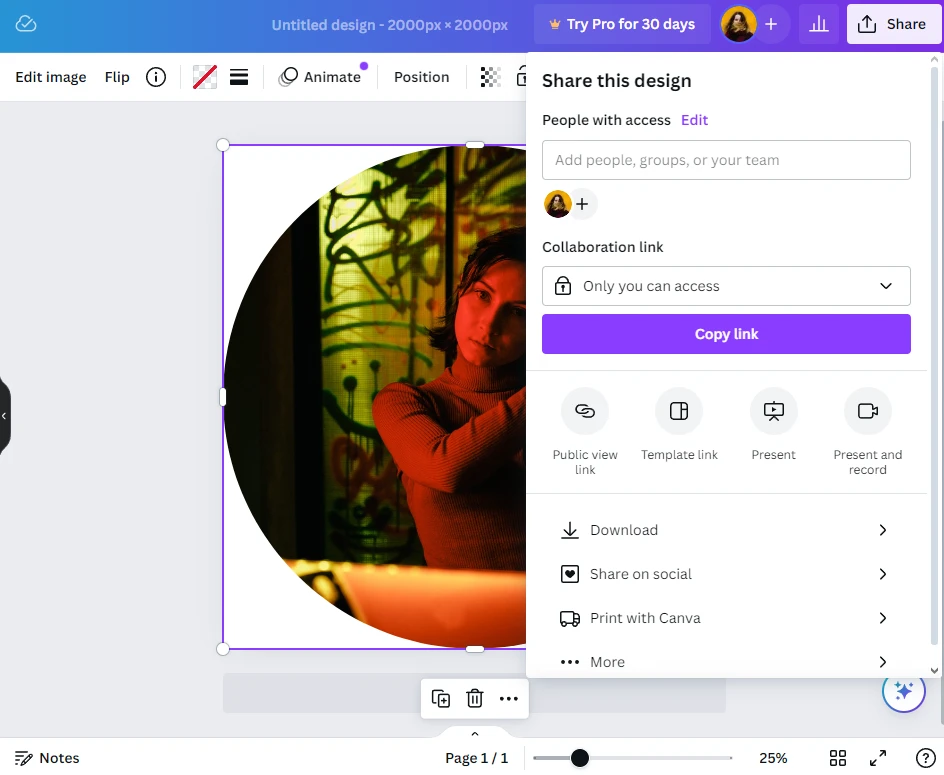
- When you are ready to export, click on the “Share” button in the upper right corner. Here you can find various ways of how you can save your cropped image. It’s possible to share it on social media right away, for instance.
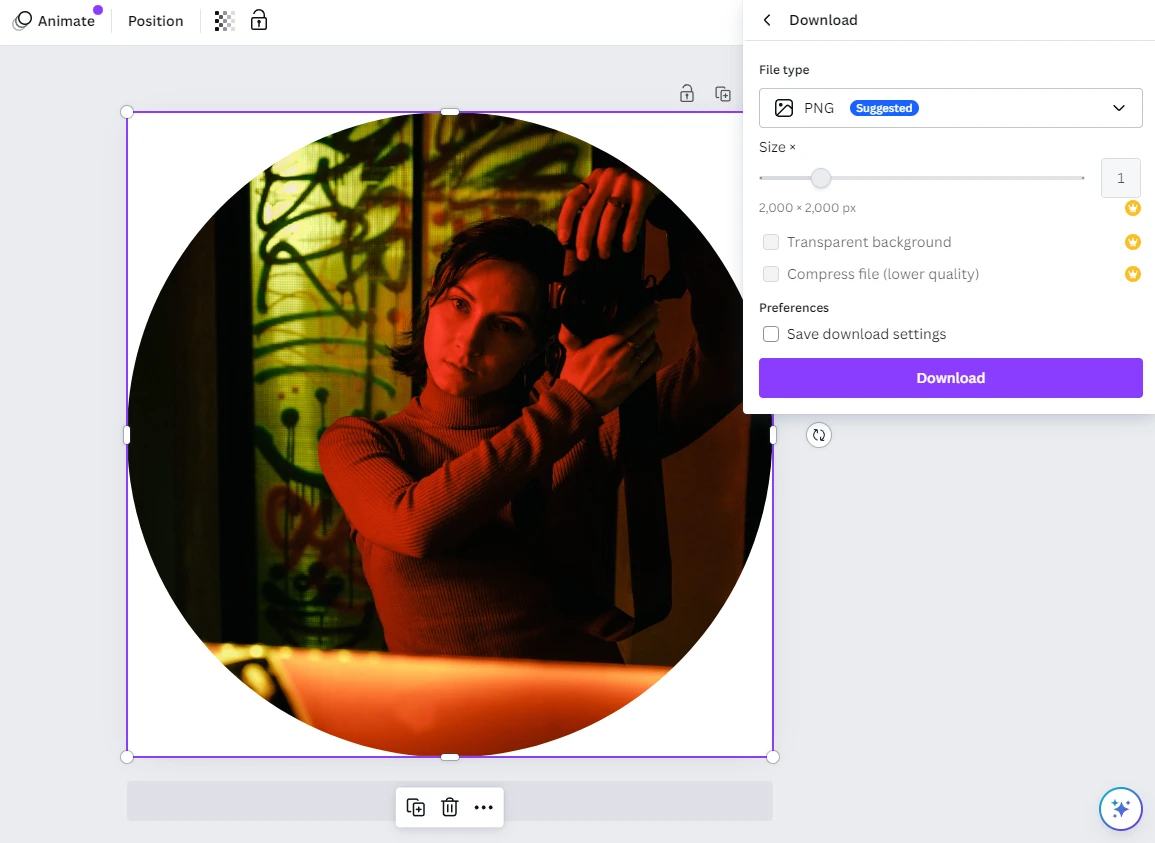
- To download your image, click on “Download”, select the necessary format, then click on “Download” again.
And you’re done!
Now, there’s something you need to know. When it comes to cropping into a circle or any other shape, technically, your image will remain to be a square. It will look like it has the shape of a circle because the background will be transparent. Thus, the corners of your image will simply be invisible. If you save your image in PNG, that is. Because this format supports transparency.
The downside of Canva is that you can get a transparent background only of you have a Pro account. So, if you are using Canva for free, it doesn’t matter if you choose JPG or PNG when exporting, your round-shaped photo will be on that pesky white background.
This can be okay if the social media platform or the website where you want to publish your image has a white background. In this case, the corners will be blend in with the background. However, another way to deal with this issue is by getting a little creative. For instance, you can add a pattern or another photo to the background. With Canva, it’s not that challenging or complicated to do.
How to Circle Crop in Canva and Add an Eye-Catching Background
Once you cropped your image into a circle using the instructions above, you will have your round image on a white background, which you can jazz up a little. Here’s what you can do:
- Stay in the Elements section. Type in “Pattern”.
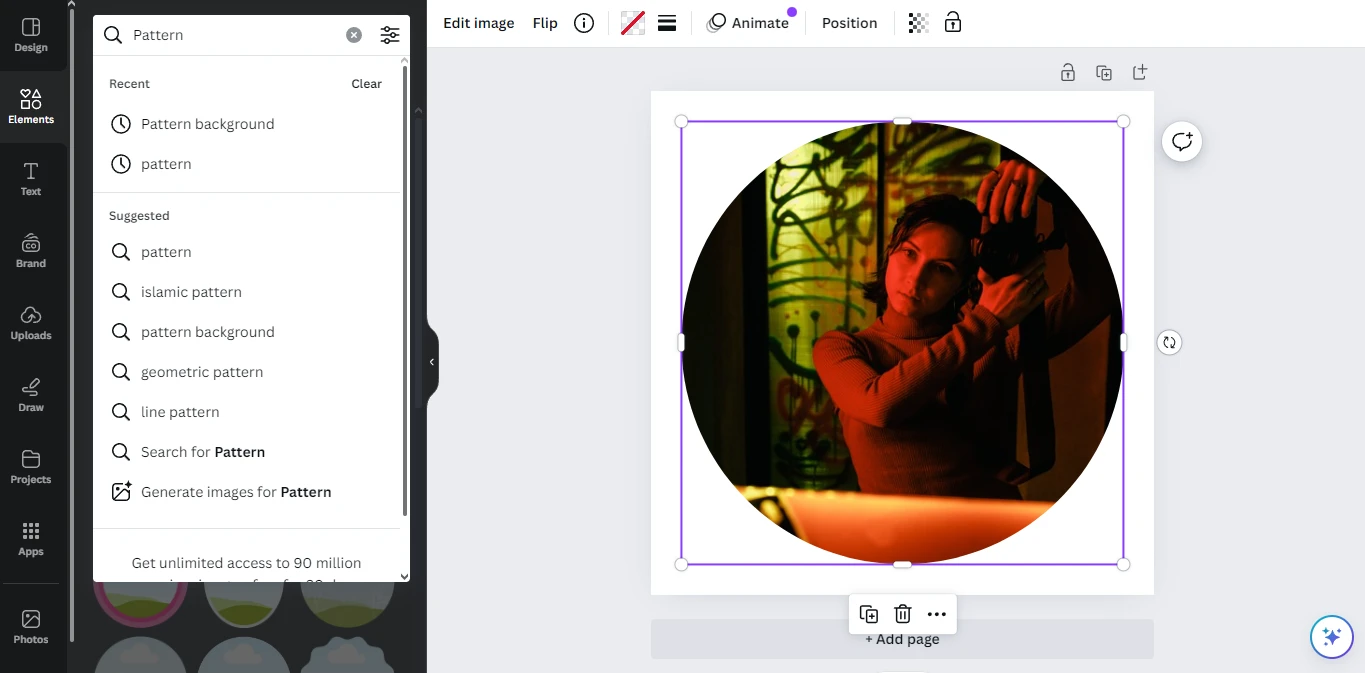
- Switch to the Photos tab. Though, you can also check the other tabs – they might offer some interesting options. Please note that if something is marked with a crown, it is only available in the Pro version.
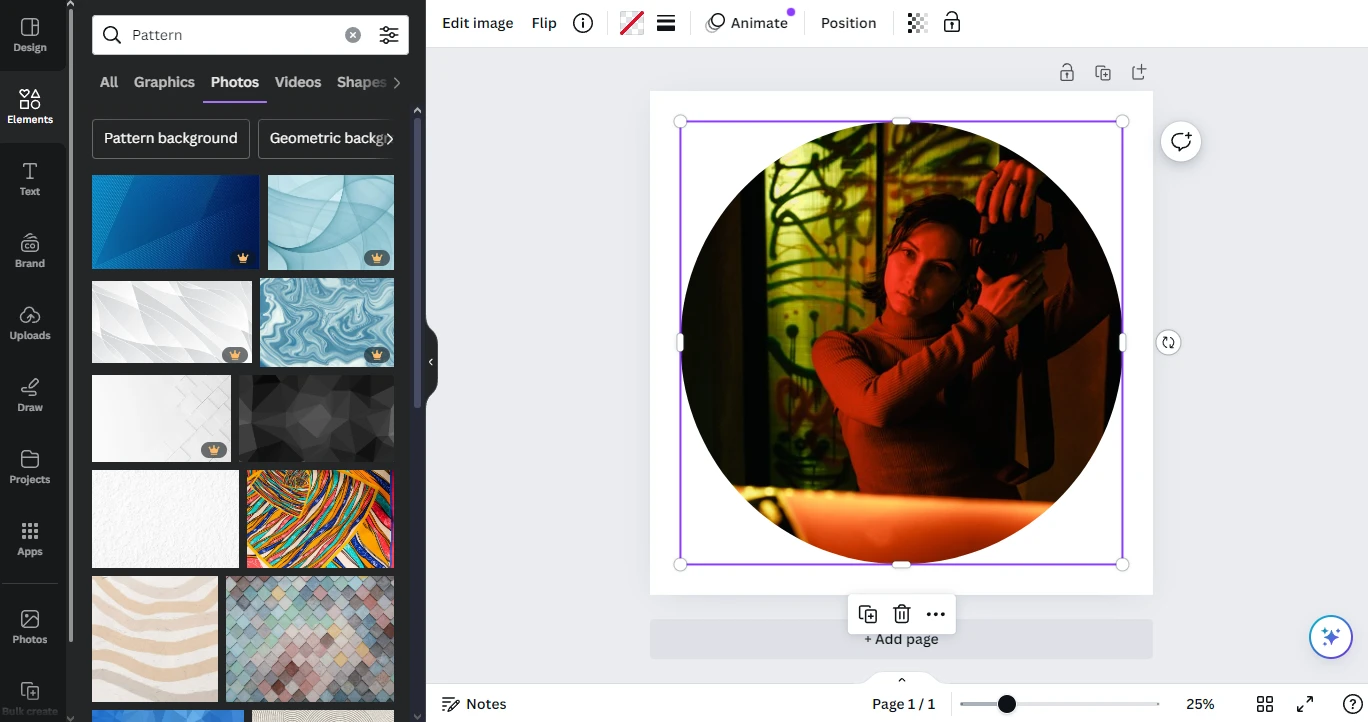
- Pick the pattern that you like and click on it.
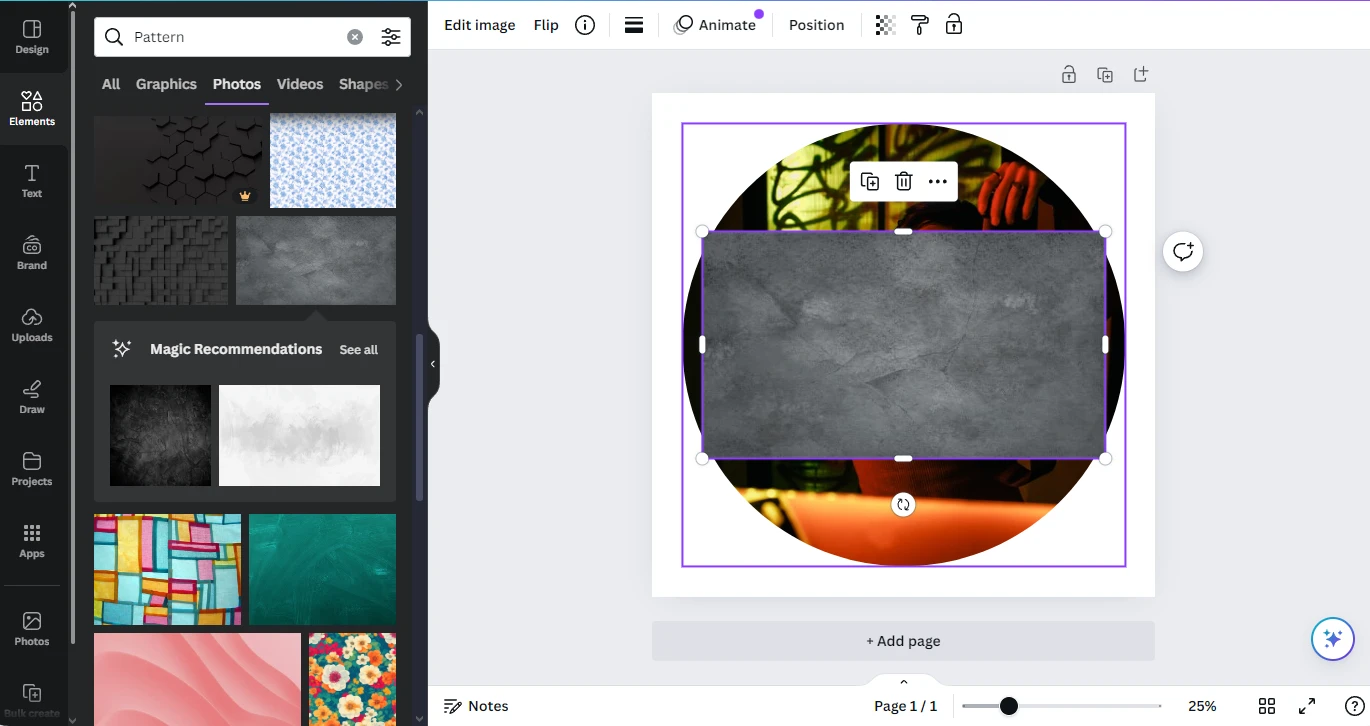
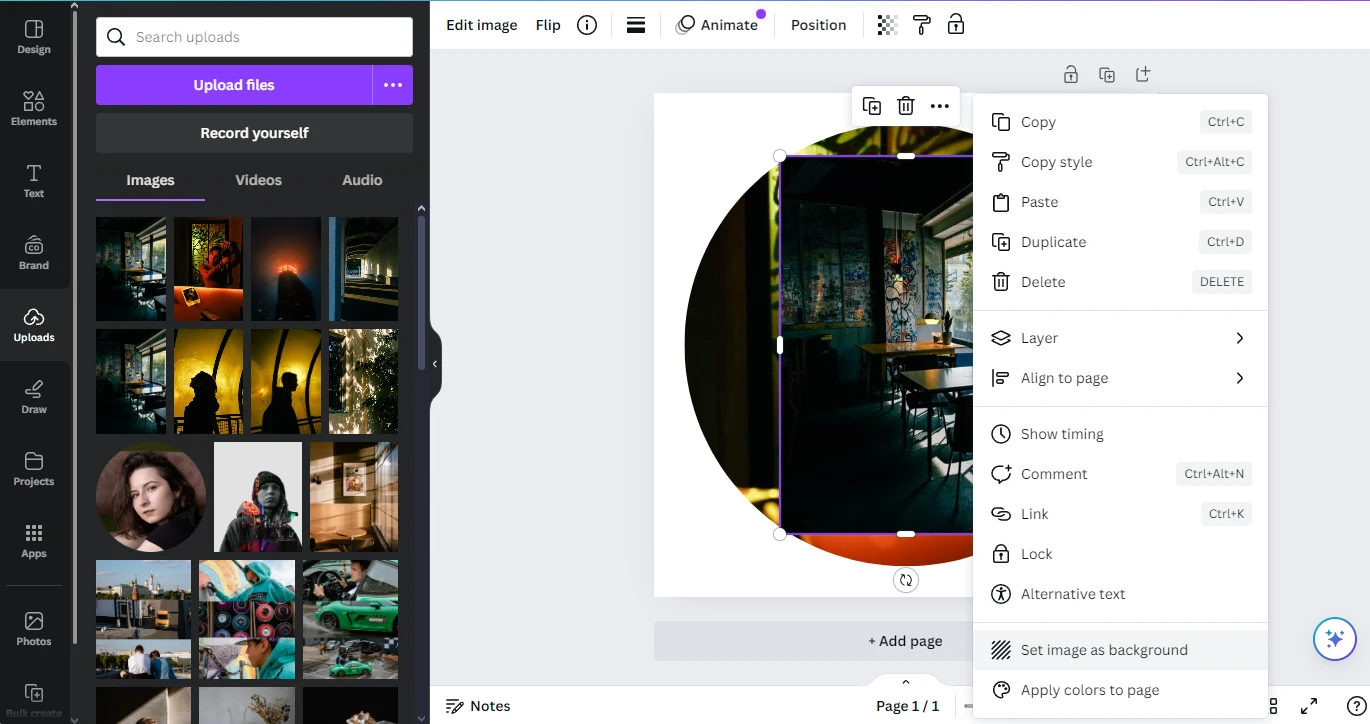
- Right-click on the pattern and select “Set image as Background”.
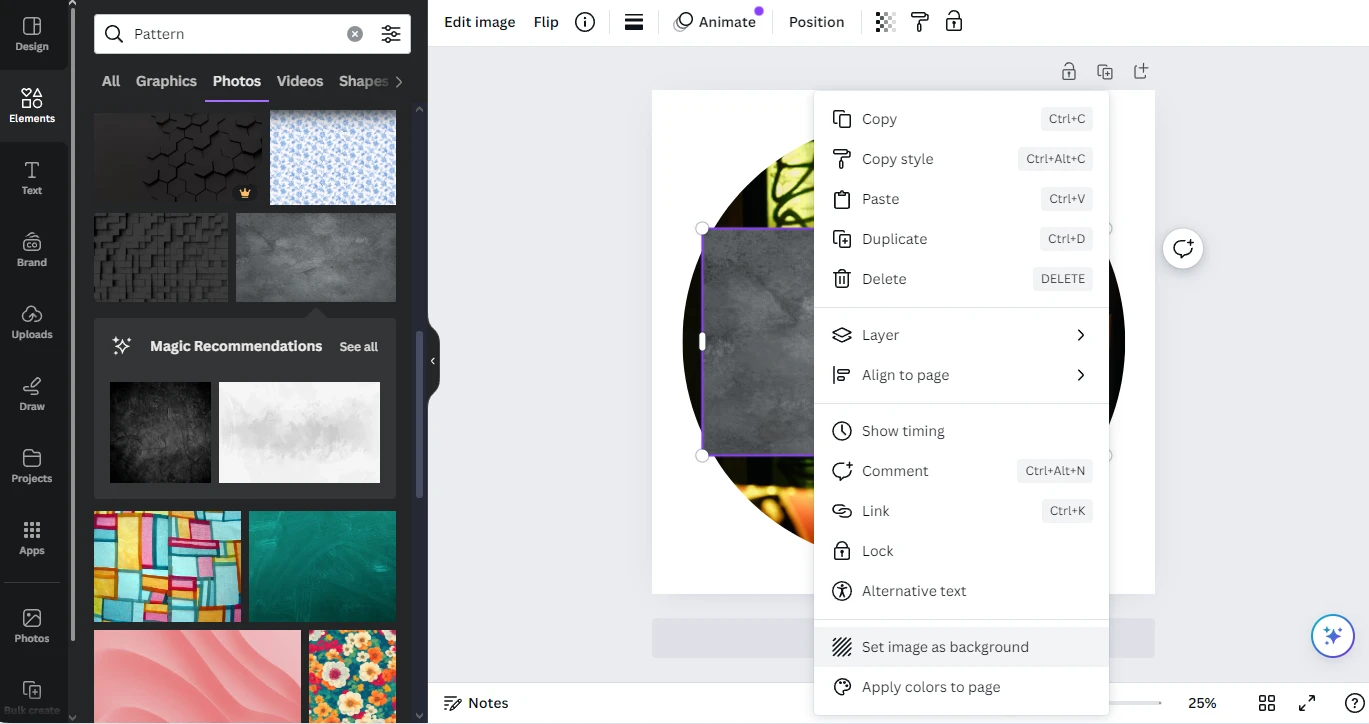 Voila! The pattern is now set as your background.
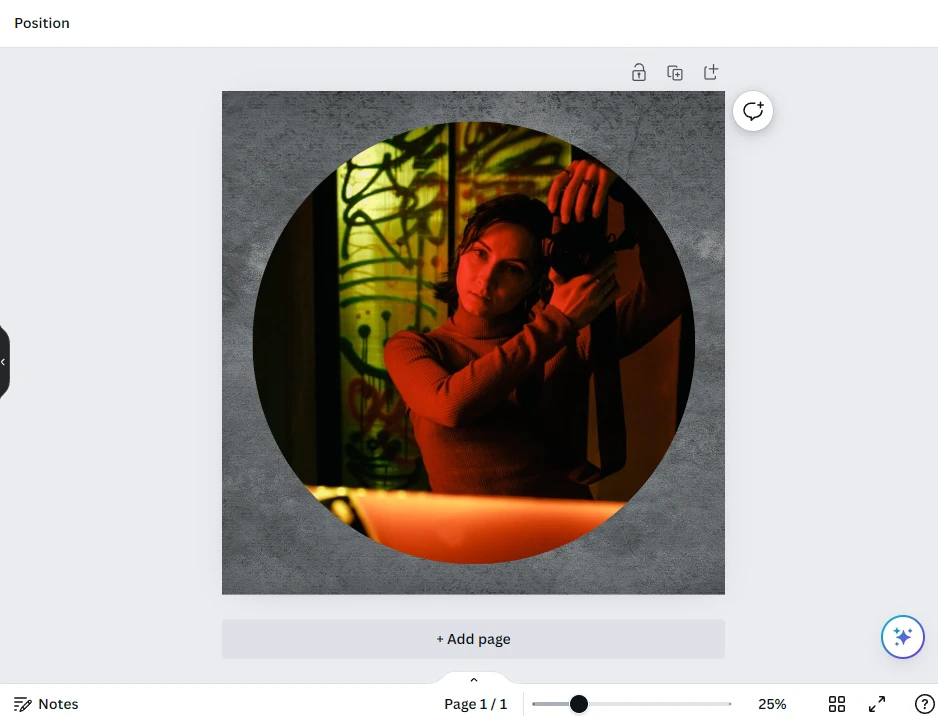
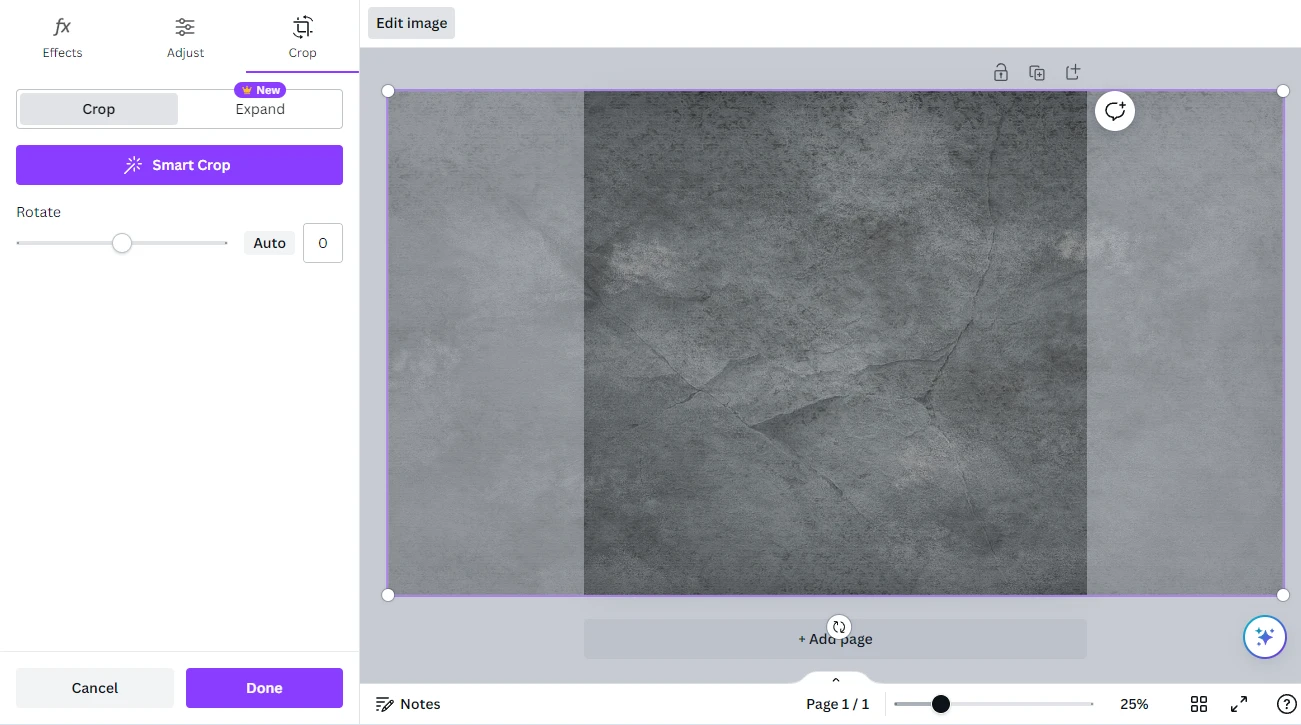
- Double-click on the pattern to make adjustments, if necessary.
There’s another thing that you can do instead of adding a pattern. You can put another photo in the background:
- Go to the Uploads section and upload another image.
- Click on the newly uploaded image to add it to your template, then right-click on it and choose “Set image as Background”.
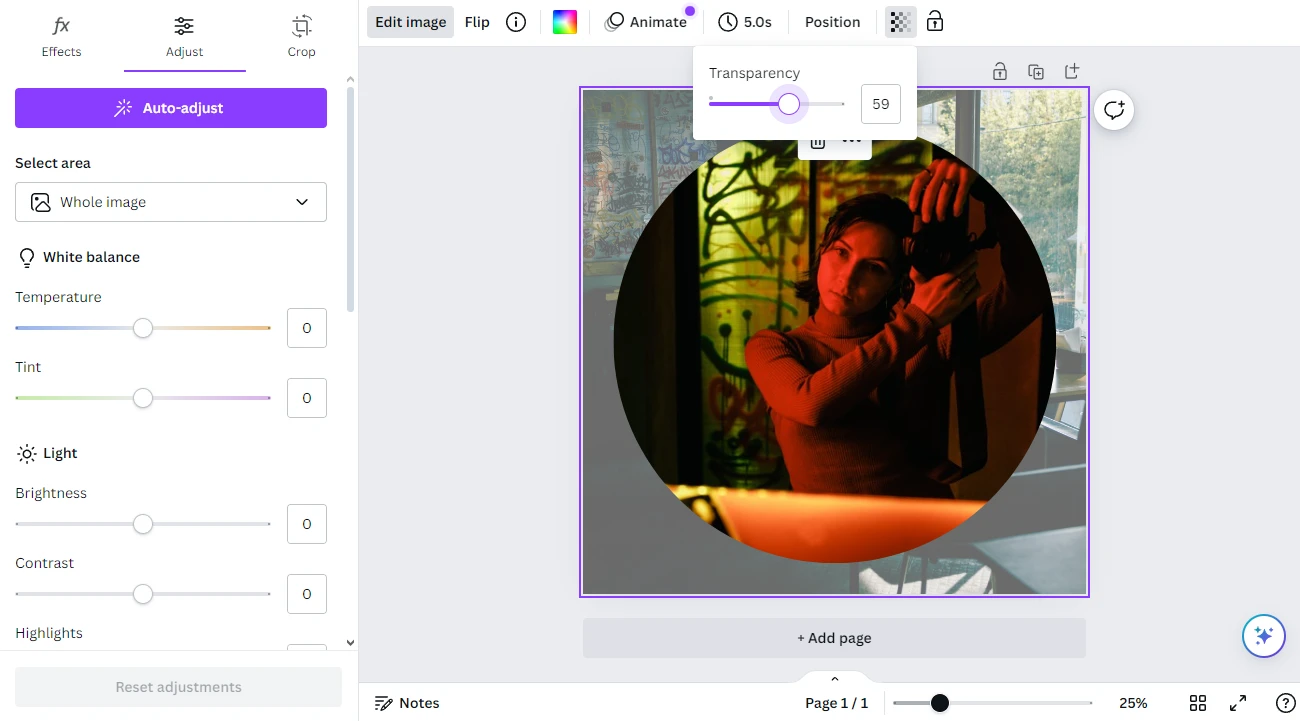
- Double-click on the image to make necessary adjustments. Here you can also adjust the transparency of your background image.
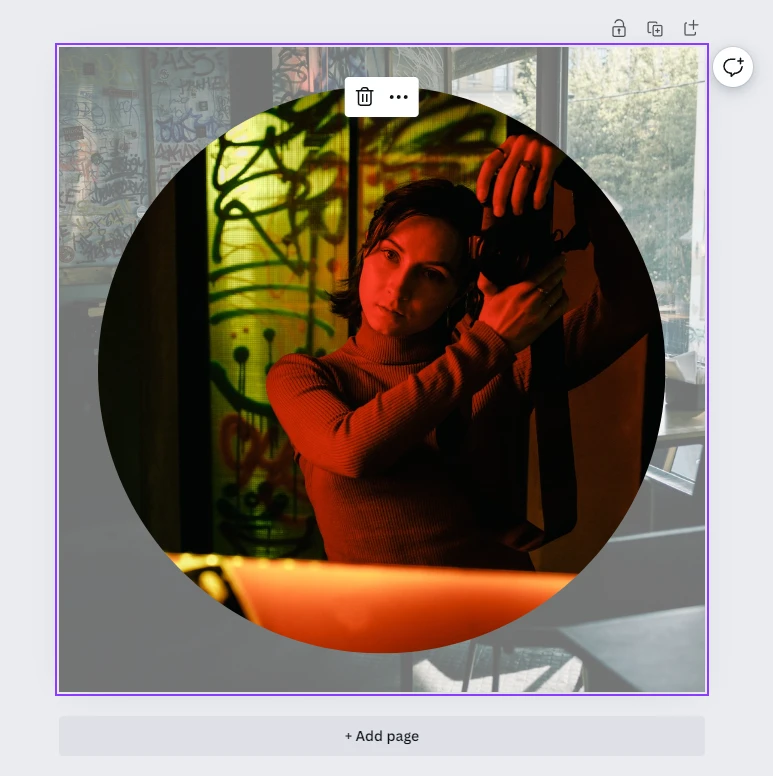
- All done! Now you’ve got an image that will definitely get you a lot of likes and attention!
It wasn’t so challenging, was it?
Watermarkly vs Canva
Now you know how to crop into a circle in Canva. You know that it doesn’t require much time or effort. But what if there’s another way?
Well, there’s!
Watermarkly offers an online image cropper that you can use to crop circle image. Both Canva and Watermarkly are web-based and can be used on any Internet-connected device.
But there are some key differences between these apps:
- Canva is a full-fledged image editor. It offers a whole lot of different tools and features for image editing. If you are a more advanced user, then you’ll surely have lots of creative fun in Canva. Watermarkly is much more beginner-friendly due to its simplicity. It can only be used for some basic image editing. On Watermarkly’s website you can convert images to JPG or PNG, resize photo without cropping it, blur faces and blur license plates, watermark PDF and add a text to a photo.
- To use Canva, you need to create an account or sign in first. Watermarkly, on the other hand, can be used without creating an account. You can get to circle-cropping your images right away.
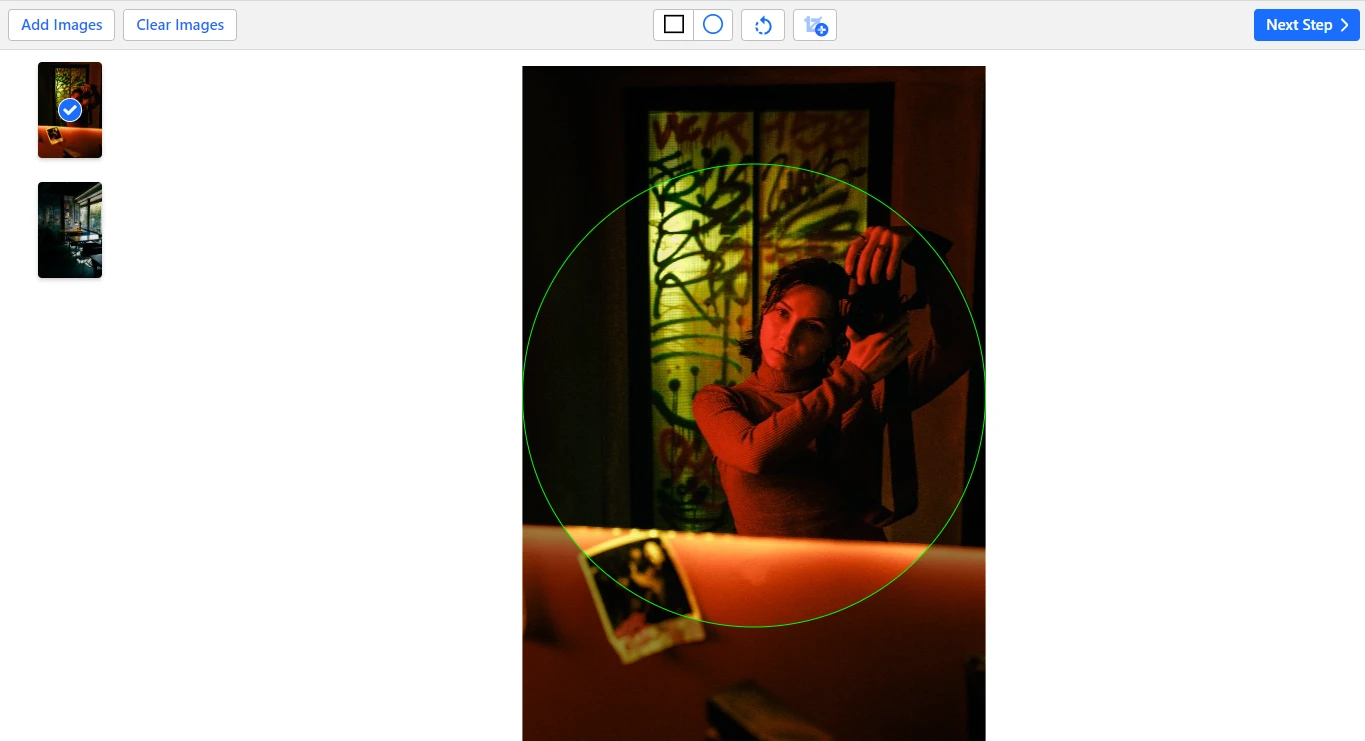
- In Watermarkly, you won’t have to deal with any frames. There’s no need to drag your image into a frame or adjust its position and size in the frame. In Watermarkly you simply choose the circle-shaped cropping area, make it bigger or smaller, place it on the area that you want to crop and export your cropped copy. It’s much quicker and simpler than in Canva.
- Both Canva and Watermarkly have a free version and a paid version. The difference, though, is that you don’t have a lot of choice when it comes to the quality of your image in Canva. In Watermarkly, you can keep the original quality or tell the app to both crop and compress images. Yes, even in the free version.
- When it comes to circle-cropping, there’s a huge advantage that Watermarkly has over Canva. It doesn’t matter whether you are using a free or a paid version of Watermarkly, you will be able to export your cropped image as PNG and it will have a transparent background!
- Another downside of Canva is that it’s challenging to use it for batch-processing. There’s a Bulk Create feature, but it’s available only in the Pro version. So, you cannot crop a batch of images into a circle in Canva. Meanwhile, Watermarkly supports batch-processing even in the free version. The limitation of Watermarkly’s free version, though, is that you can process only up to 10 images per day.
- Another difference is that there’s a whole lot of different options for sharing your processed images in Canva. You can share your image on social media, create a link, embed your image, print it, etc. You can create a collaboration link. If your coworkers also work in Canva, you can share cropped image with them right away. If you have a Pro account in Canva, you can even schedule your post! Unfortunately, in Watermarkly, you can either save your cropped copy to your device or upload it into Google Photos or DropBox.
Frankly speaking, you can benefit greatly from using both of these apps. Canva provides a wide selection of tools and templates that you can get really creative with. You can spend quite some time in Canva, creating different designs, playing around with various elements. Watermarkly, on the other hand, is an ideal choice if you need an app that can get the job done quickly and easily.
FAQ
How to crop a photo in a circle in Canva?
It’s unbelievably easy and not time-consuming at all! Follow these steps:
- Open Canva and create a new design or simply upload the photo that you need to crop.
- In the editor window go to Elements > Frames. Type in “Circle Frame” to open a selection of round frames.
- Pick a frame and click on it.
- Select the photo and drag it into the frame. Now your image is circle-cropped!
- Double-click on the image to adjust its position and size within the frame. It’s also possible to make other adjustments to the image here.
- Export your circle-cropped image by going to Share > Download.
How do I crop a specific shape in Canva?
This is pretty similar to circle cropping. You just need to pick a different shape instead of a circle. Here’s what you need to do:
- Open Canva and upload the necessary photo.
- In the editor window go to Elements > Frames, then select the frame that you want. You can type in the necessary word in the search bar, depending on what shape you need. For instance, if you want to get a heart-shaped photo, type in “Heart”.
- Choose the frame that you like and click on it.
- Select the photo and drag it into the frame. It will be cropped into the shape of your choice.
- Double-click on the image to make necessary adjustments.
- Export your cropped image by going to Share > Download.
How to circle crop in Canva on iPhone?
It’s perfectly possible to use Canva on your smartphone. If you want to crop images into a circle on iPhone, do this:
- Download the app, then open it.
- Import the image that you need circle crop.
- Create your template, then click the “+” button.
- Open the Elements section at the bottom. You can type in “Frames” or even “Circle frames” in the search bar.
- Pick the frame that you need and add it to your template.
- Click the “+” button again and go to the “Uploads” section.
- In the Upload section you can find your imported photo. Add it to your template.
- Drag your photo into the circle frame.
- Double-tap on the image to make necessary adjustments.
- Export your circle-cropped image.
Now you know how to crop into a circle in Canva on iPhone!
Conclusion
Canva is a full-fledged image editor that you can use right in your browser. It’s powerful, yet rather easy to master. You can create a lot of amazing designs in it as well as edit photos. With its help, you can crop images into a circle or any other shape. You won’t have to spend a lot of time or effort to get circle-cropped images. Especially, if you make use of the step-by-step instructions provided in this article.
Canva is incredible, but it’s free version has some limitations. For instance, you can get images with transparent background only if you have the Pro version. And transparent background is important if you want to crop an image into a circle. Fortunately, there’s an app that can be useful for you. With Watermarkly, you can circle-crop a batch of images for free and all of them will have a transparent background!
More articles
How to Add a Watermark in Canva
How to Resize an Image in Canva
How to Crop a Picture into a Circle
How to Crop in a Circle in Photoshop
How to Сrop a Picture into a Circle in PowerPoint