
How To Add a Picture To a Video
by ![]() Lina Thorne • Updated · Posted in Video Editing
Lina Thorne • Updated · Posted in Video Editing
The popularity of video content keeps growing. YouTube and TikTok are top popular social media platforms with millions of daily users; and both of them are video-sharing platforms. Instagram is another extremely popular platform that was originally intended for image sharing…But these days the platform’s algorithm pushes and promotes reels more adamantly than images.
Bottom line is if you want to grow both your social media accounts and your brand, you absolutely have to create and share video content.
But it doesn’t mean that you have to forget about images completely – you can actually use them in your videos. It can be much more beneficial than sharing them as a post!
You may be unaware of this, but you can actually add an image to a video in two different ways.
First, you can insert an image into an actual video.
Second, you can add an image to a video as an overlay.
In other words, your image will sit on top of the video while the video is playing. In this guide you will find instructions for both using different apps. Don’t worry if you are new to video editing – no matter what app you choose, you will still be able to achieve excellent results!
How To Insert a Picture Into a Video Using CapCut
Let’s start with inserting a picture into an actual video. Using this method, you can combine several images into a single video or create a video that consists of both video clips and images.
And it’s much easier than you think! All you need is a video editor. For instance, CapCut. What’s great about CapCut is that it’s incredibly powerful yet easy-to-use and available for both Android and iOS.
First, you will need to download and install CapCut on your smartphone, then create an account. If you already have an account, log in.
Now, let’s take a look at how you can insert an image into a video:
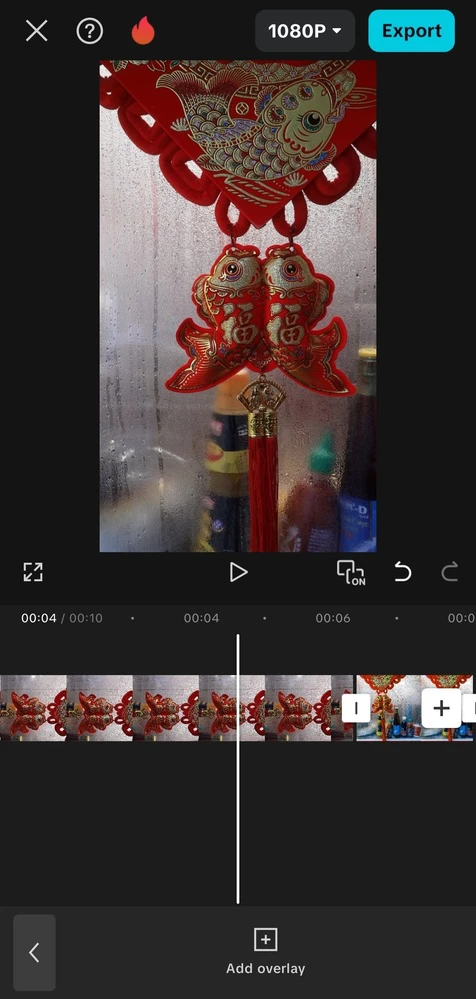
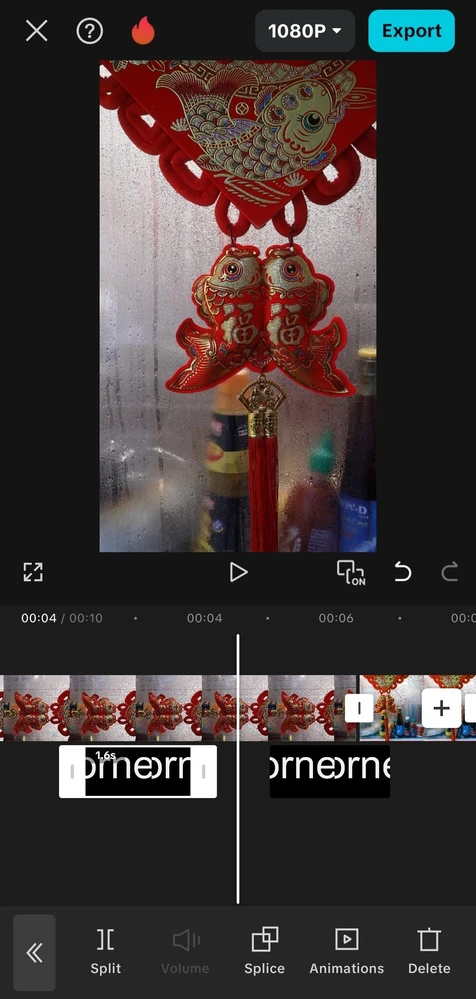
- Open CapCut and tap on New Project, then pick the necessary files.
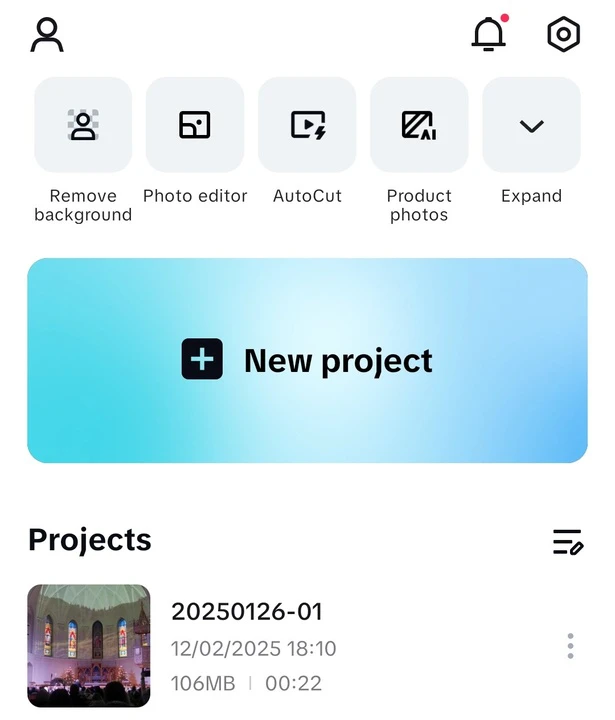
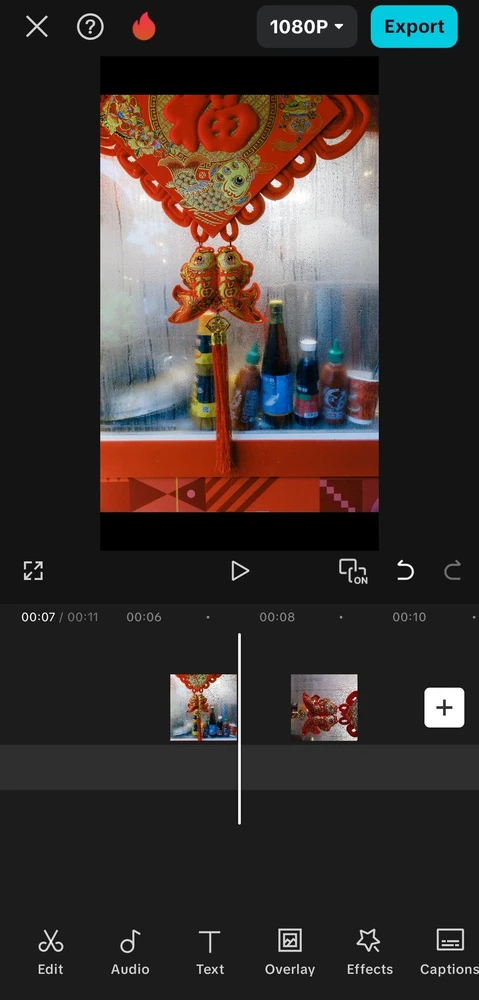
You can select not only videos, but images as well. You just need to switch to the Photos section. - Voila! Your image is already inserted into a video. If you need to re-arrange the files on the timeline, tap on the necessary file, hold your finger on it, then put it in a different place.
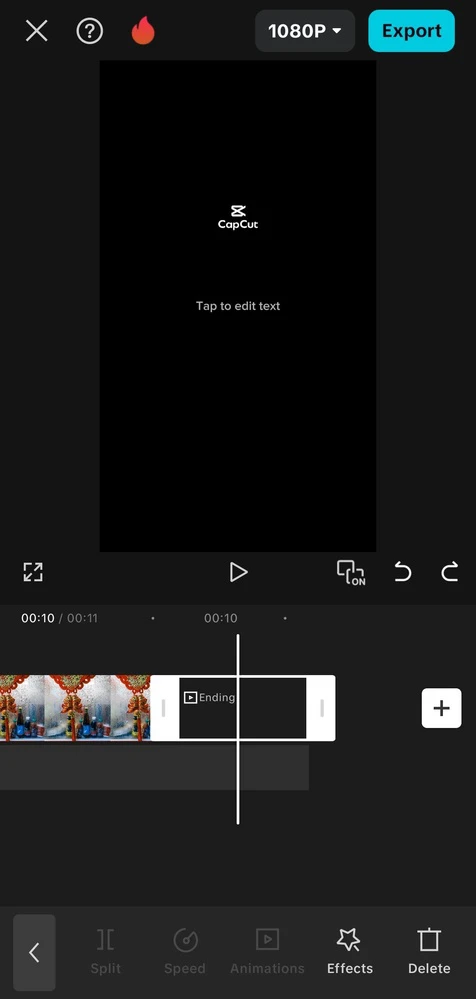
- Go to the very end of your video to delete CapCut’s ending. Select the ending and tap on Delete.
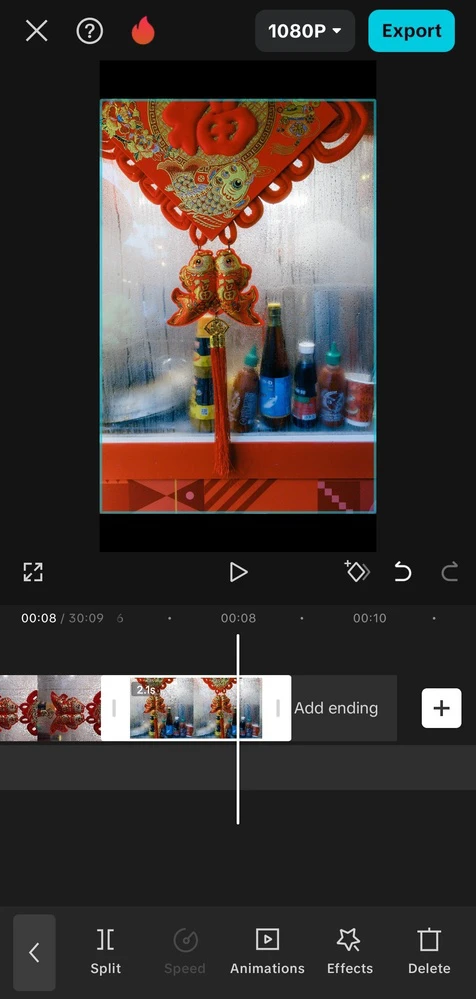
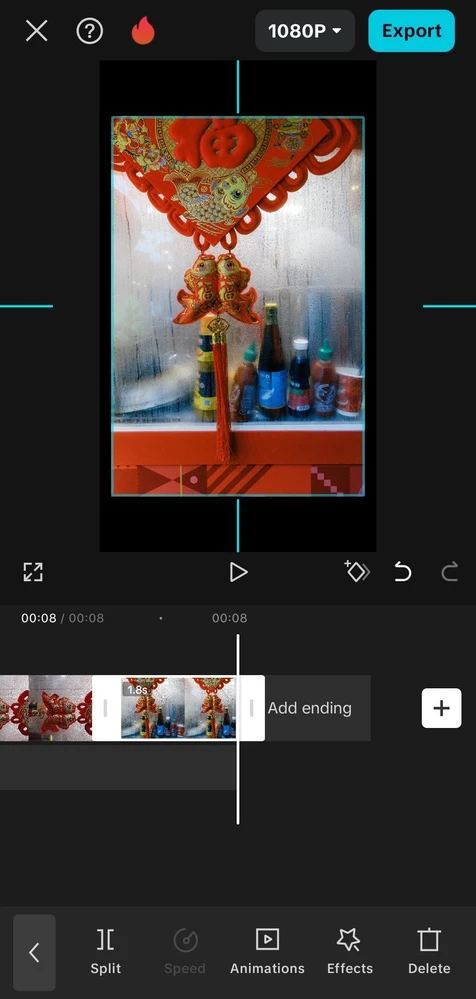
- Select your image on the timeline, then adjust its duration by dragging it with your finger. This is how you can set for how long your image will be shown in the video.
- Depending on the aspect ratio of your video, you may also need to resize your image. Tap on the image in the playback screen, then make it bigger or smaller using your fingers. Fortunately, CapCut maintains excellent quality as much as possible. Just make sure to upload images in high resolution.
- If you want to add more images to your video, tap on the + button, which is on the right side of the timeline. Then upload the missing files.
- Make all the necessary adjustments to the images on the timeline.
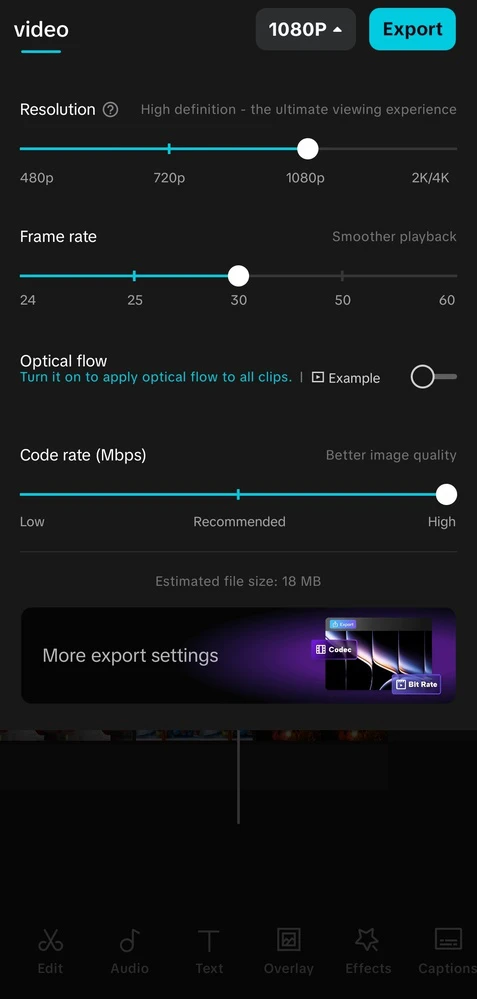
- Are you happy with your video? It’s time to export it! Tap on 1080p, then set the necessary Resolution. Also, make sure that the Code rate is set to Higher.
- Tap on Export. Your video will be saved to your gallery.
That’s it! Super easy, right?
How To Add a Picture To a Video As an Overlay Using CapCut
Maybe you need to add a couple of images to your tutorial, but you don’t want to switch between the footage and images. Instead, you want an image to sit on top of your video.
You can also do that in CapCut.
So, once you imported your video and made all the necessary adjustments, follow these steps:
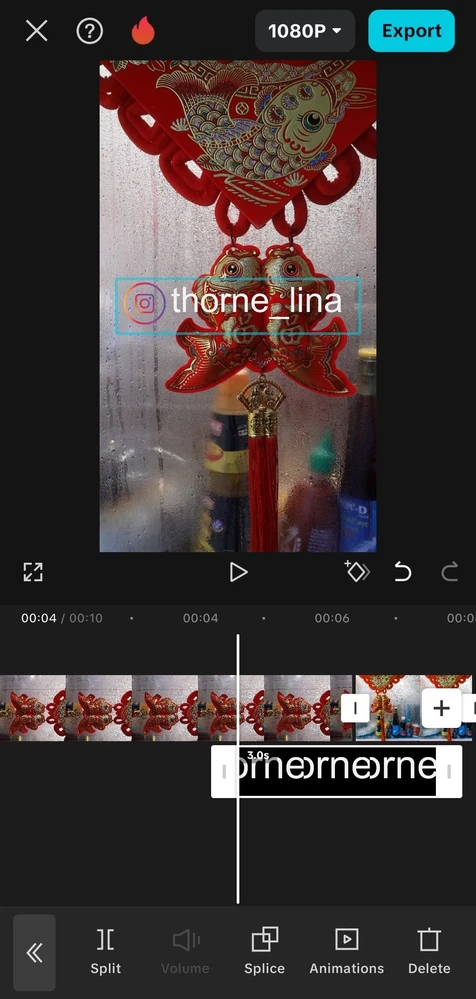
- Tap on Overlay. If you don’t see this button, there’s a chance that your video is selected on the timeline. Unselect it.
- Tap on Add Overlay.
- Select and import the necessary files. You can choose not only an image, but a video, too.
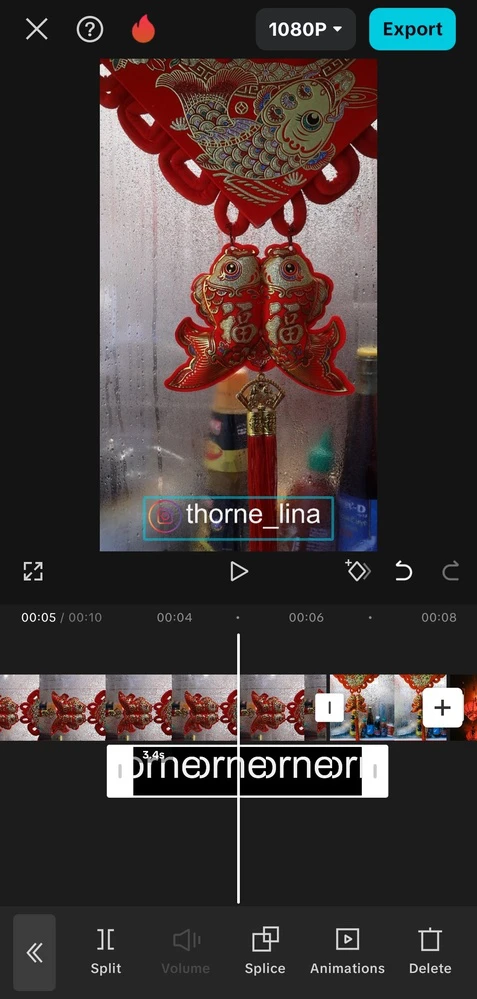
- Your image will show up under the video on the timeline. Now, you need to adjust its duration. Use your fingers to drag the image, making it shorter or longer. If you need your image to be visible throughout the entire video, make sure to drag it all the way to the end.
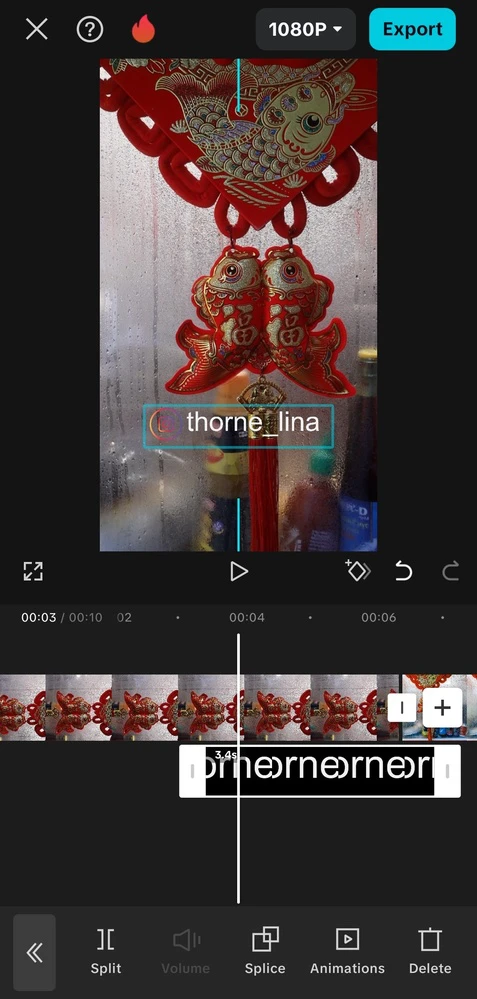
- To reposition the image on the actual video, tap on the image in the playback screen and drag it wherever you want using your fingers. This is also how you can change its size and rotate it.
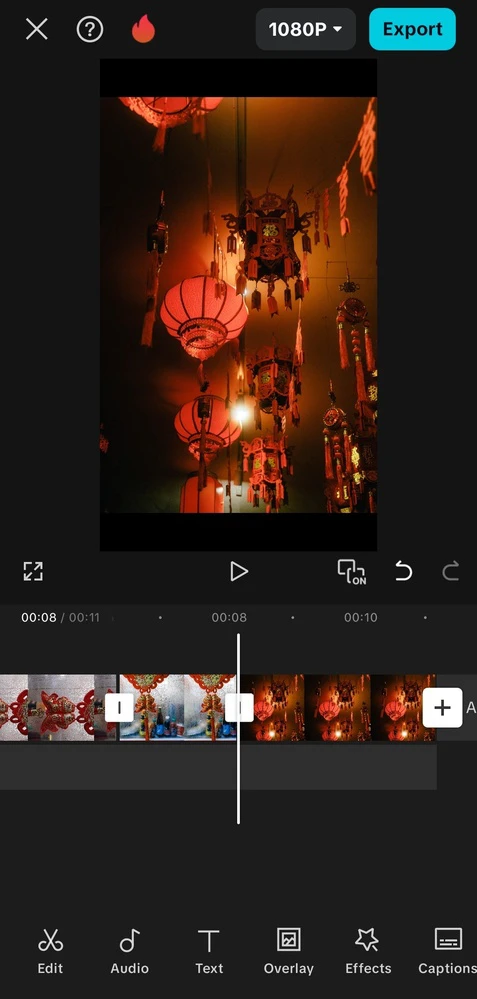
- If you need your image to be visible in two separate clips, you can split it into two. To do that, choose where the image should be split into two and tap on Split.
- Reposition both images on the timeline and adjust their duration.
- By tapping the Splice button, you can change the blending mode as well as adjust the level of transparency. This is how you can make your image fit into the frame more organically.
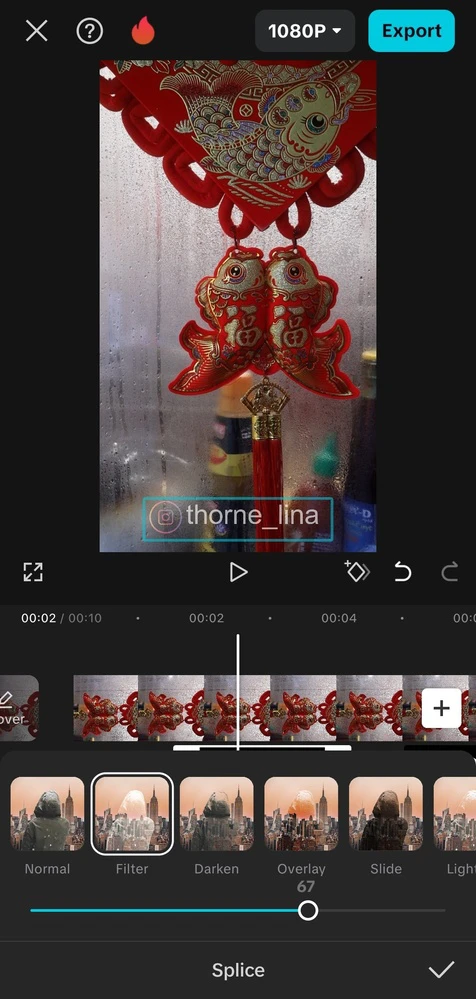
- Tap on the tick button to apply the changes.
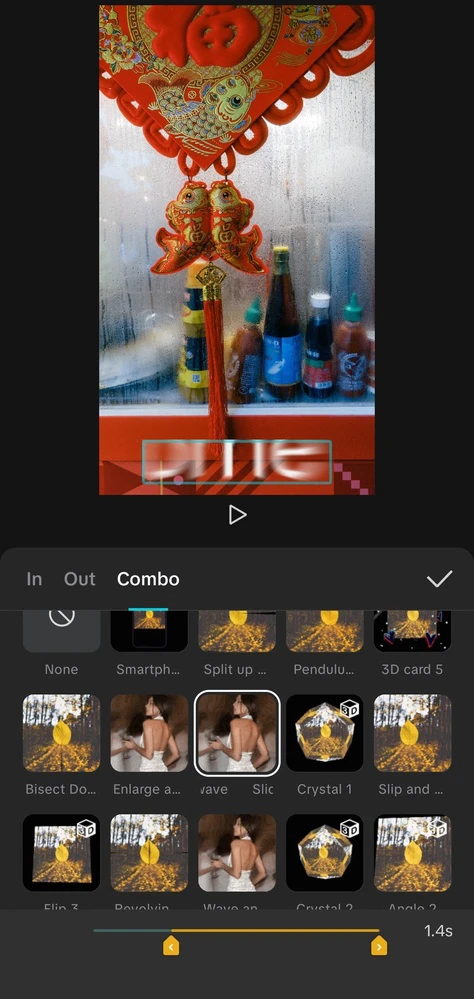
- If you want to add an animation to your image, tap on Animation and select the one that you like.
- If you change your mind and want to undo some of the changes, tap the Undo button on the right under the playback screen.
- Finally, if you want to get rid of your overlay image and start over, tap on Delete.
- All that’s left to do is to adjust the export settings and export the video!
This process is pretty simple but does require a little bit of time since you will need to make quite a few adjustments. Nevertheless, with CapCut, you will have lots of flexibility and control over the end result.
How To Add a Picture To a Video As an Overlay Using Watermarkly
What if you are short on time? What if you need to quickly add an image to your entire video as an overlay and you don’t really care about different blending modes? In that case, you should give Watermarkly a try.
Watermarkly is an online app that can be used for watermarking videos and images. Yep, it’s not a video editor. So, you won’t be able to do any video-editing here. Unlike CapCut, you can only use it to add an image to a video as an overlay.
There are a couple of downsides that you should be aware of. Watermarkly can add an image only to the entire video. In other words, you won’t be able to set the exact duration. Also, Watermarkly is a batch-watermarking app, so it’s possible to process several videos at a time, but you will be able to add only one and the same image to a batch of videos.
Watermarkly’s main advantage is that it’s super simple. It can add a single or multiple pictures to your video or a batch of videos within just a couple of minutes. It can be used on various devices since Watermarkly has not only a mobile version, but also a web-based version that works in a browser. The process of adding a picture to a video is pretty much the same no matter which version you choose.
Please note that during the editing stage, you will make all the adjustments to your image on the first video. It’s possible to adjust your image on other videos in the Preview section. Also, it’s not possible to play videos in Watermarkly; unlike CapCut. So, you will see the final result only after you download your watermarked videos.
Let’s take a look at how you can add a picture to multiple videos using Watermarkly’s browser-based app:
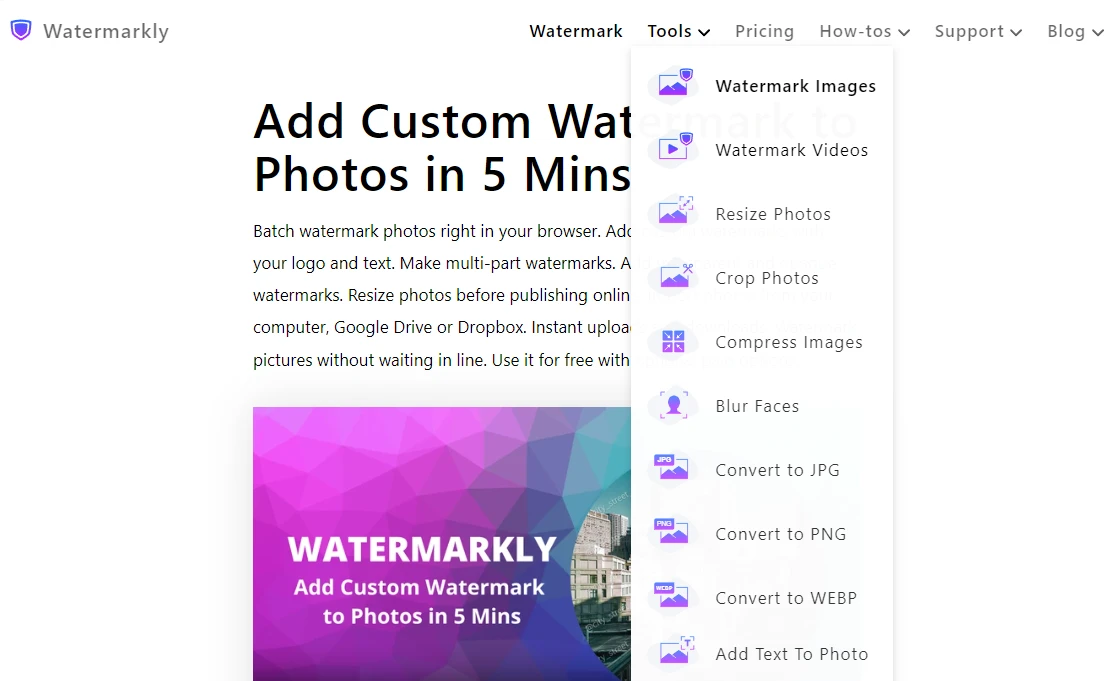
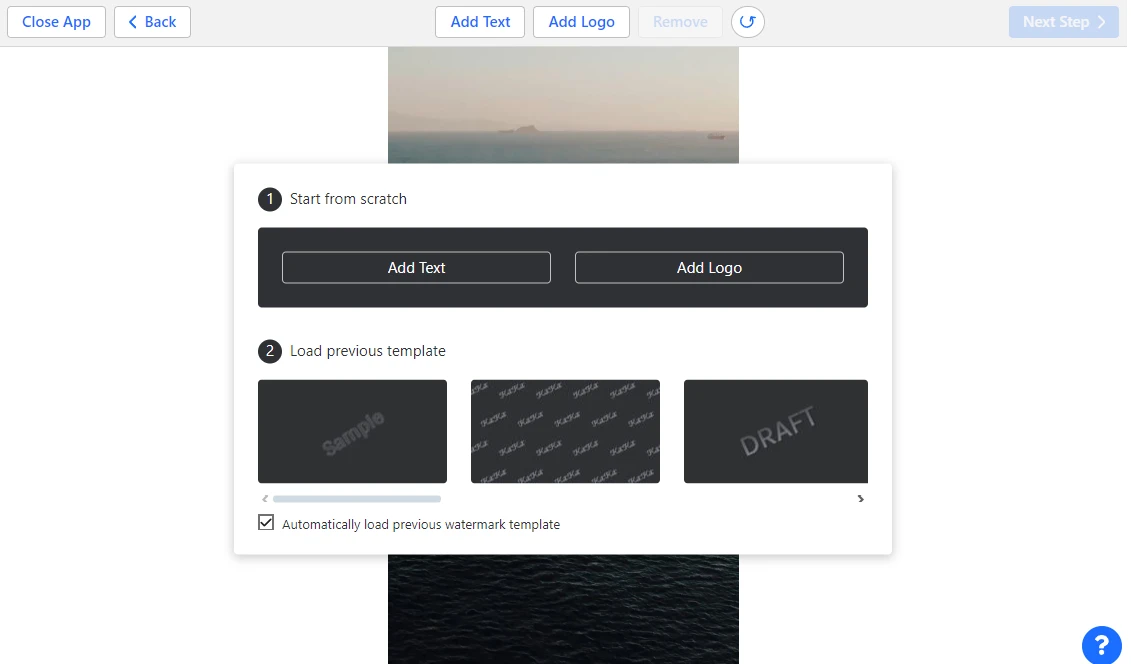
- Open Watermarkly, go to Tools menu and select Watermark Videos.
- Drag and drop your video files into the app or use the Select Files button to import them.
- Click on Next Step.

- Click on Add Logo, then select where you want to import your image from and upload it.
 Please note that it’s possible to import only one image at a time.
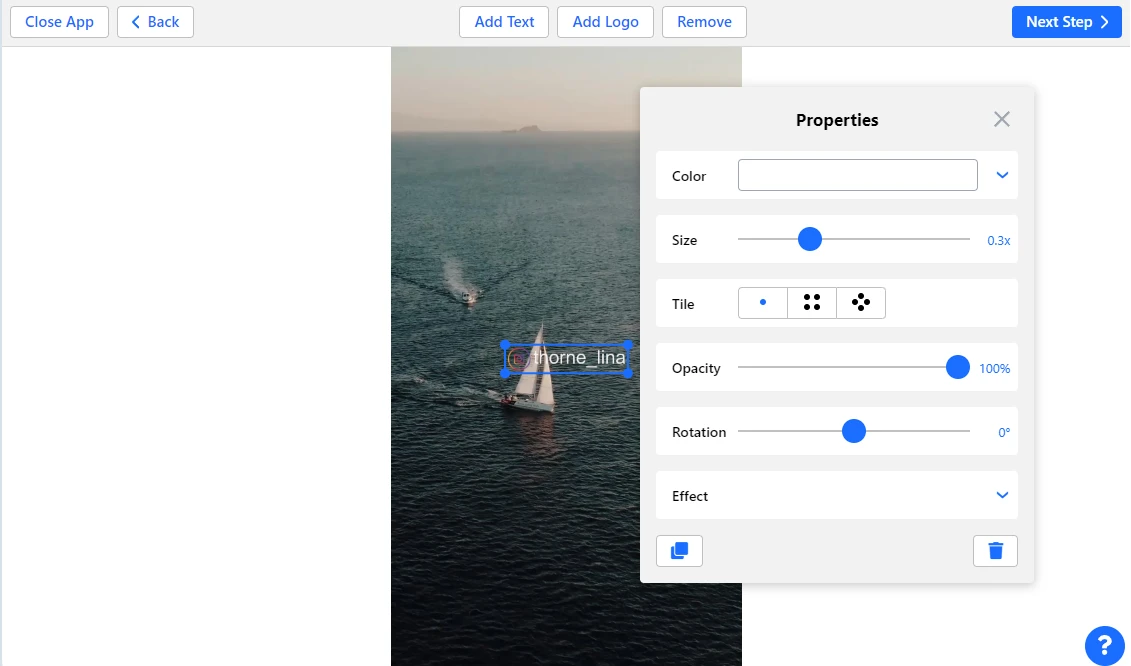
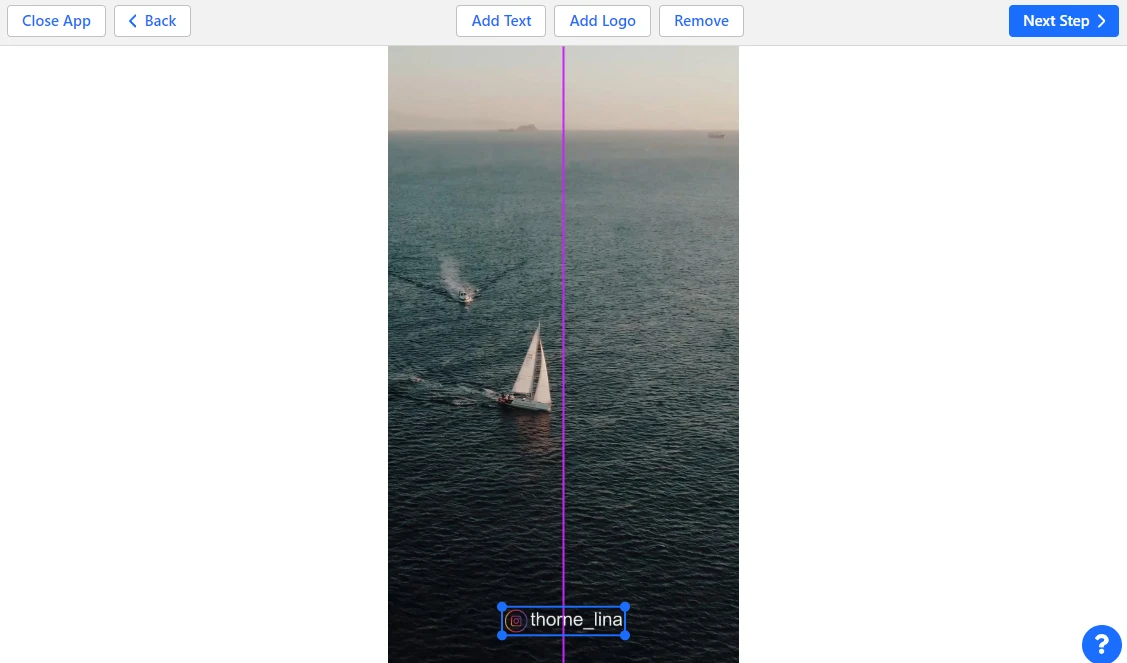
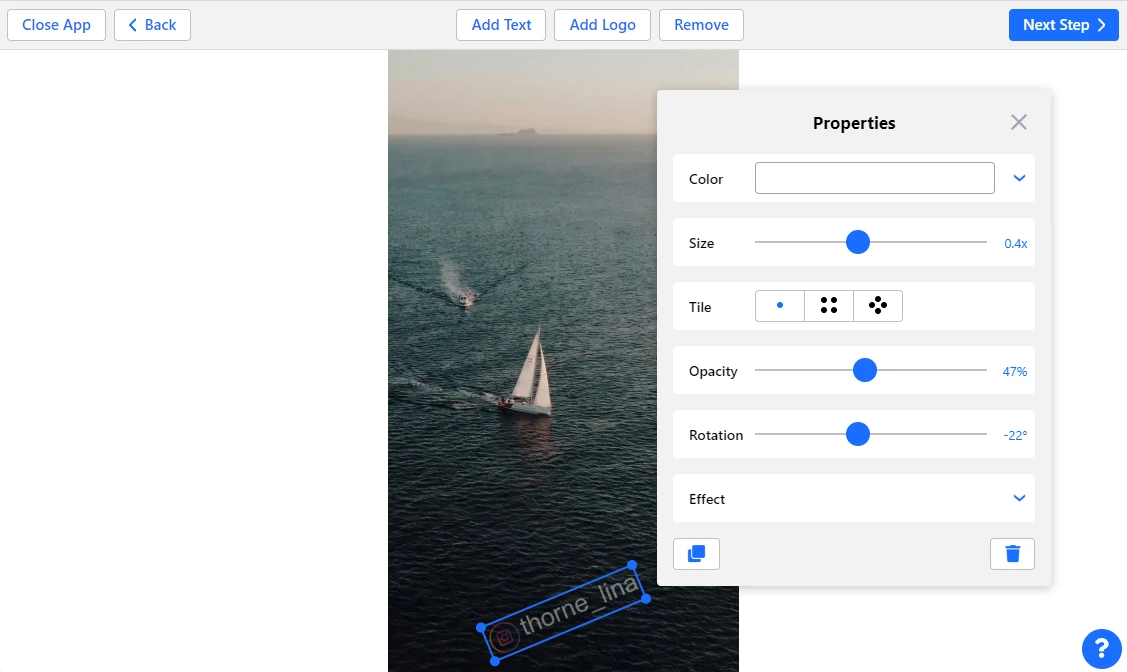
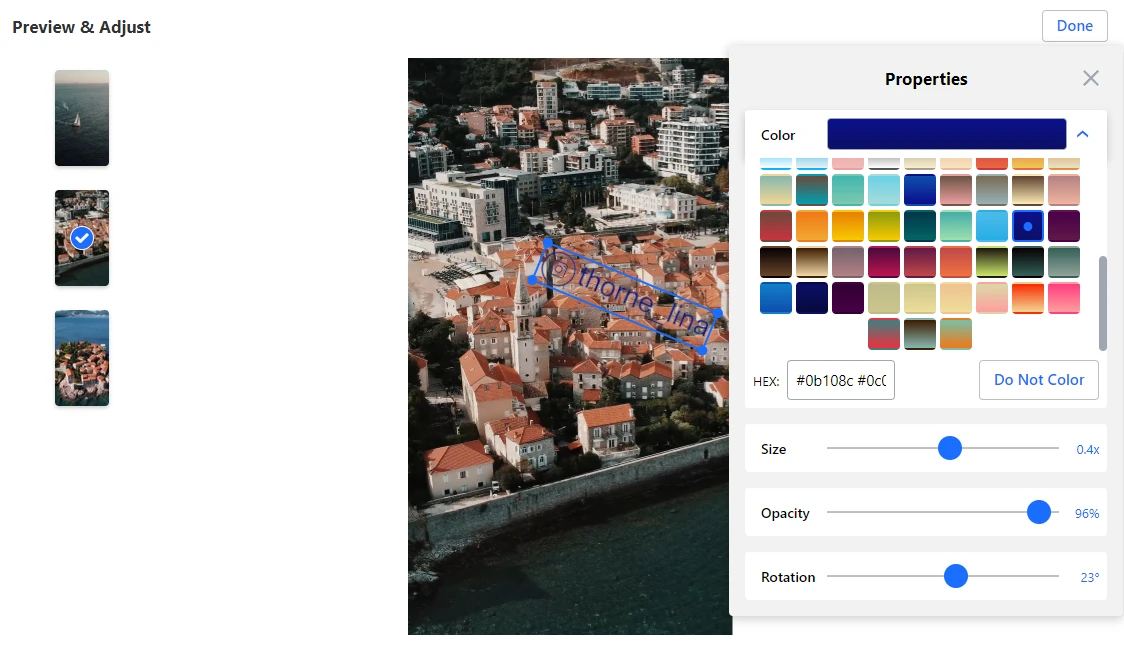
- Use the cursor to adjust the placement of your image.
- Toggle the Size slider to make the image bigger or smaller.
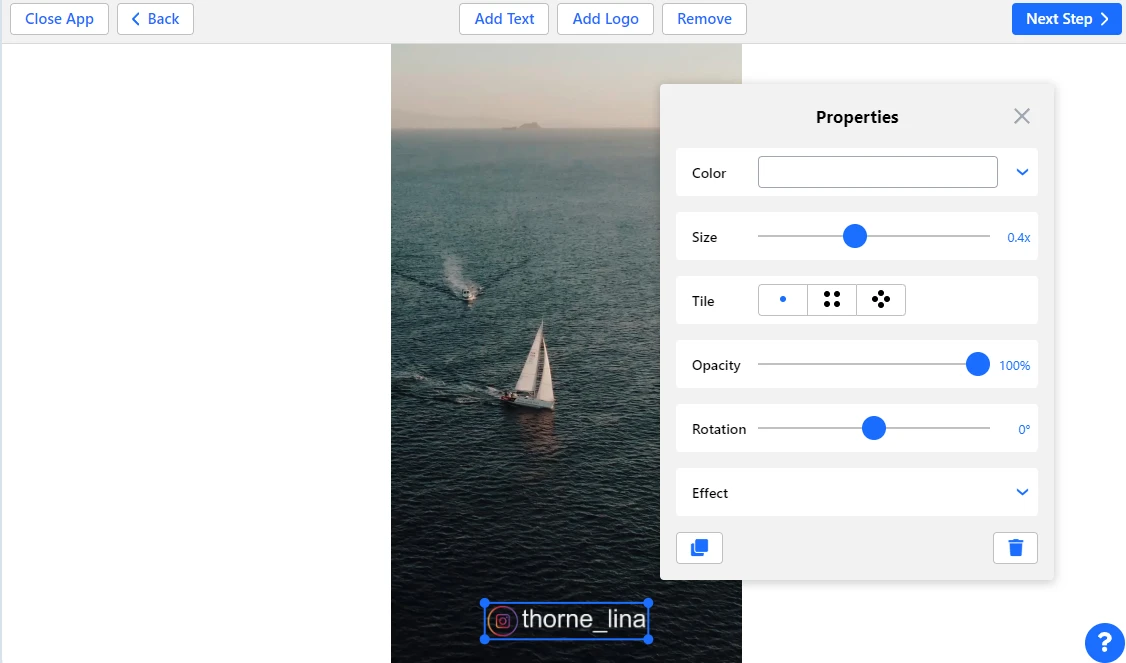
- It’s not possible to change the blending mode, but you can make your image semi-transparent – use the Opacity slider for this.
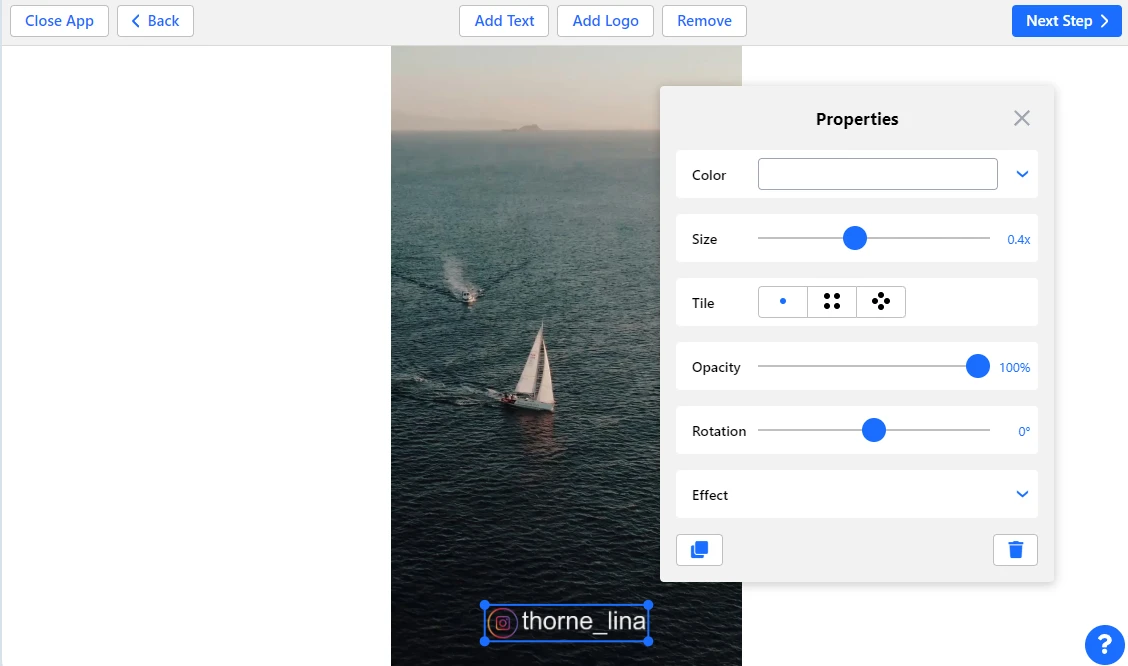
- The Rotation slider will help you change the angle of rotation.
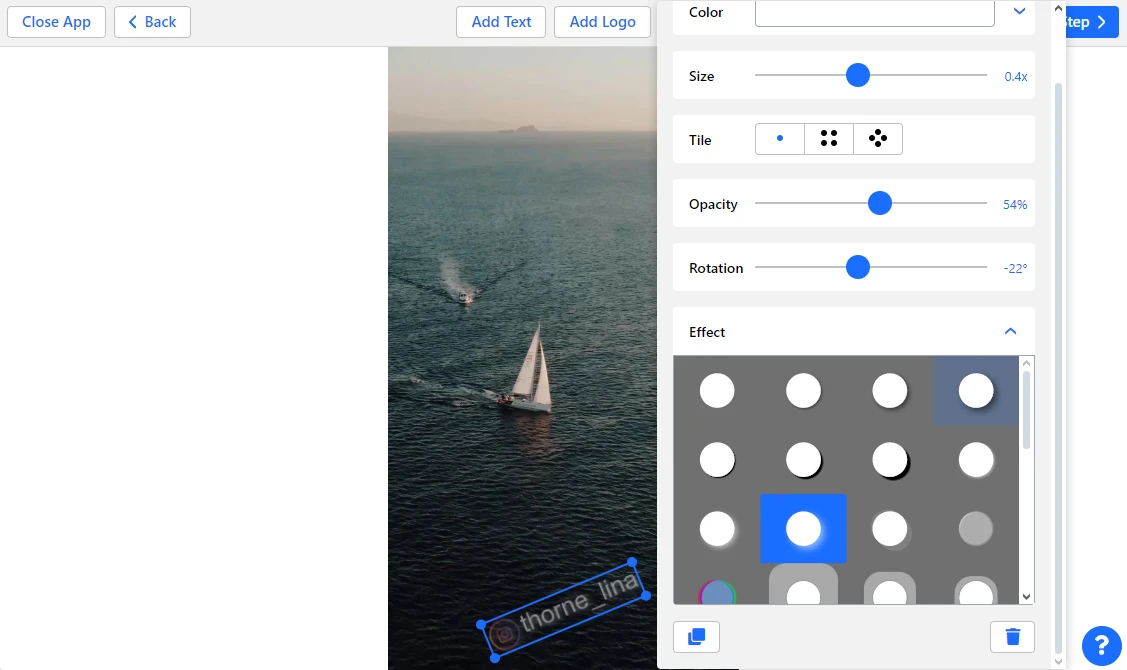
- You can add a shadow effect and some other non-animated effects to the image. Unfortunately, it’s not possible to add animation in Watermarkly.
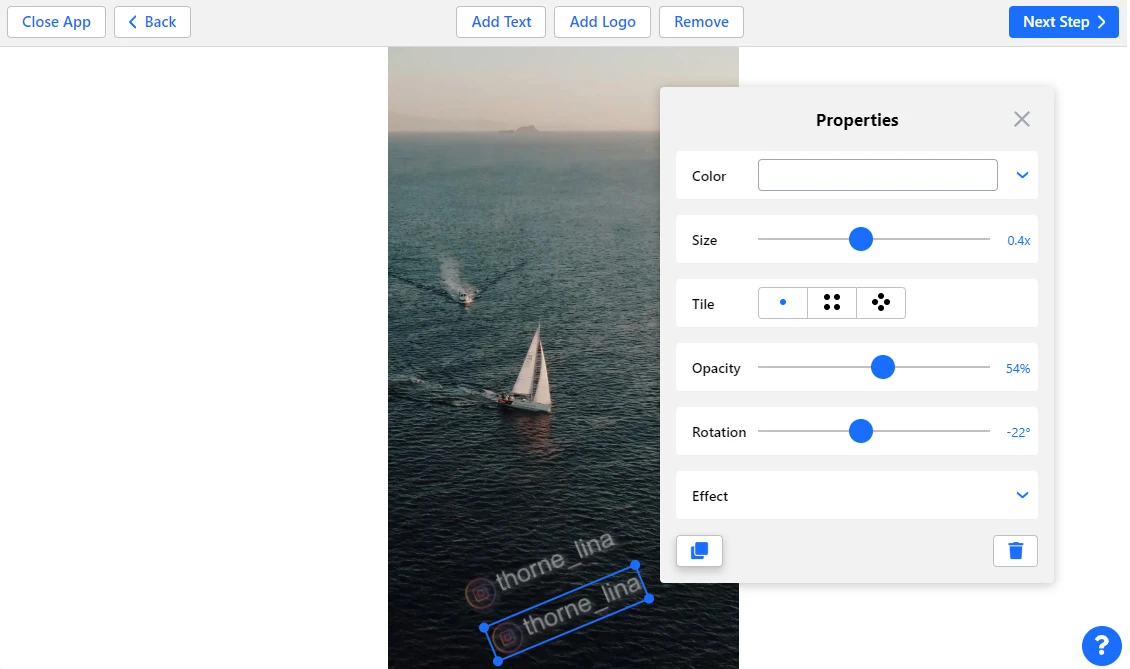
- Click on the Copy button to create a copy of your watermark.
- Click on Next Step to go to the export settings.
- You can rename your files in the Additional Options as well as set a couple of other settings.
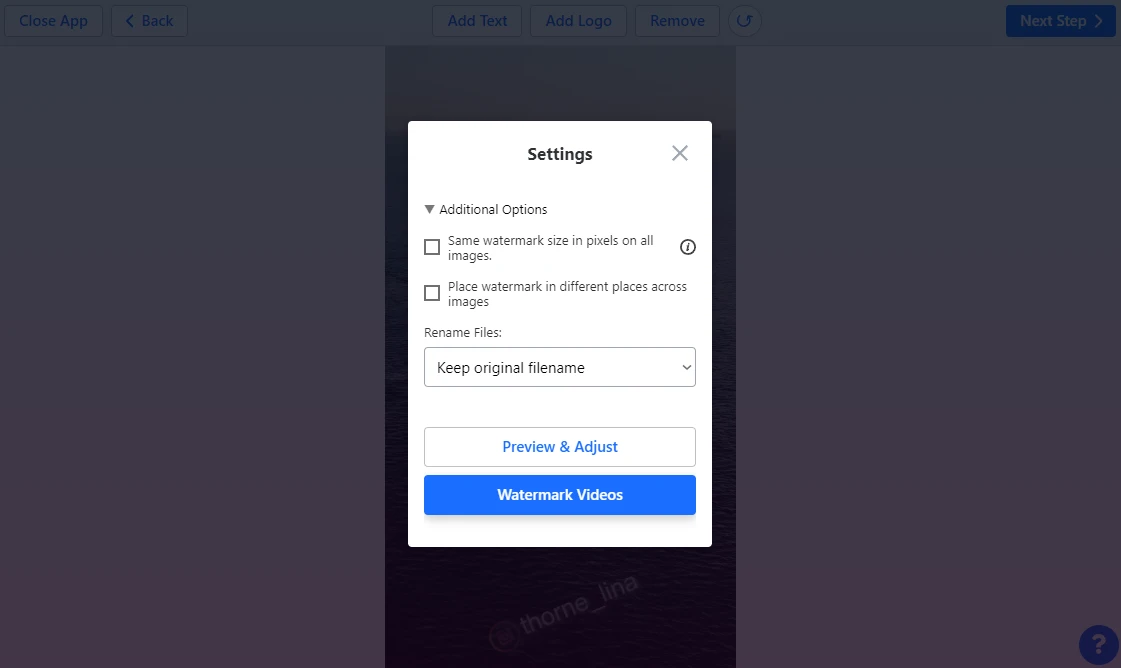
- To adjust your image on every video in the batch, click on the Preview & Adjust. In the Preview section you can view your image on other videos, then reposition or resize it if necessary.
- Click on Watermark images when you are ready to export.
- Download all the watermarked copies – Watermarkly never changes the originals! – then watch the videos to check whether everything looks right.
All done! Naturally, Watermarkly is simpler than CapCut. But here you won’t have to spend your time adjusting the duration or making lots of other changes.
With Watermarkly, you can add an image to your video much quicker than in CapCut.
Moreover, it’s not possible to batch-process videos in CapCut – you will need to make all the adjustments manually. So, if you need to watermark multiple videos within a couple of minutes, Watermarkly should be your choice.
How To Insert a Picture Into a Video Using iMovie
Both CapCut and Watermarkly can be used on Windows, Mac, iOS and Android devices. But if you are a Mac, iPad or iPhone user, you already have everything you need to add an image to a video. You can actually use a built-in video editor called iMovie. It’s somewhat similar to CapCut. You can insert not only pictures, but also music, while a selection of various effects can help you jazz up your video.
As you might have already guessed, there’s a desktop version for Mac and a mobile version for iPhones and iPads. The process of adding a picture is almost the same.
Follow these steps to add an image into the video on a Mac:
- Open iMovie and click on Create New, then choose Movie.

- Click on Import Media button, then select and upload the necessary files. You can import videos, images and audio. Alternatively, you can simply drag and drop the necessary files into the app.

- Drag your files from the Import section onto the timeline.
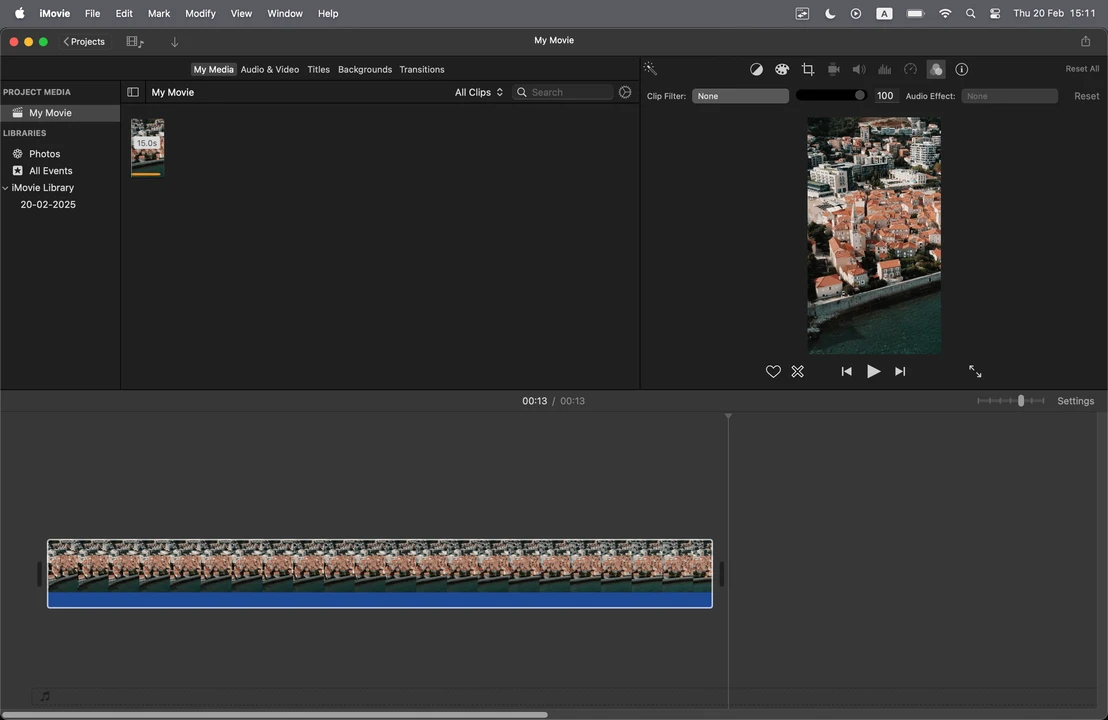
- Use the cursor to arrange your video clips and images.
- You may need to resize the images, depending on the aspect ratio of your choice.
- Adjust the duration of your images.
- If you need to add more images, import them first, then drag and drop them onto the timeline.
- To delete an image or a video clip, simply select the necessary item on the timeline and press Delete.
- When you are ready to export, go to File > Share > File. Your edited video will be exported!
Surely, you’ll be able to do this even if you’ve never edited a video before! This video editor is both simple and effective!
How To Add a Picture Into a Video As an Overlay Using iMovie
Similarly to CapCut, iMovie can be used to insert images into the video as well as to add them as an overlay.
So, open iMovie, select a project that you’ve already started working on or create a new one, then do the following:
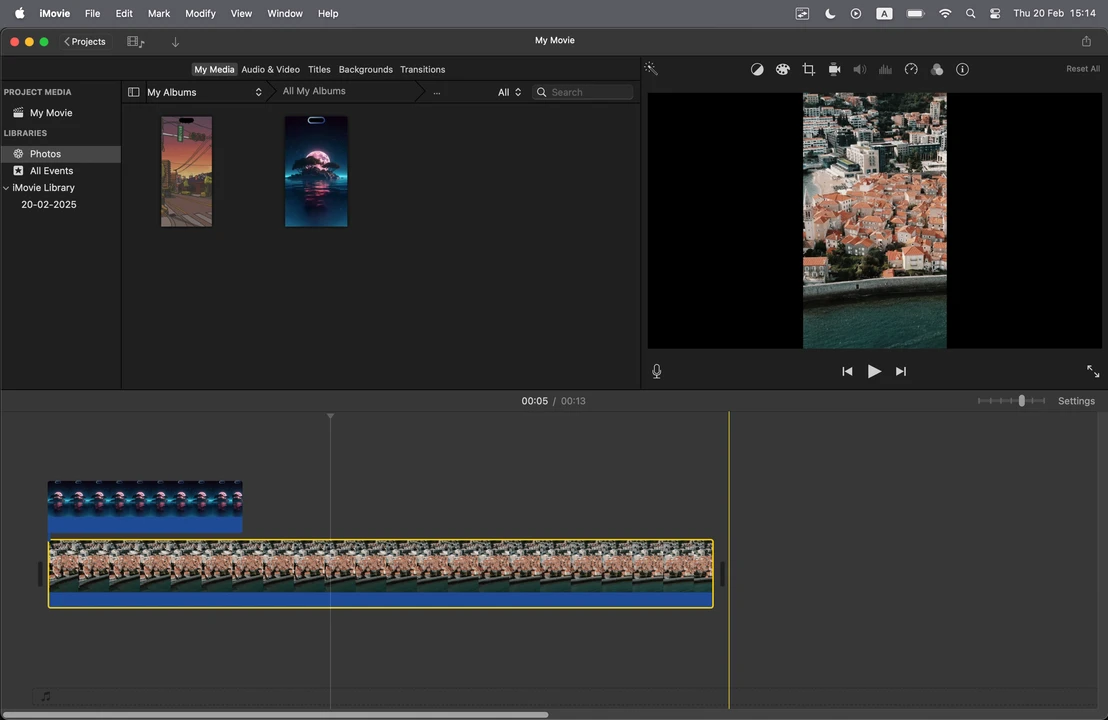
- Upload the image that you want to add into the Import section.
- Drag and place it on top of the video on the timeline. In other words, it should be placed on a separate track.
- But despite the fact that your image and your video are on two separate tracks, all you can see in the playback screen is your image. Let’s fix that!
- Click on the Video overlay settings button above the playback screen – it looks like two squares.
- There’s a high chance that you will see the Cutaway word and the blue arrow above the playback screen now. Click on the blue arrow, then select the Picture in Picture option.
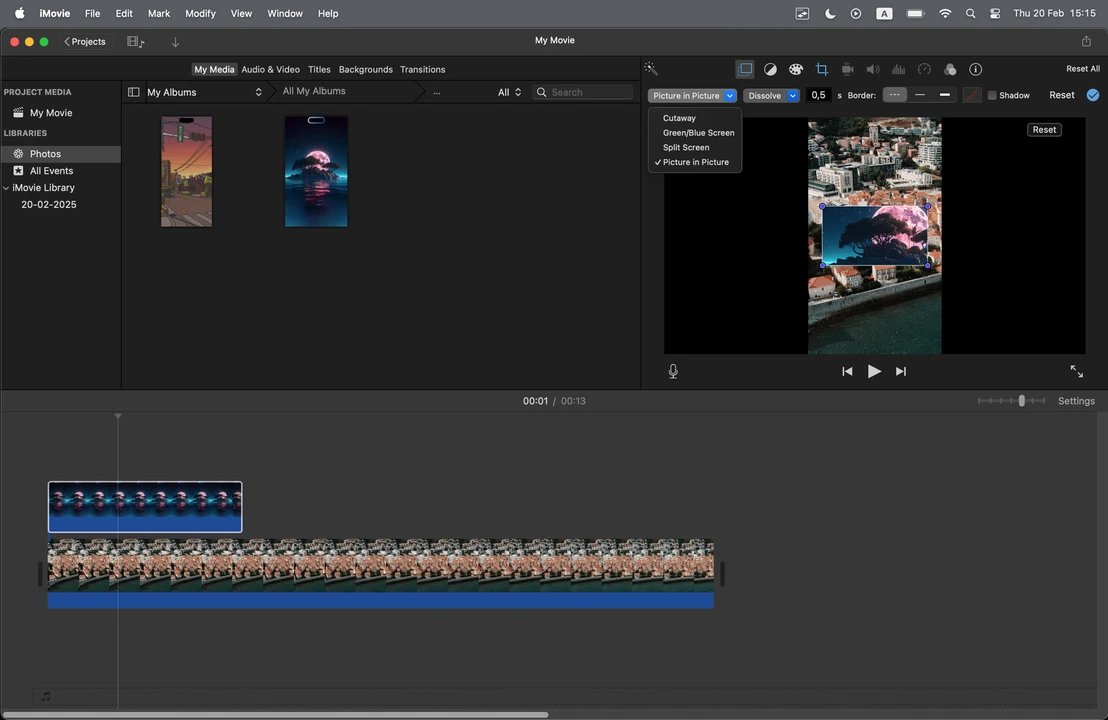
- Now, your image will actually be on top of the video.
- If your image got cropped by accident, click on the Crop button above the playback screen.
- Pick the Fit option in the Style section.
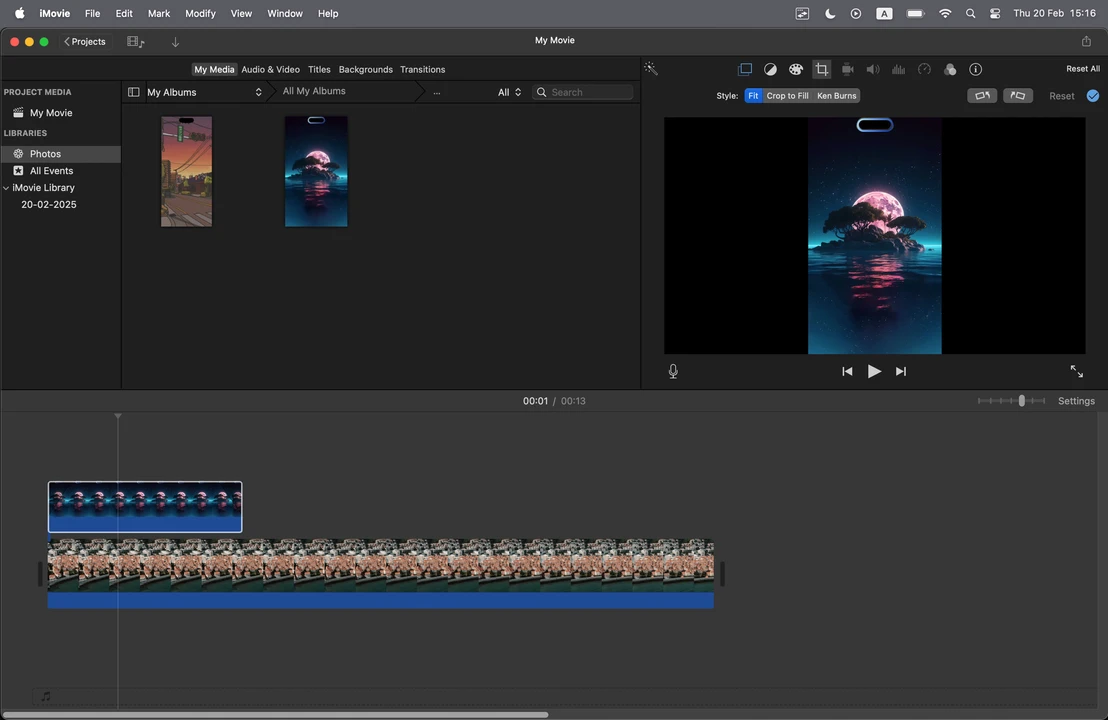
- Click on the image in the playback screen, then use the cursor to drag it into a different place or change its size.
- If you want your image to show up only during a certain part of a video, make the image overlay smaller on the timeline, then align it with the exact clip during which you want it to appear.
- When you’re done, export your edited video.
As you can see this process is somewhat similar to adding an image overlay to a video in CapCut with a couple of differences.
Why You Should Add a Picture To a Video
You can really benefit from inserting an image into your video or adding it as an overlay or even doing both. If you’re skeptical about this, here are some of the main reasons:
Make things clearer
People perceive and process information much better when it’s presented in a visual form. Naturally, when creating a tutorial, you need to film every step of the process. But some tutorials might call for incorporation of some extra images. After all, your goal is to make things as clear as possible for your audience.
Make your videos more engaging
Your videos should be not only easy to understand but also entertaining and engaging. Otherwise, your audience will get bored quickly and switch to another video. Adding images to a video can add an entertaining element. For instance, you can add a meme relevant to the main topic of the video.
Show off your photography works
If you are a photographer who wants to grow on social media…well, these days posting your photos alone isn’t be enough. Because in most cases, it’s possible to get new followers only by sharing video content. Now, it doesn’t mean that you need to become a videographer. Instead, you might consider showing your photos not just in regular posts, but also in videos – mix some videos clips with some photos.
Protect your content
Every time you share a piece of content online, there’s always a risk that someone can steal it. By adding your brand logo to your videos, you can actually make your content steal-proof to a certain degree. It is true that there are some watermark removers that utilize AI technology and can get rid of watermarks. However, if you place your logo somewhere in the center of the frame and make it semi-transparent, it will be much harder to remove. In addition to this, some thieves are so lazy that they can re-post your content without removing your logo – and everyone will know who the actual creator is!
Promote your brand
There’s another benefit to adding your brand logo as a watermark to your videos. This is how you can easily promote your brand! The more often people see your logo, the better they will remember it. So, the next time they are looking for an expert in your business field, there’s a high chance that the name of your brand will pop up in their mind right away.
Wrapping up
You can benefit greatly from adding a picture to a video since it can help you make your video clearer, easier to comprehend and at the same time more entertaining. And if you add your logo to your video as an overlay you can actually kill two birds with one stone – make your content steal-proof and raise brand awareness.
Hopefully, this guide has proved to you that adding images to videos is a rather straightforward task. With both CapCut and iMovie, you can enjoy lots of control and flexibility as well as get really creative.
With Watermarkly, on the other hand, you can add an image to your entire video as an overlay within just a couple of minutes if not less! Try out some or all methods from this guide to determine which one is the best for you.