If your PowerPoint presentation contains a lot of images, its file size can quickly become difficult to manage. Large presentation files are harder to upload, send by email, store, and open smoothly — especially if they contain high-resolution photos.
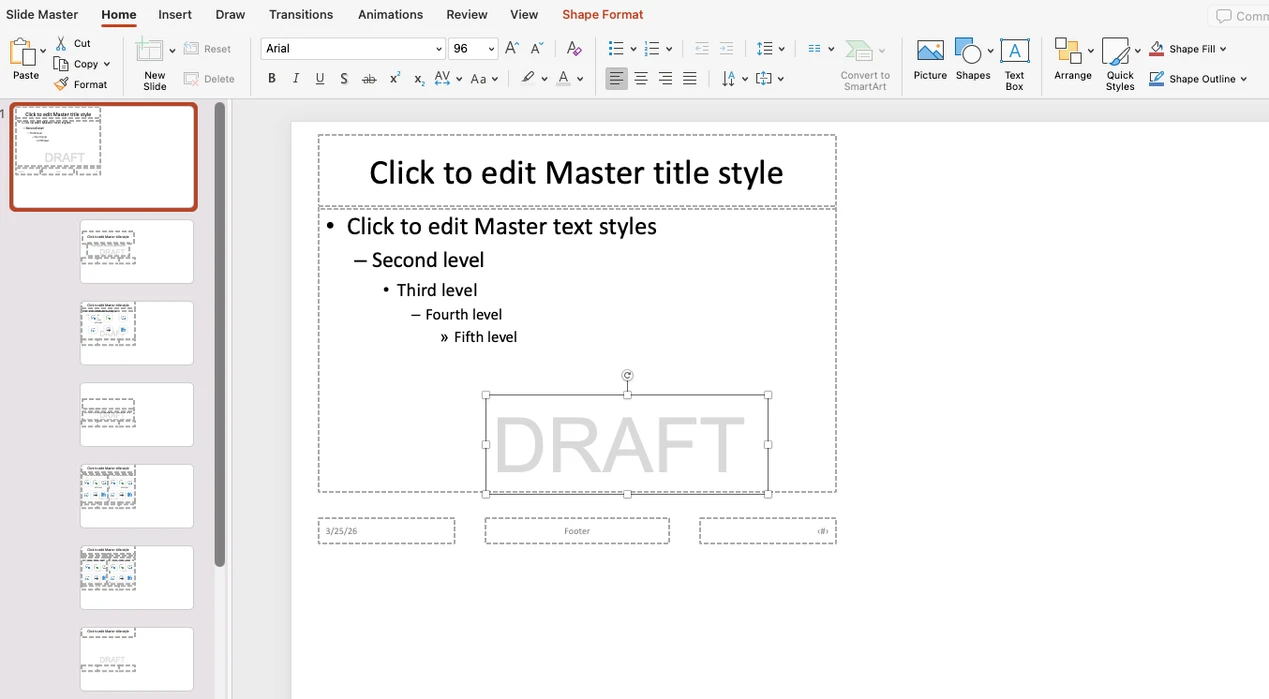
Adding a watermark in PowerPoint usually means placing text such as “Draft” or “Confidential,” a company logo, or another image in the background of your slides. It is important to note that you can put a watermark only in the desktop version of the app with a paid monthly or annual Microsoft 365 subscription. You will not find this feature in the web version or in the free trial version.
A watermark is, simply put, a kind of signature or visual mark that you add to an image, video, or document. It was originally used to protect files from theft and unauthorized use, but today it does much more than that. With the rise of social media and online marketplaces, watermarks have also become a smart and practical marketing tool.
Want to know how to protect your privacy online? The key is to build a few simple habits: use strong passwords, limit what you share, check your photos before posting, and stay alert to online threats.
Canva can also be used to add watermarks to your photos. Below, we explain how to add a watermark in Canva using both free and Pro accounts. The guide includes step-by-step instructions for creating text and logo watermarks, applying them to single or multiple images, and creating tiled watermarks for better protection.